Client Mortgage Journey
As an agent you are concerned with what your client experiences when they complete your mortgage application. This guide will give you an understanding of their client journey.
Video Walkthrough
Step-by-Step Guide
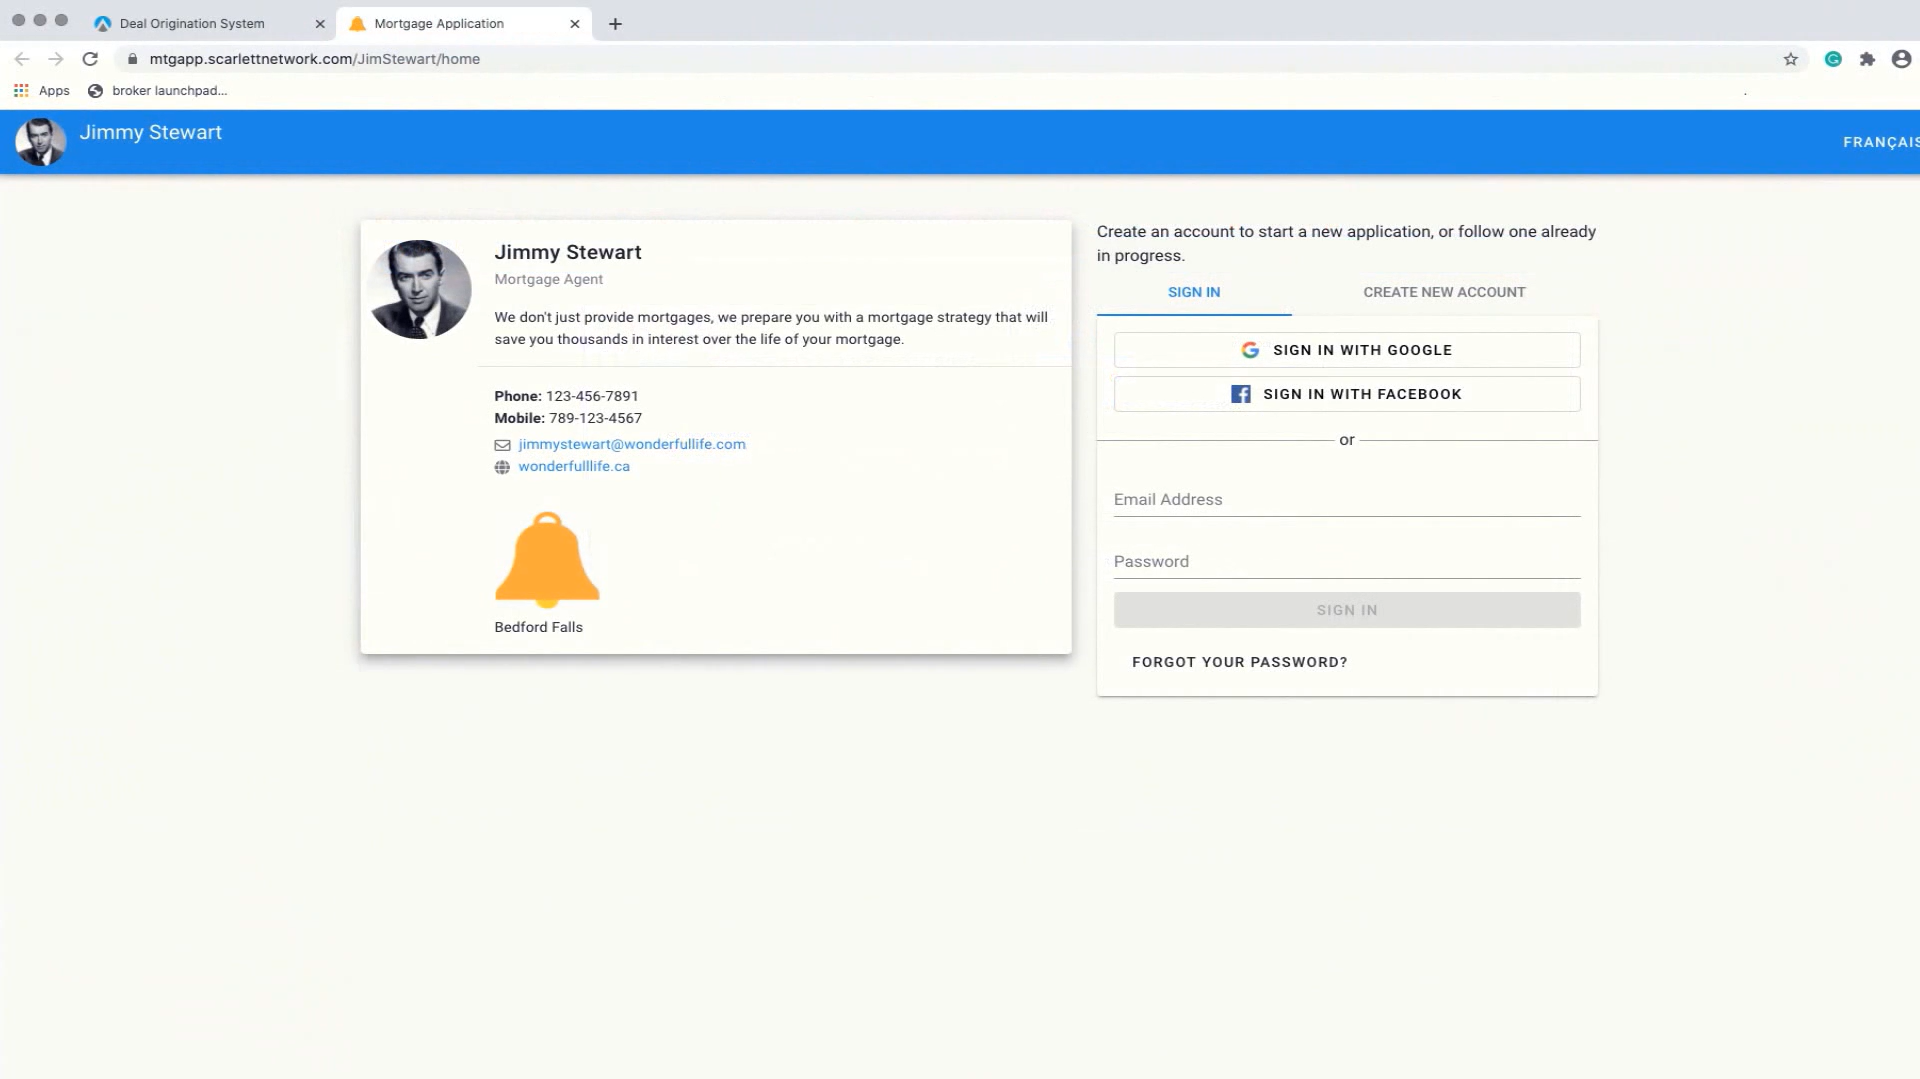
1) When your client clicks on your custom URL, they will be taken to your mortgage application landing page. They will have to either sign in with their Google account, their Facebook account, or they can register a new account.
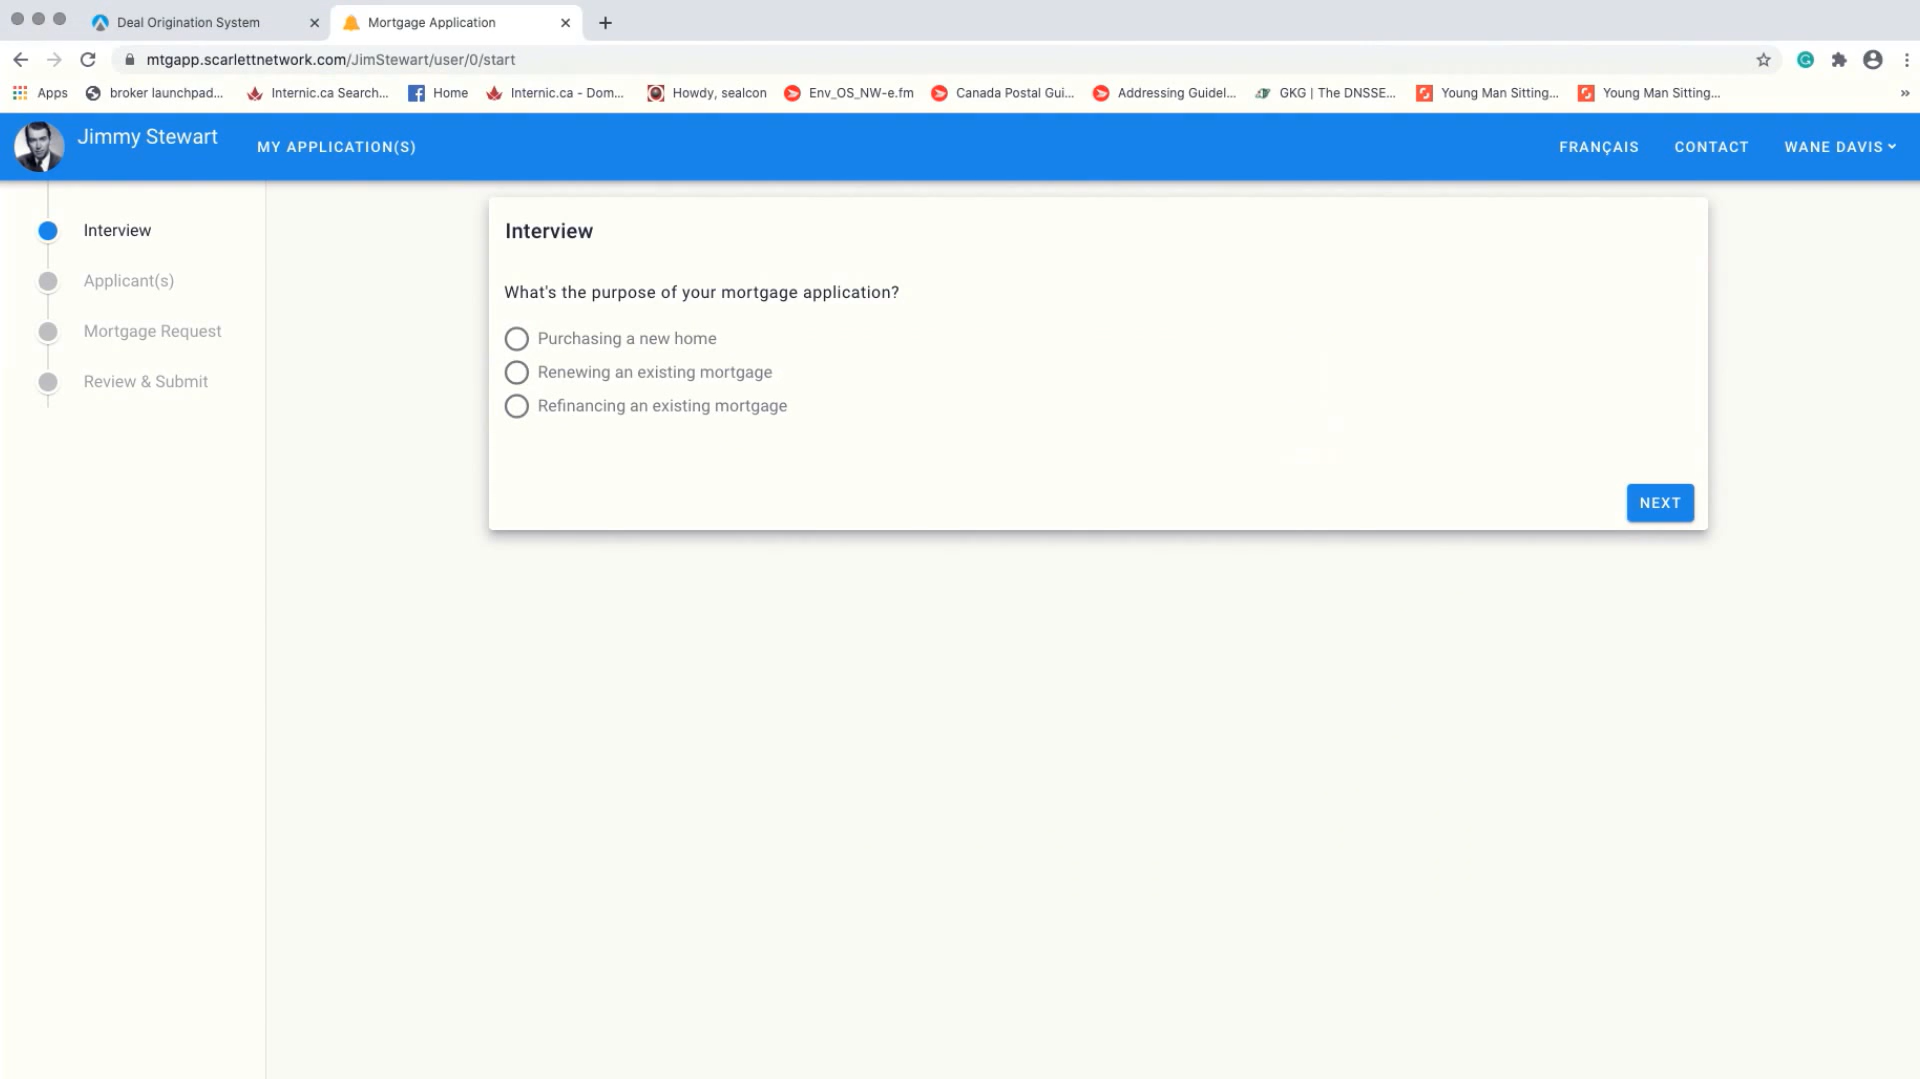
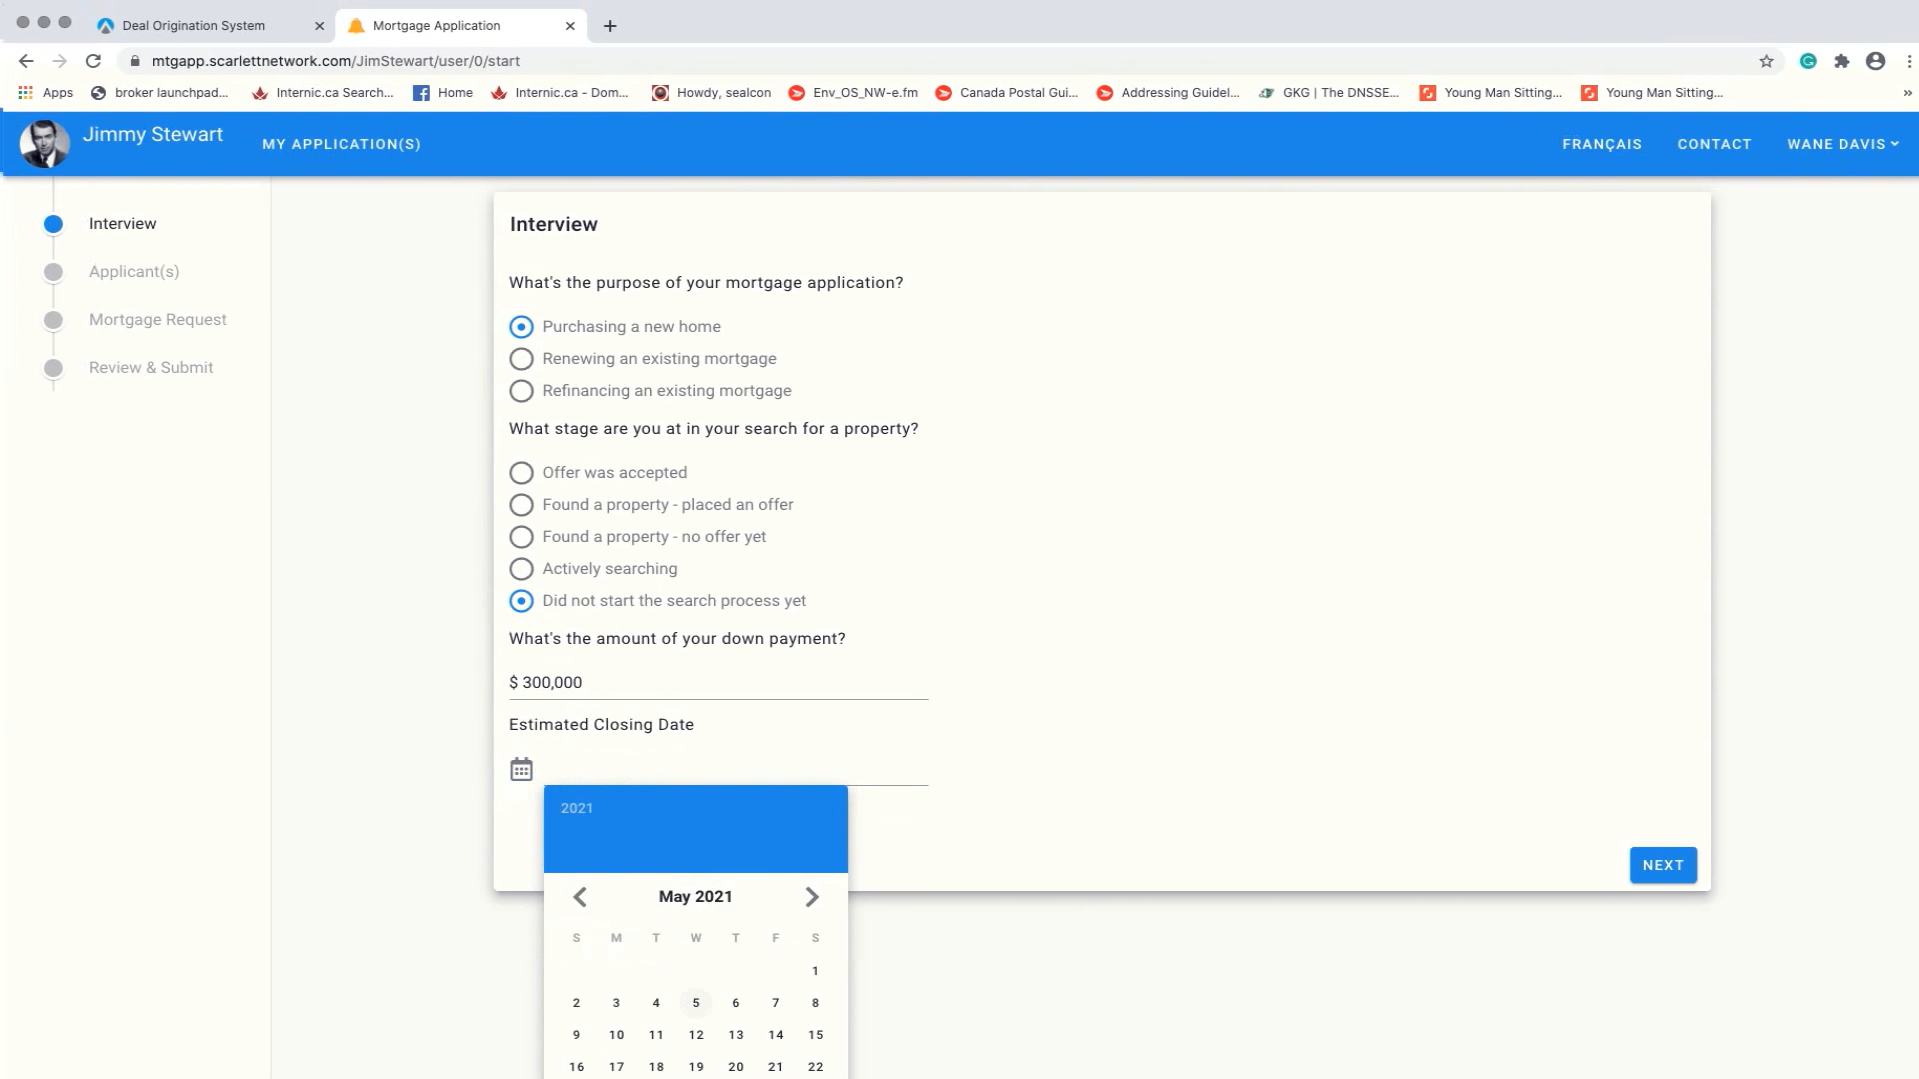
2) Once signed in, they simply click the link to start a new application. They will then be sent to the "Interview" part of the application. They will then be faced with many questions about their mortgage application. This includes "What is the purpose of your mortgage application" and "What stage are you at in your search for a property?".
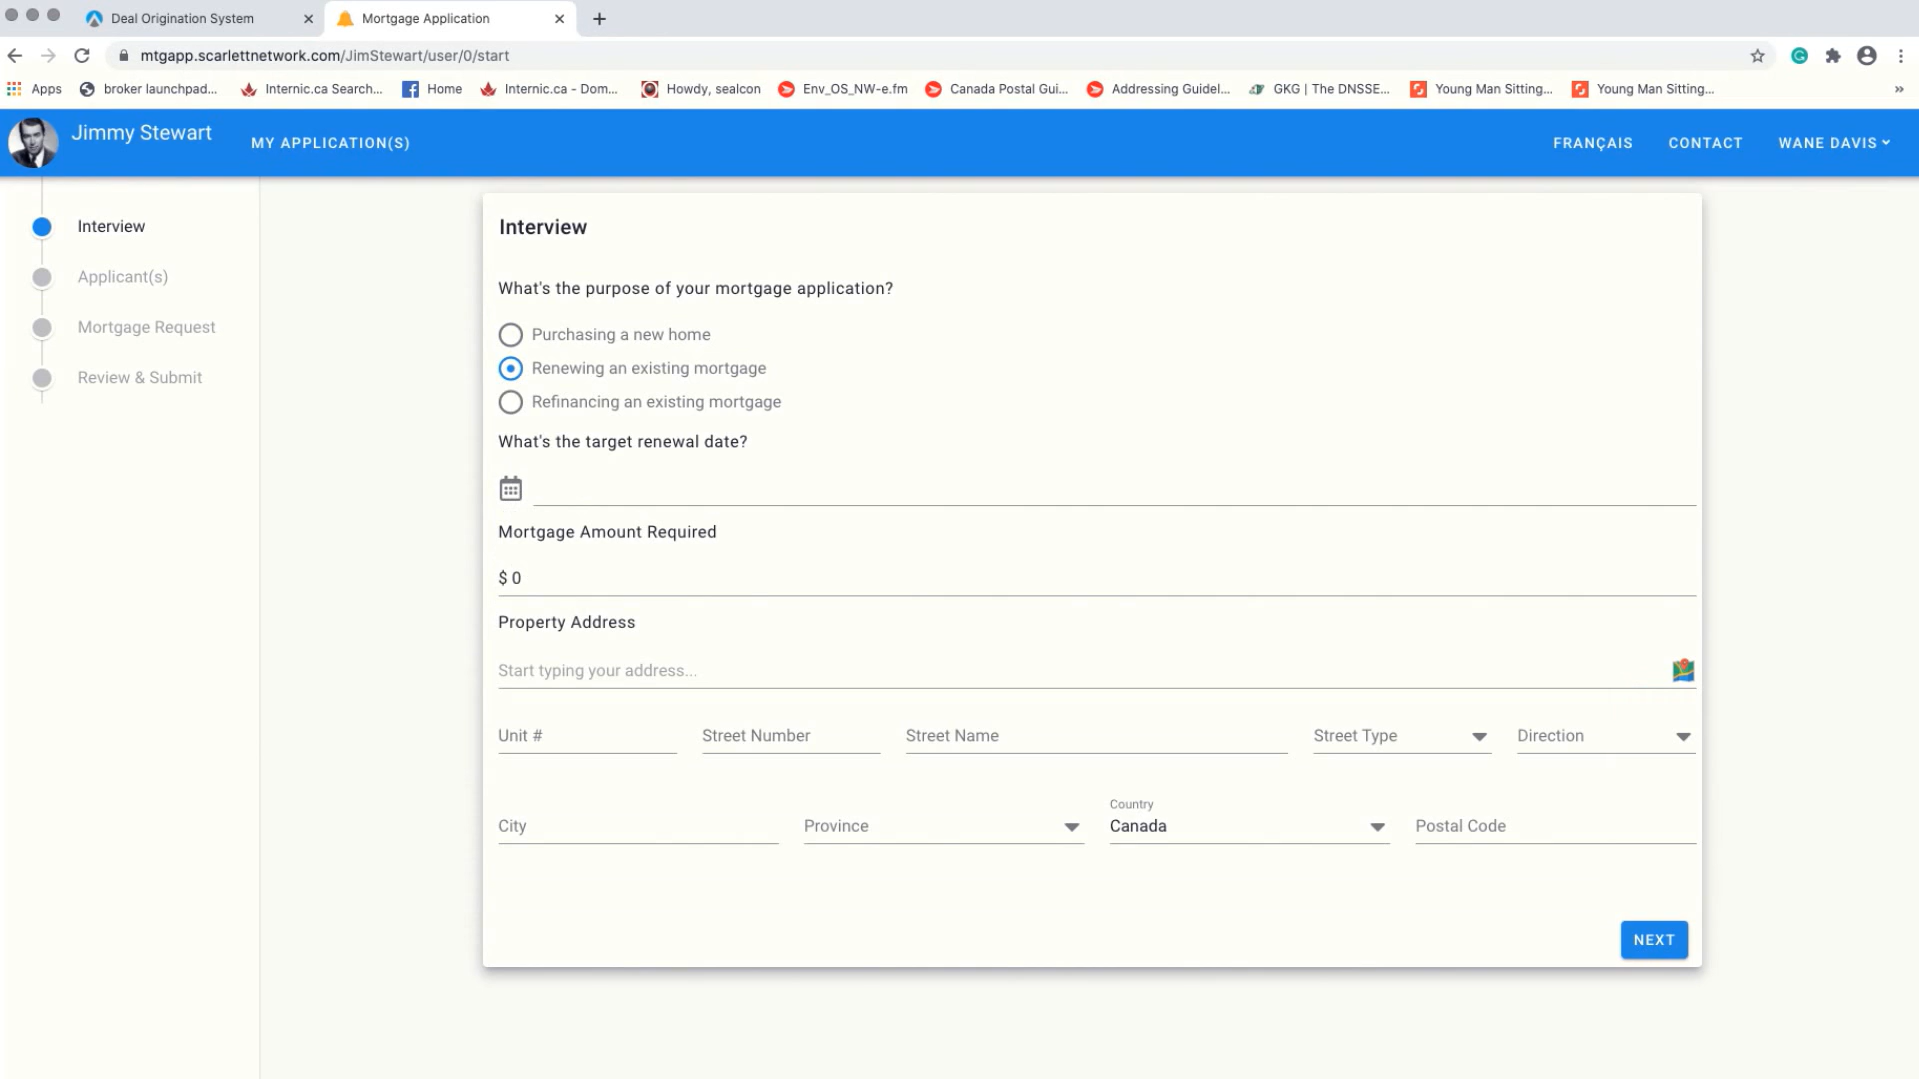
Selecting different options in the beginning questions lead to different follow-up questions. For example, here is the follow up question you get when you select "Renewing an existing mortgage".
3) Let's do a pre-approval where the client has not begun the shopping process. First thing they do is select their down payment, then select an estimating closing date.
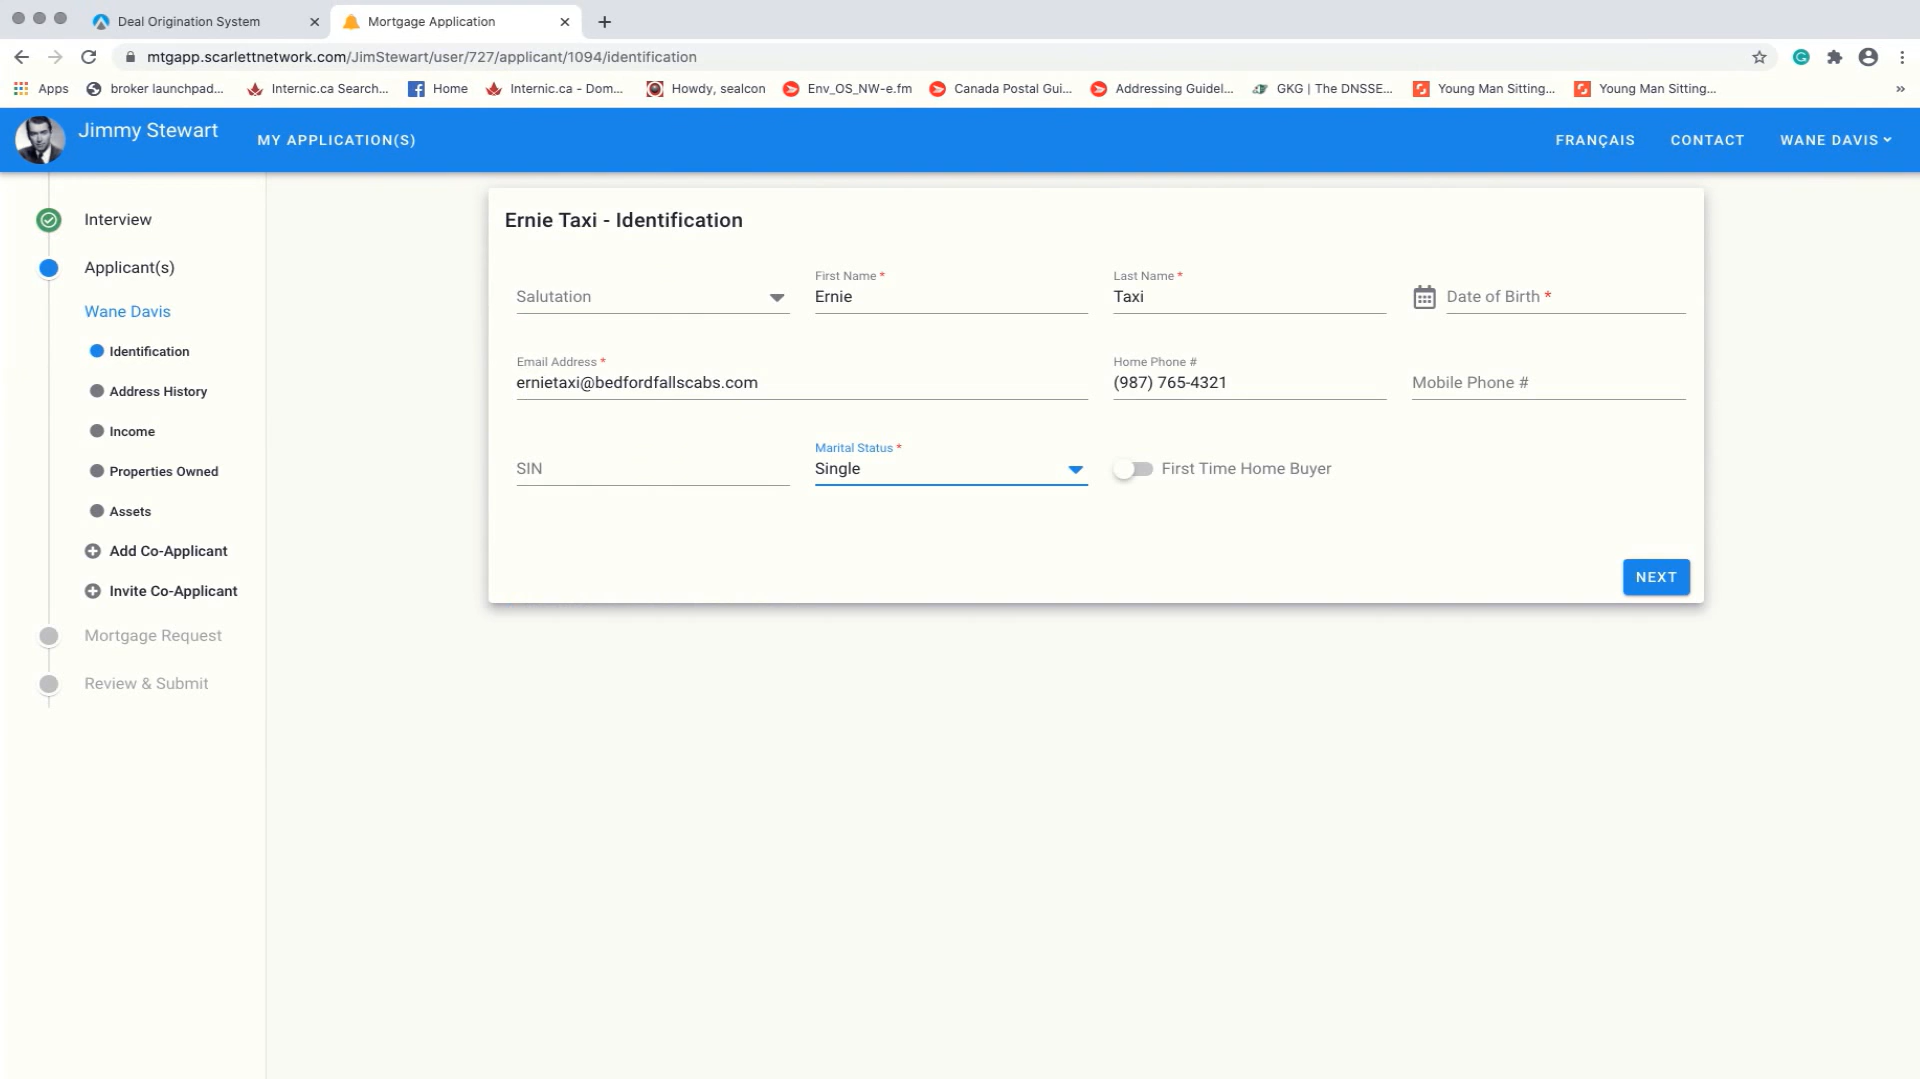
4) Now that we have captured the reason for the mortgage application, were going to go into the identification section. Some of the information has been pre-populated from the original sign in process. The fields with the red asterisk must be completed before moving forward.
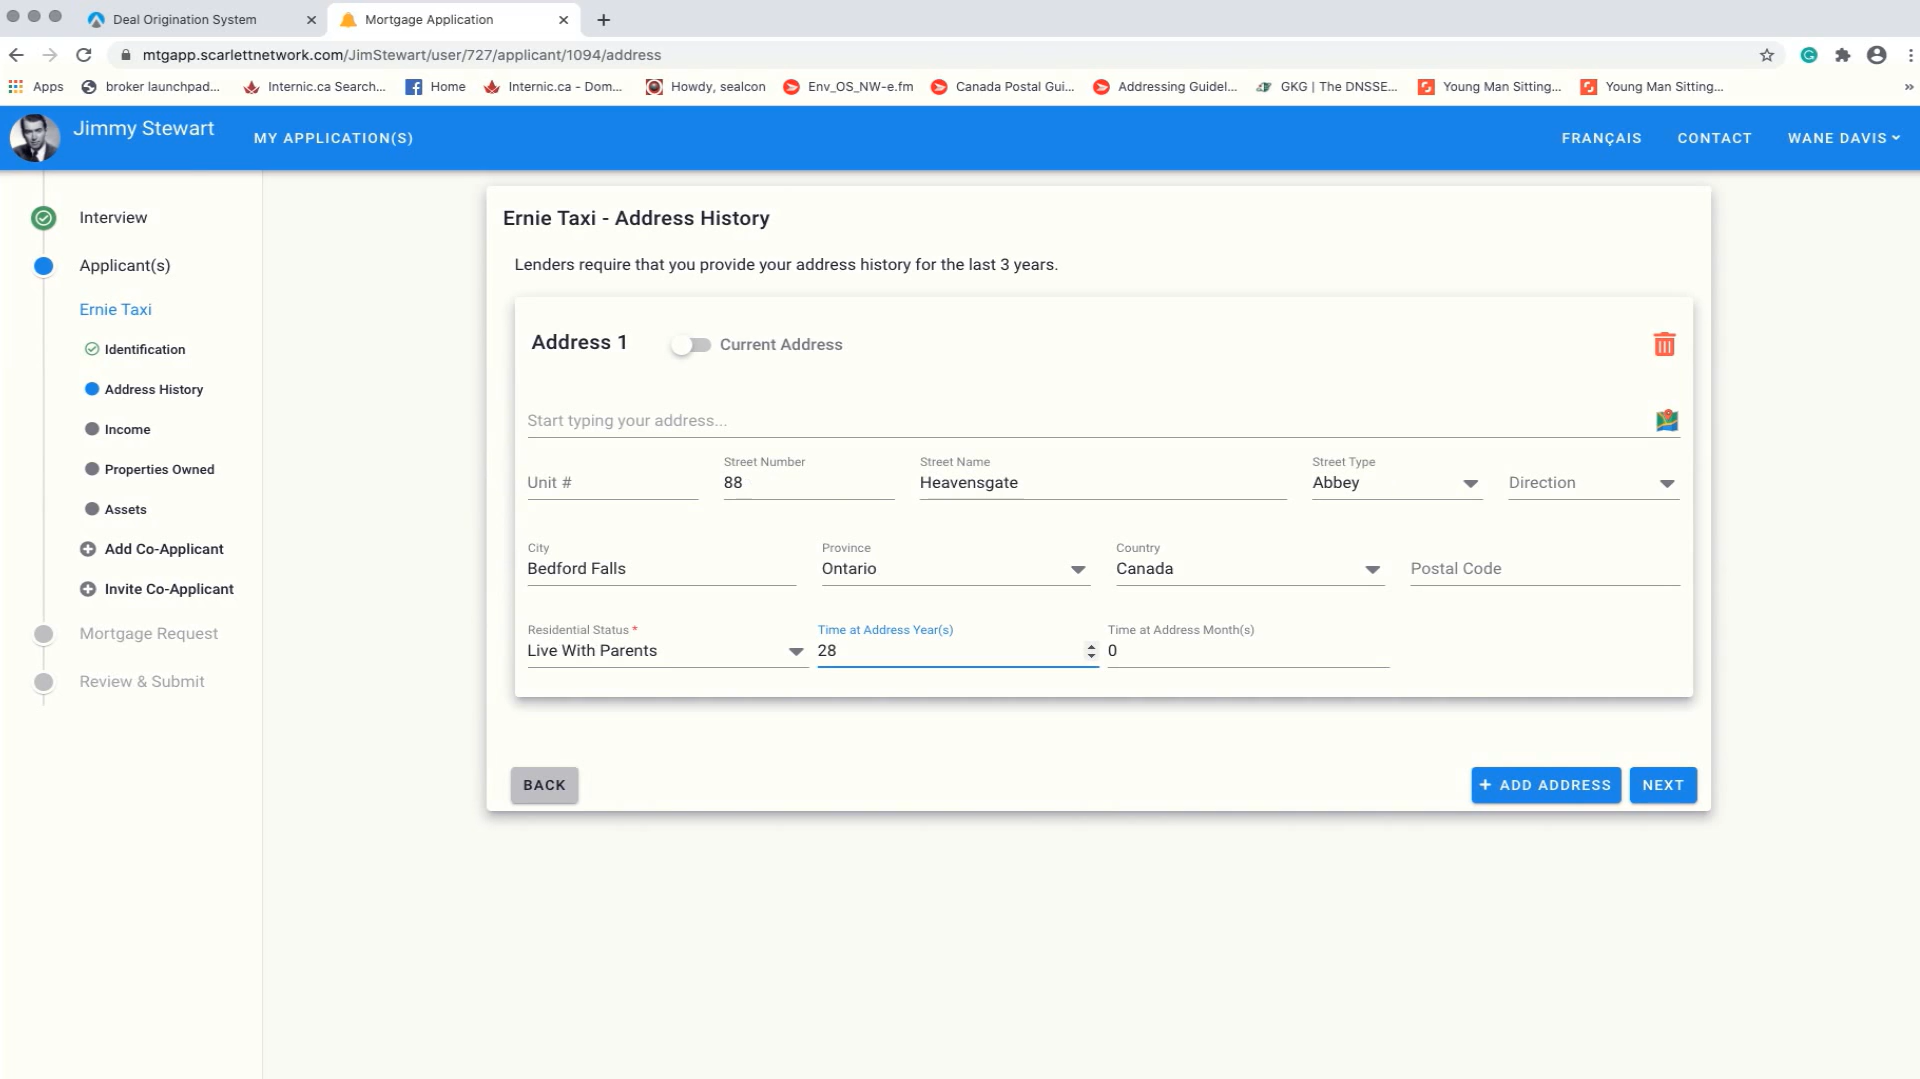
5) Now that identification is complete, we must capture address history. Here we will assume that Ernie has lived in the same address his whole life. If not, he would have to add addresses until he filled out that requirement. It is also required that you add indicate your current address.
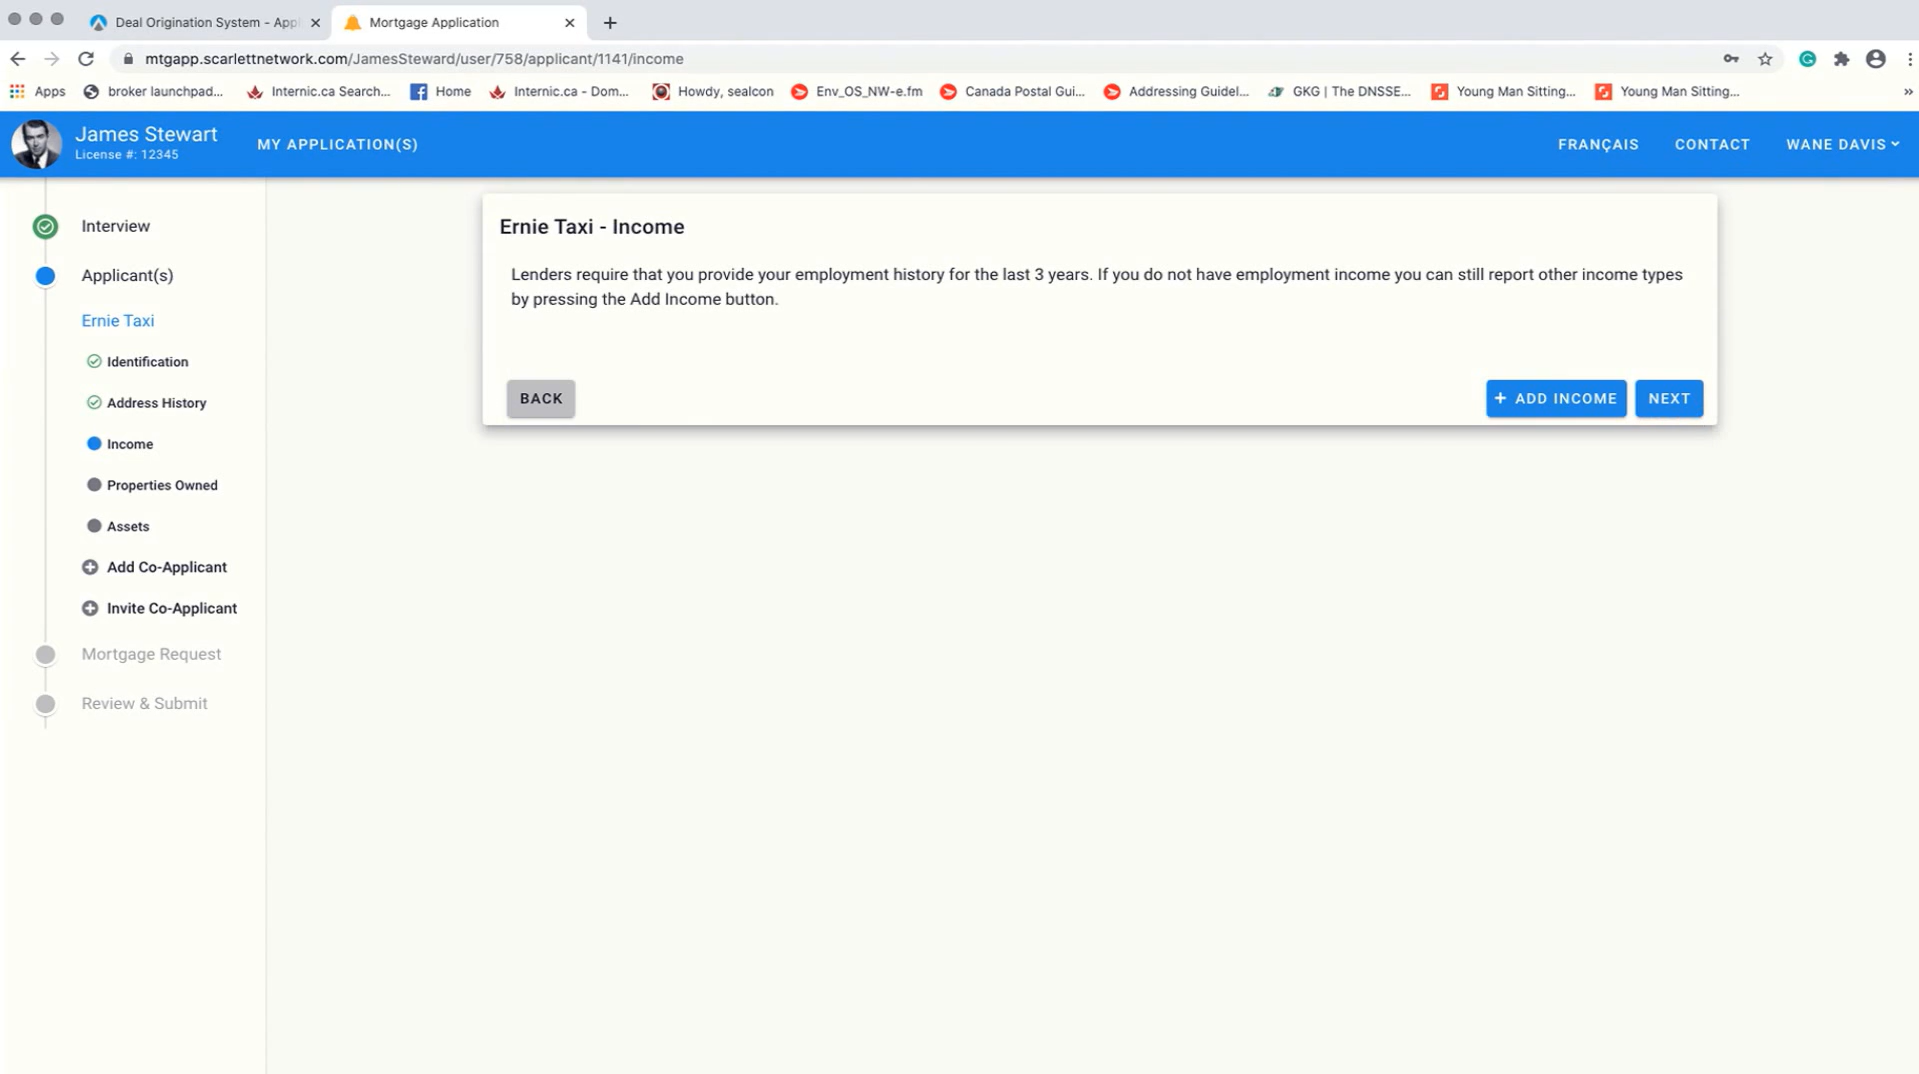
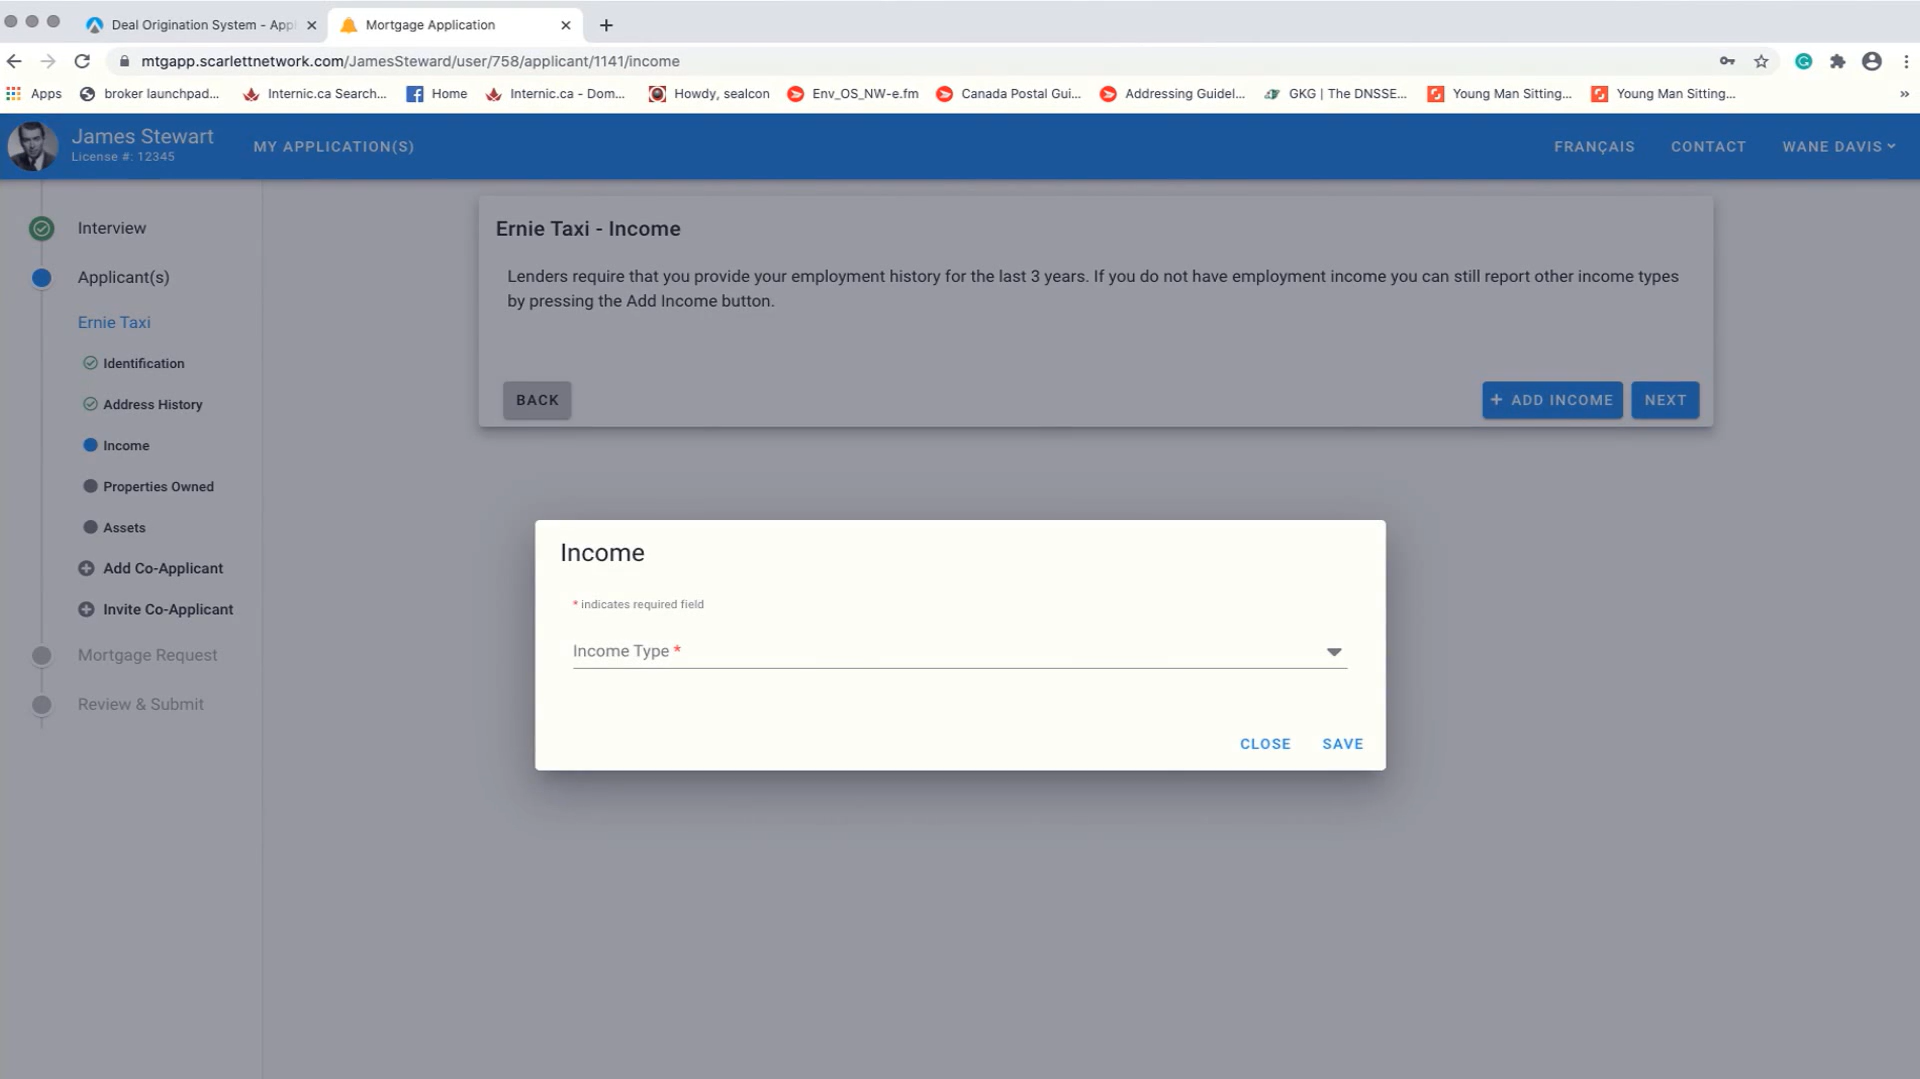
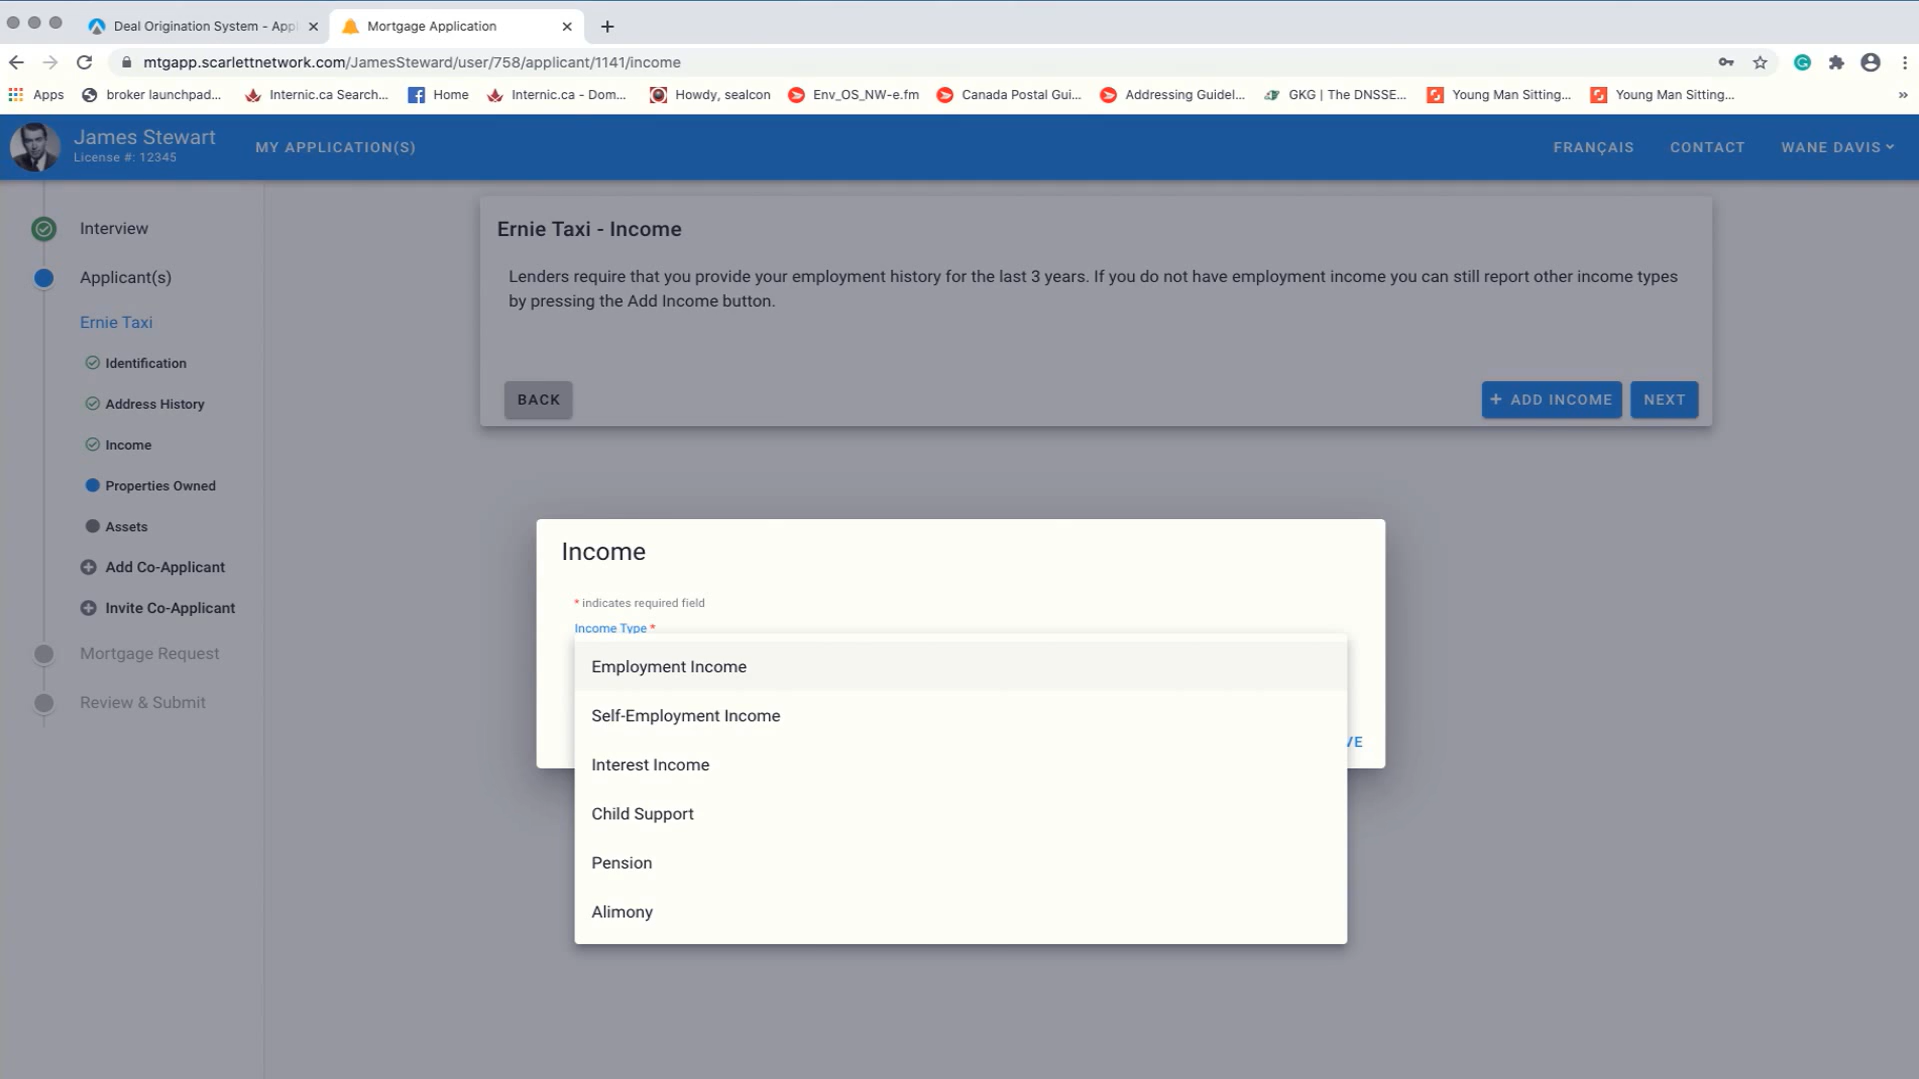
6) Next, we move on to income. To add income, simply press the "Add Income" button. This will open a pop-up where you can select the type of income you are earning from a dropdown box.
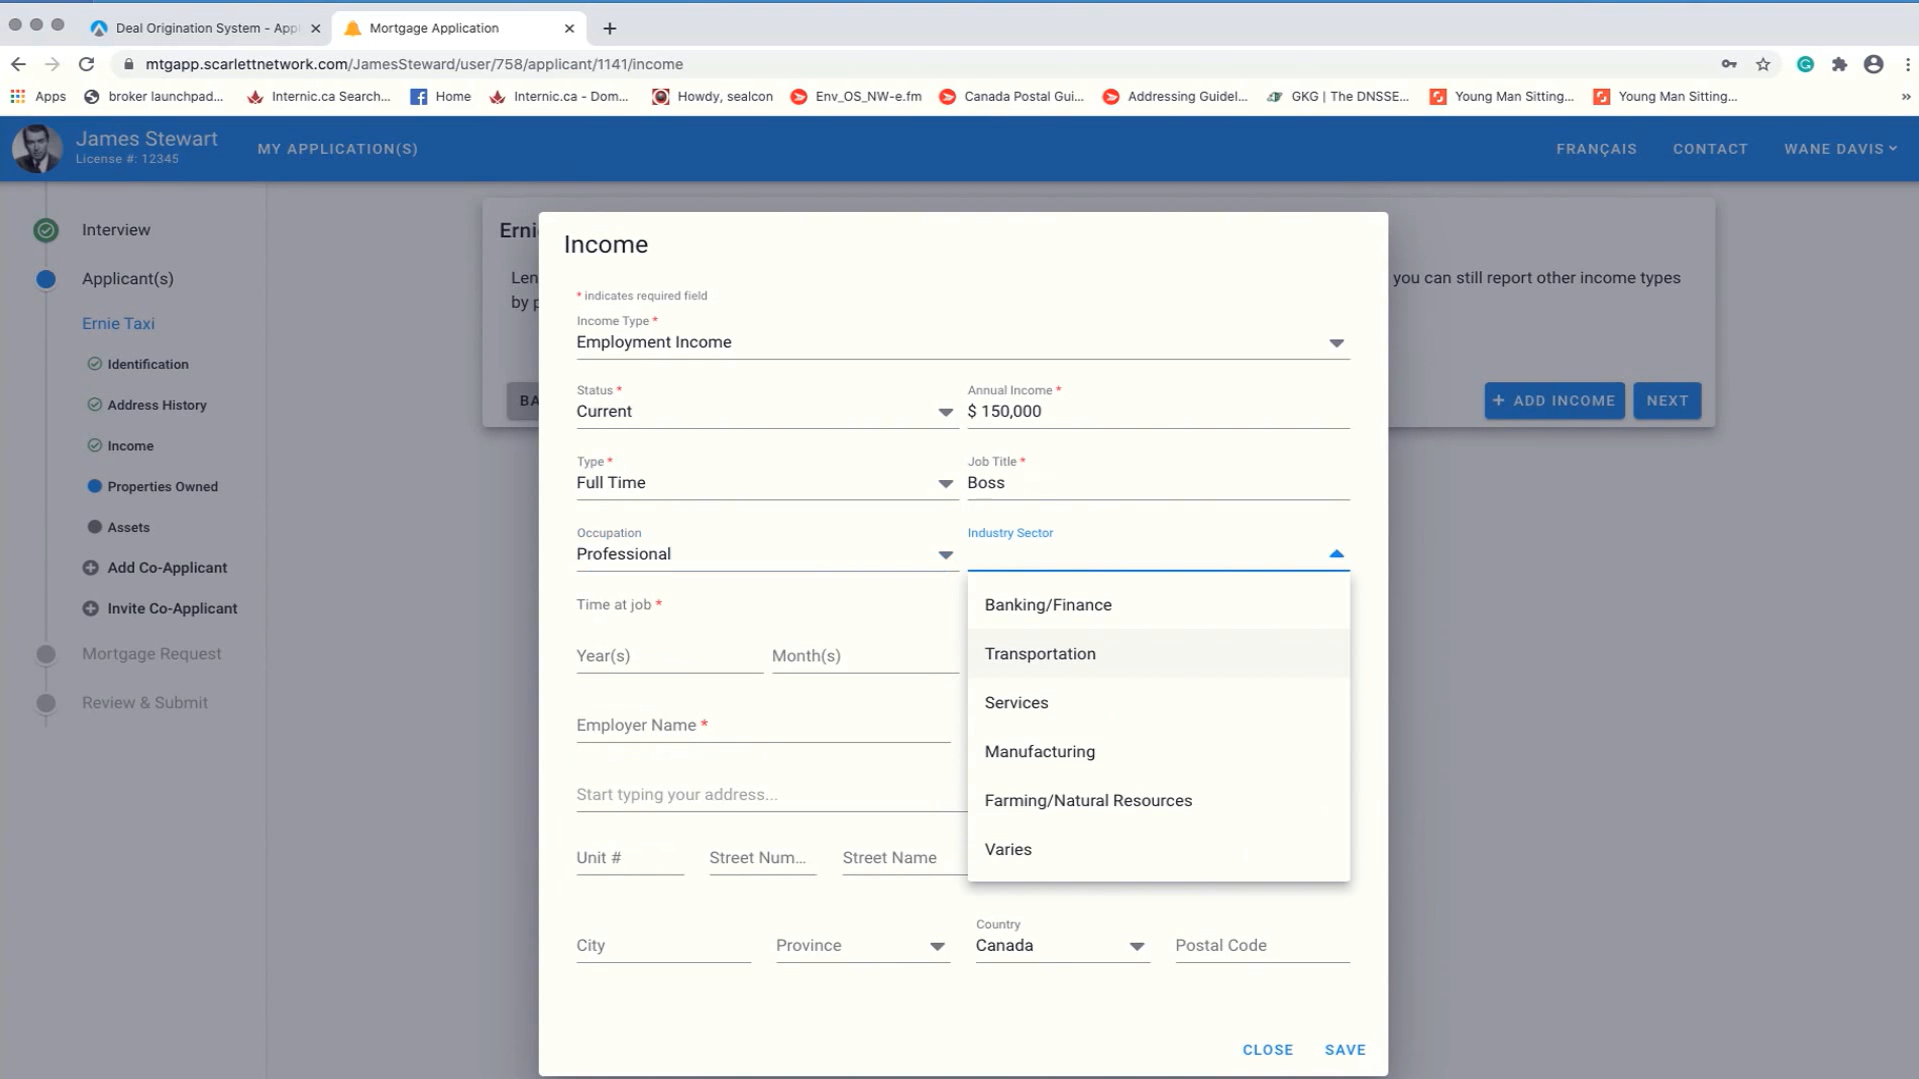
7) We will select Employment Income. This opens a new income dialog box with fields that have to be filled out by the applicant.
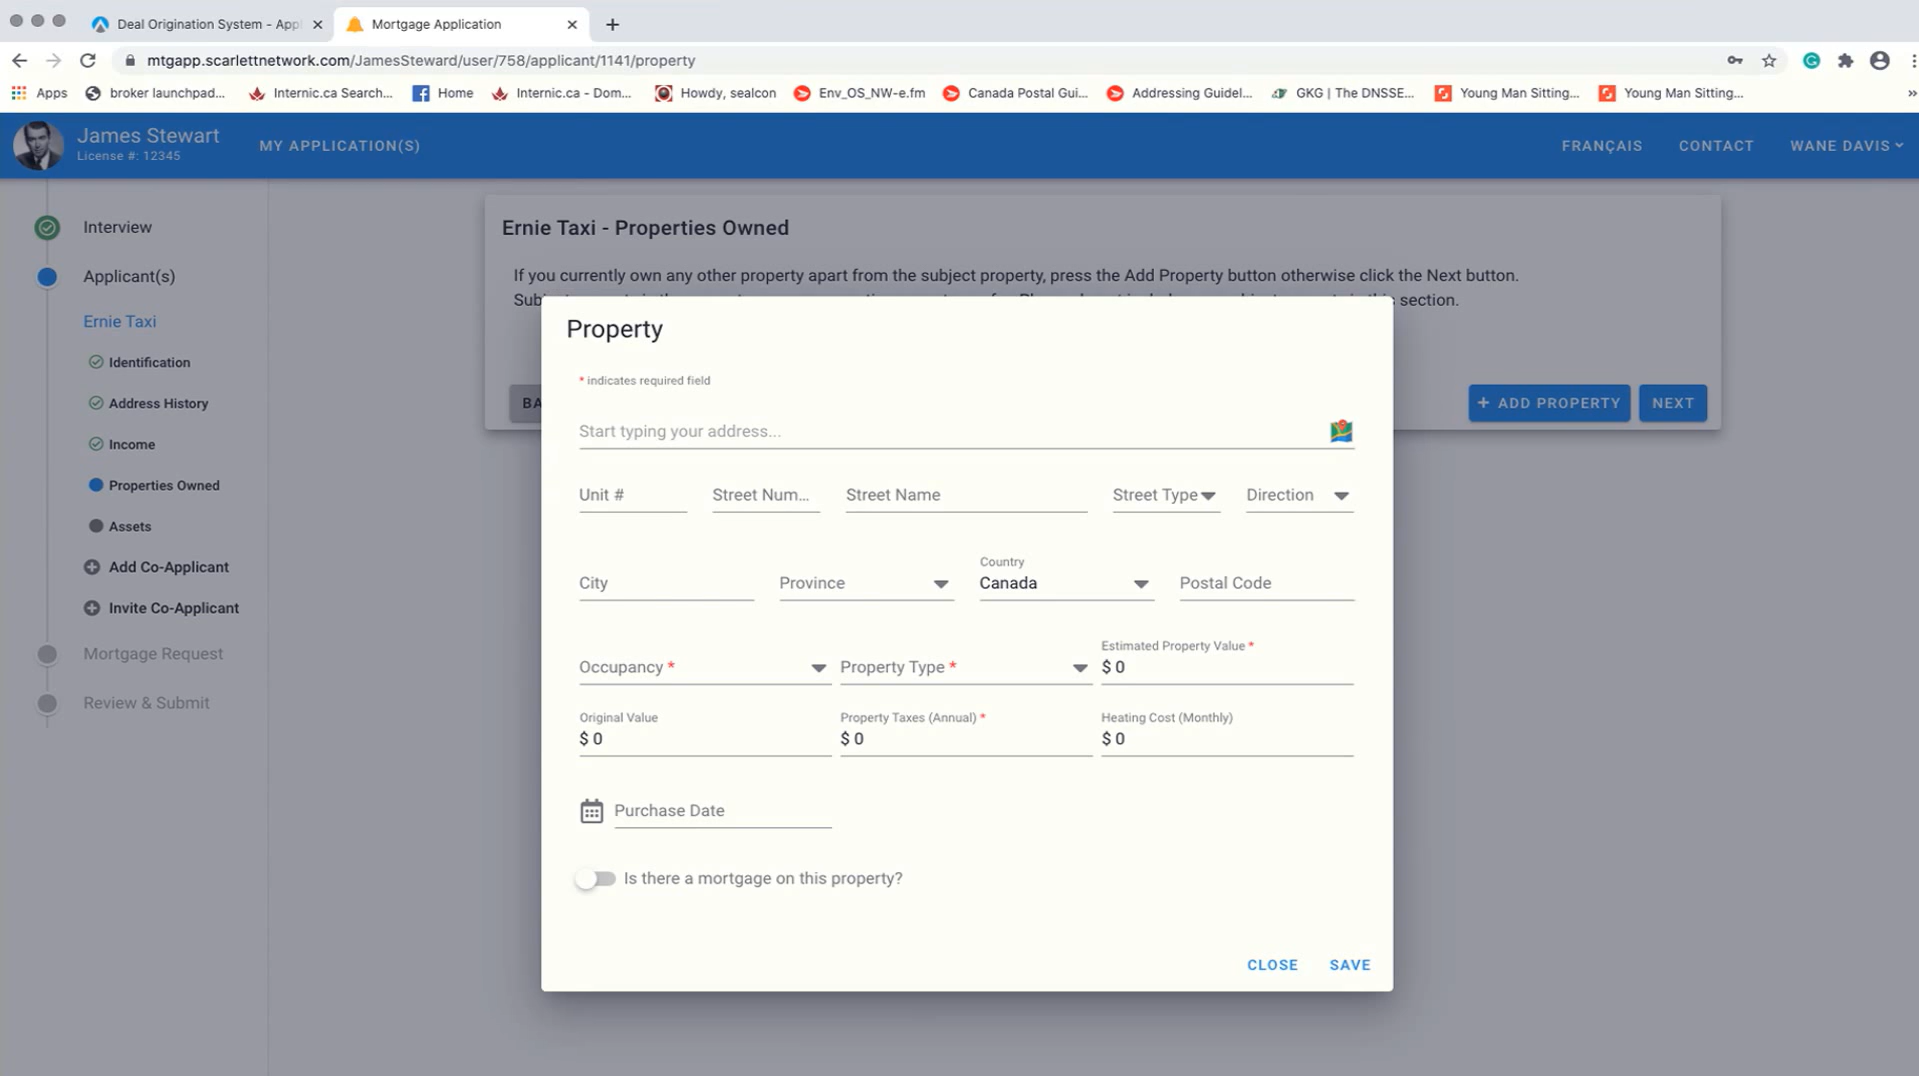
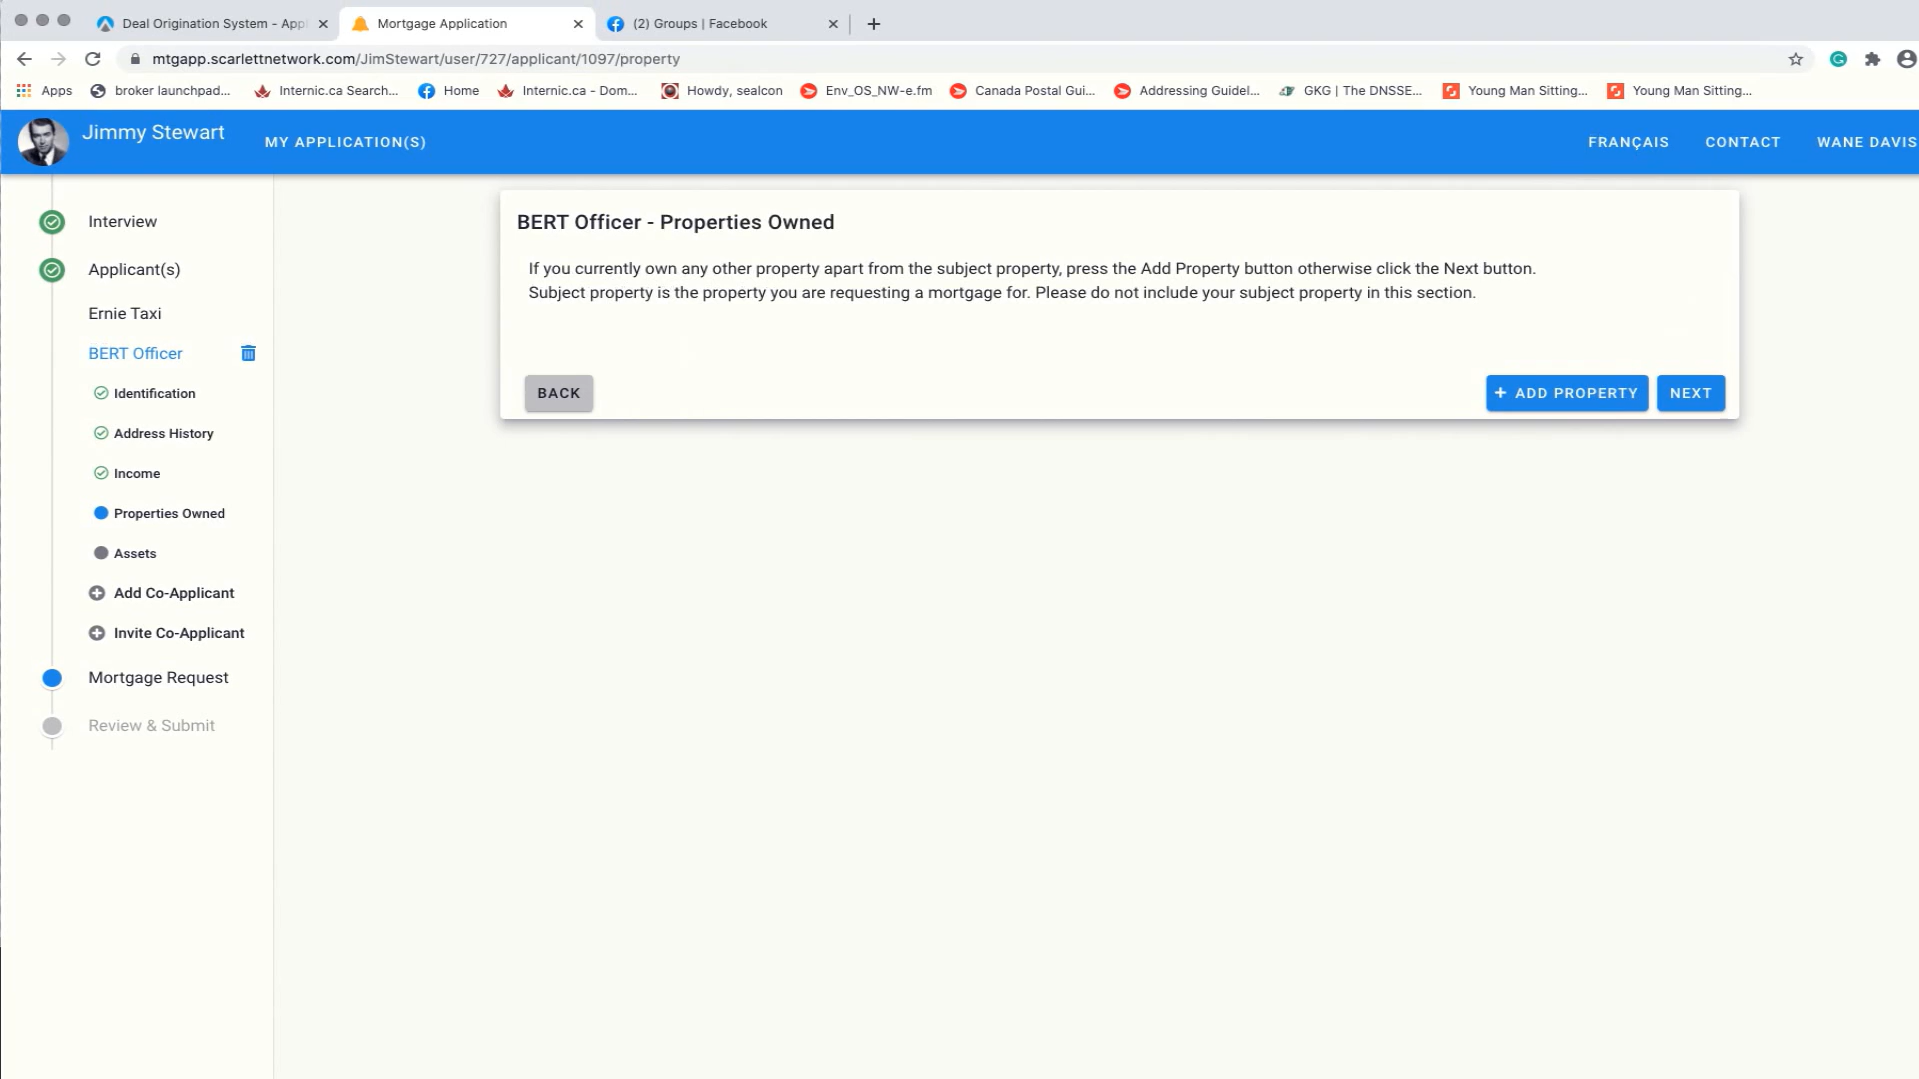
8) Clicking "Next" opens the property section, where the client can add any additional properties, they may own besides the property they are currently applying for.
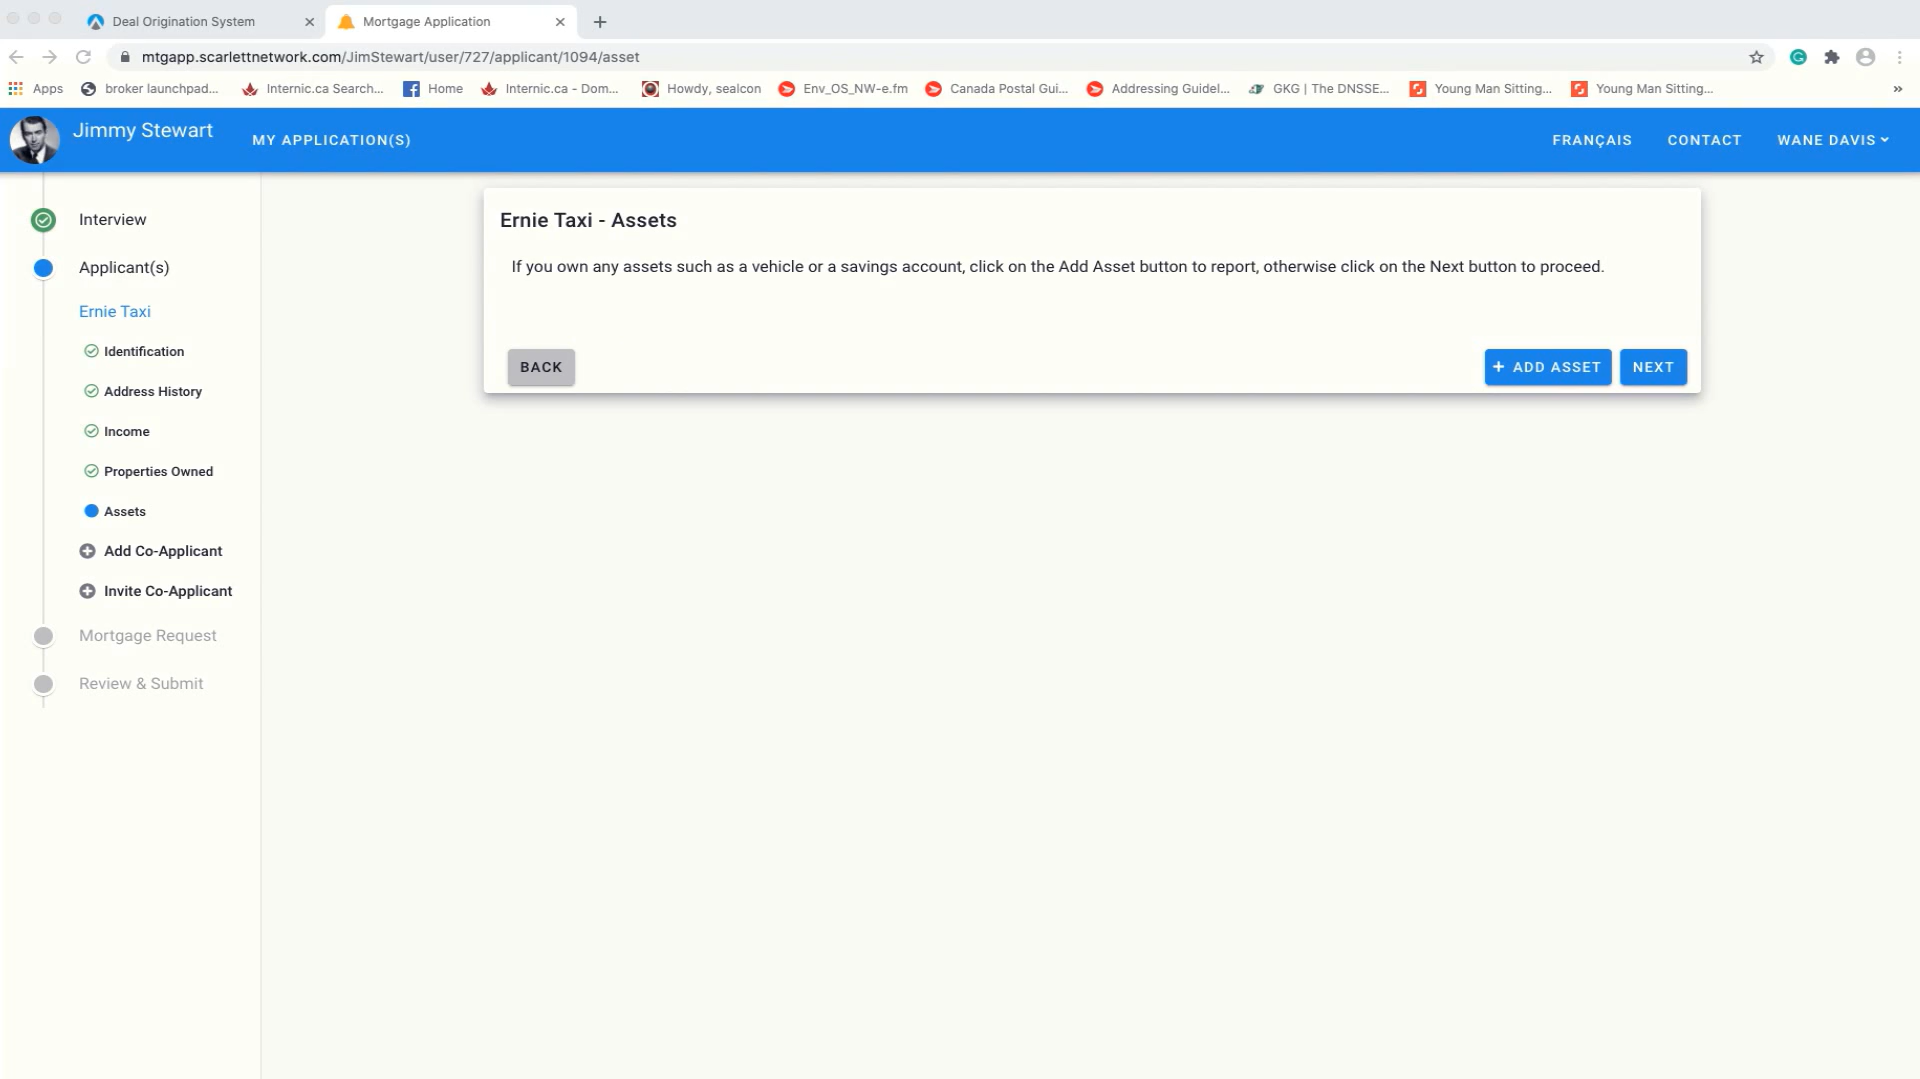
9) In this next section, we will collect Ernie's asset information
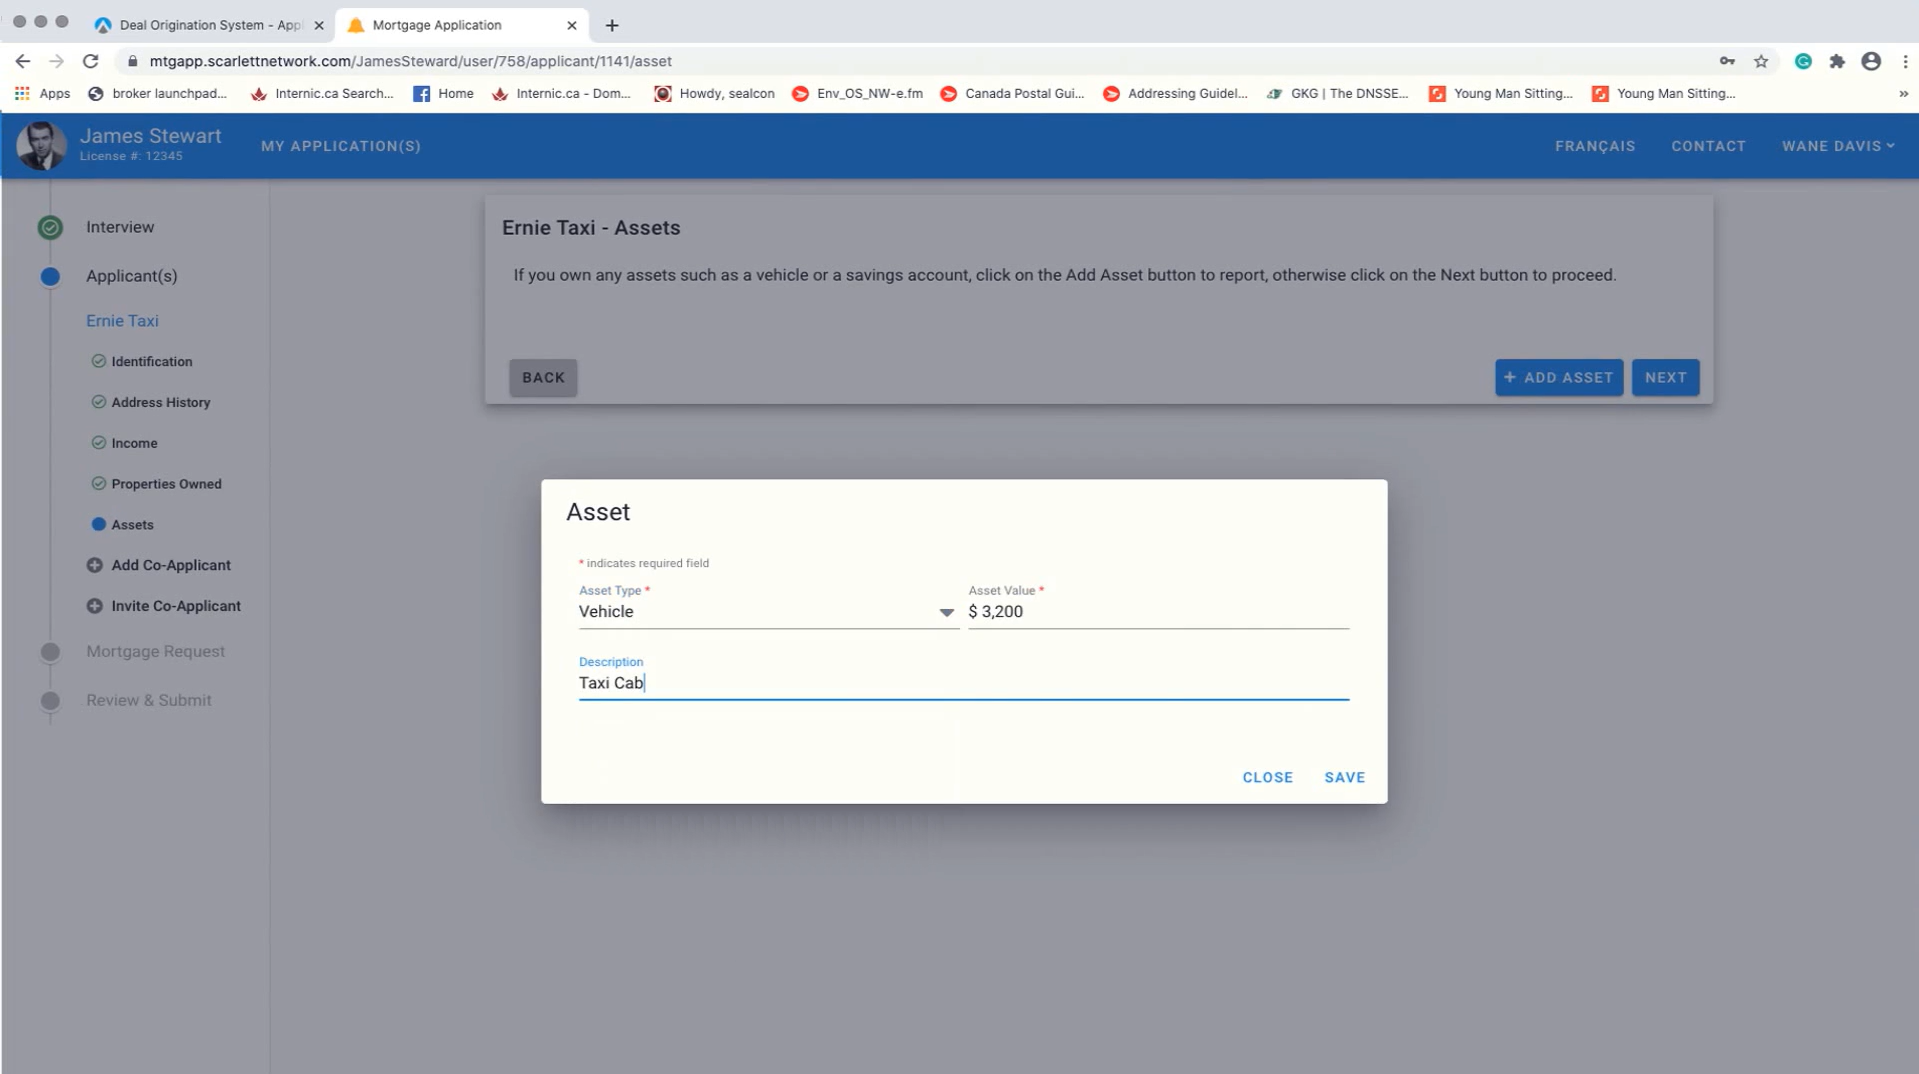
10) For this demonstration, we will add Ernie's vehicle as an asset
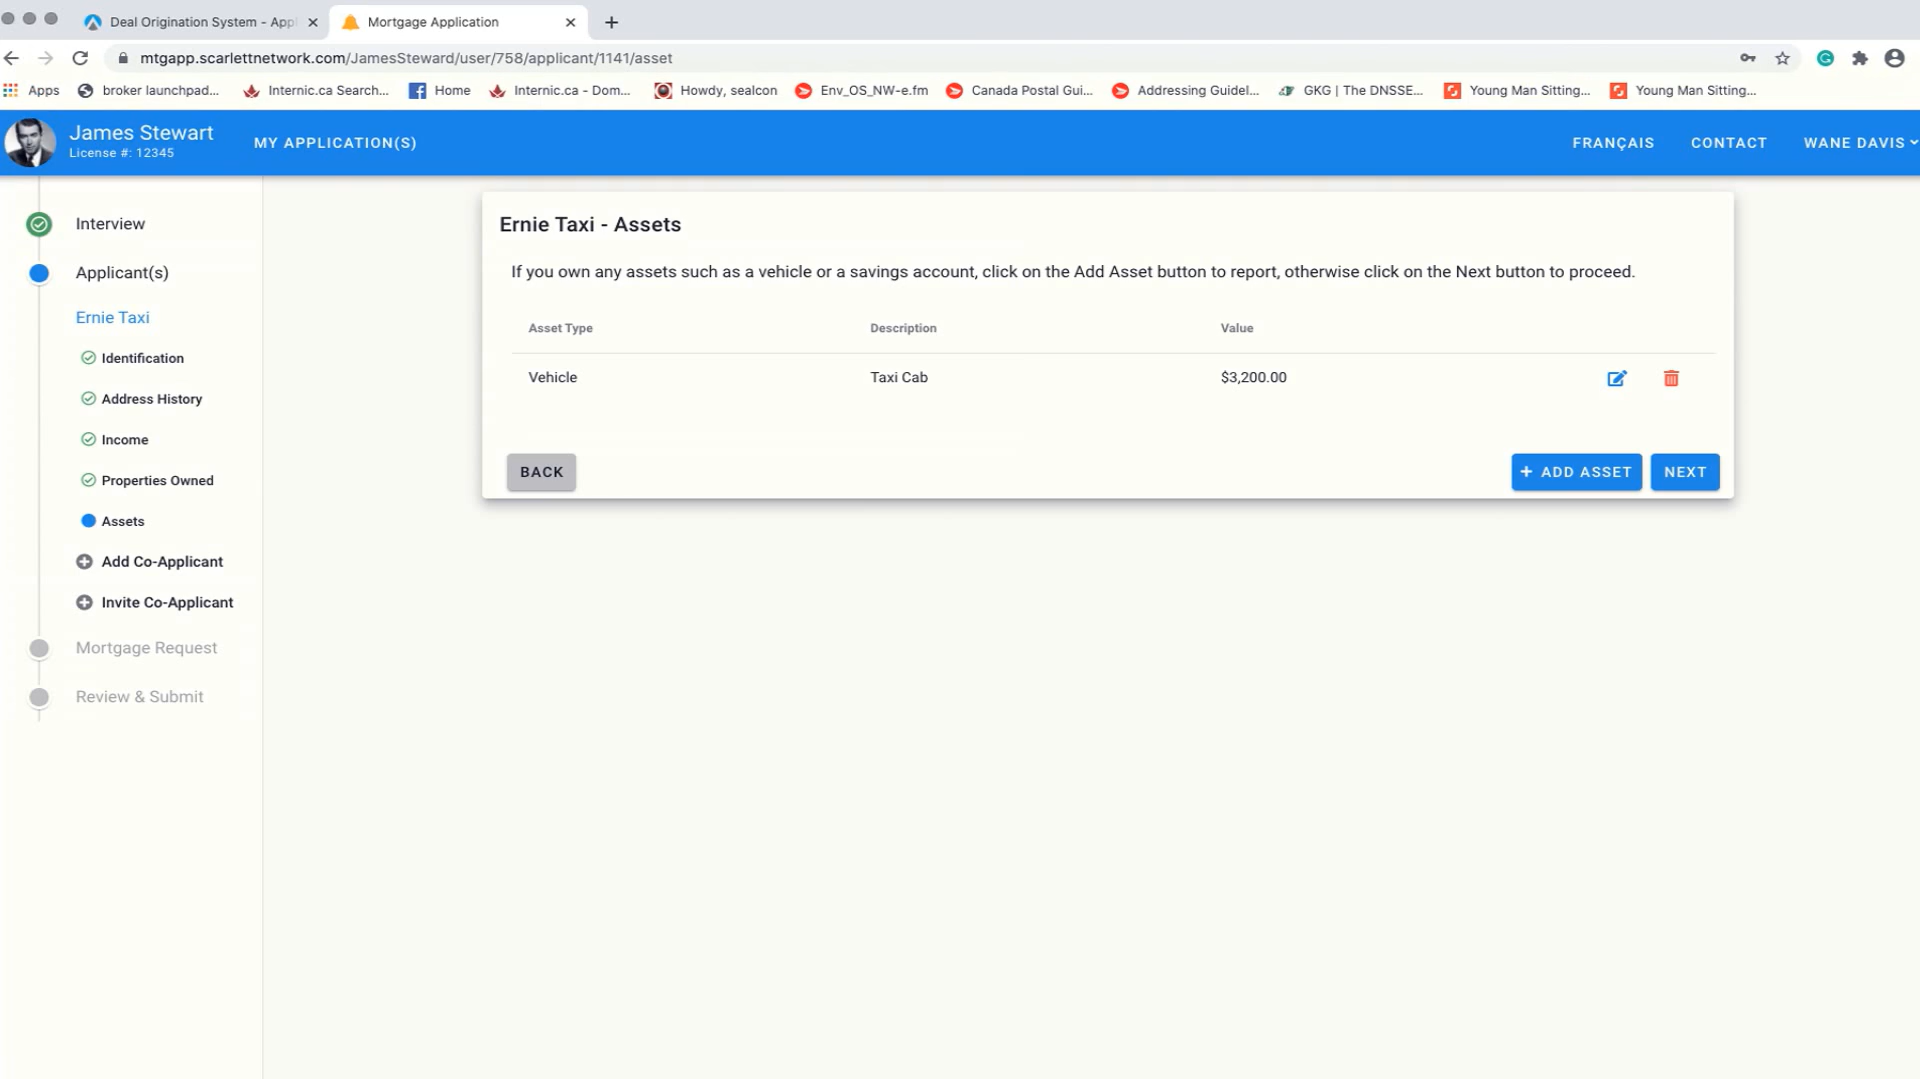
11) Now that this asset is saved, you have the opportunity to add another by clicking "Add Asset". Here we will click "Next".
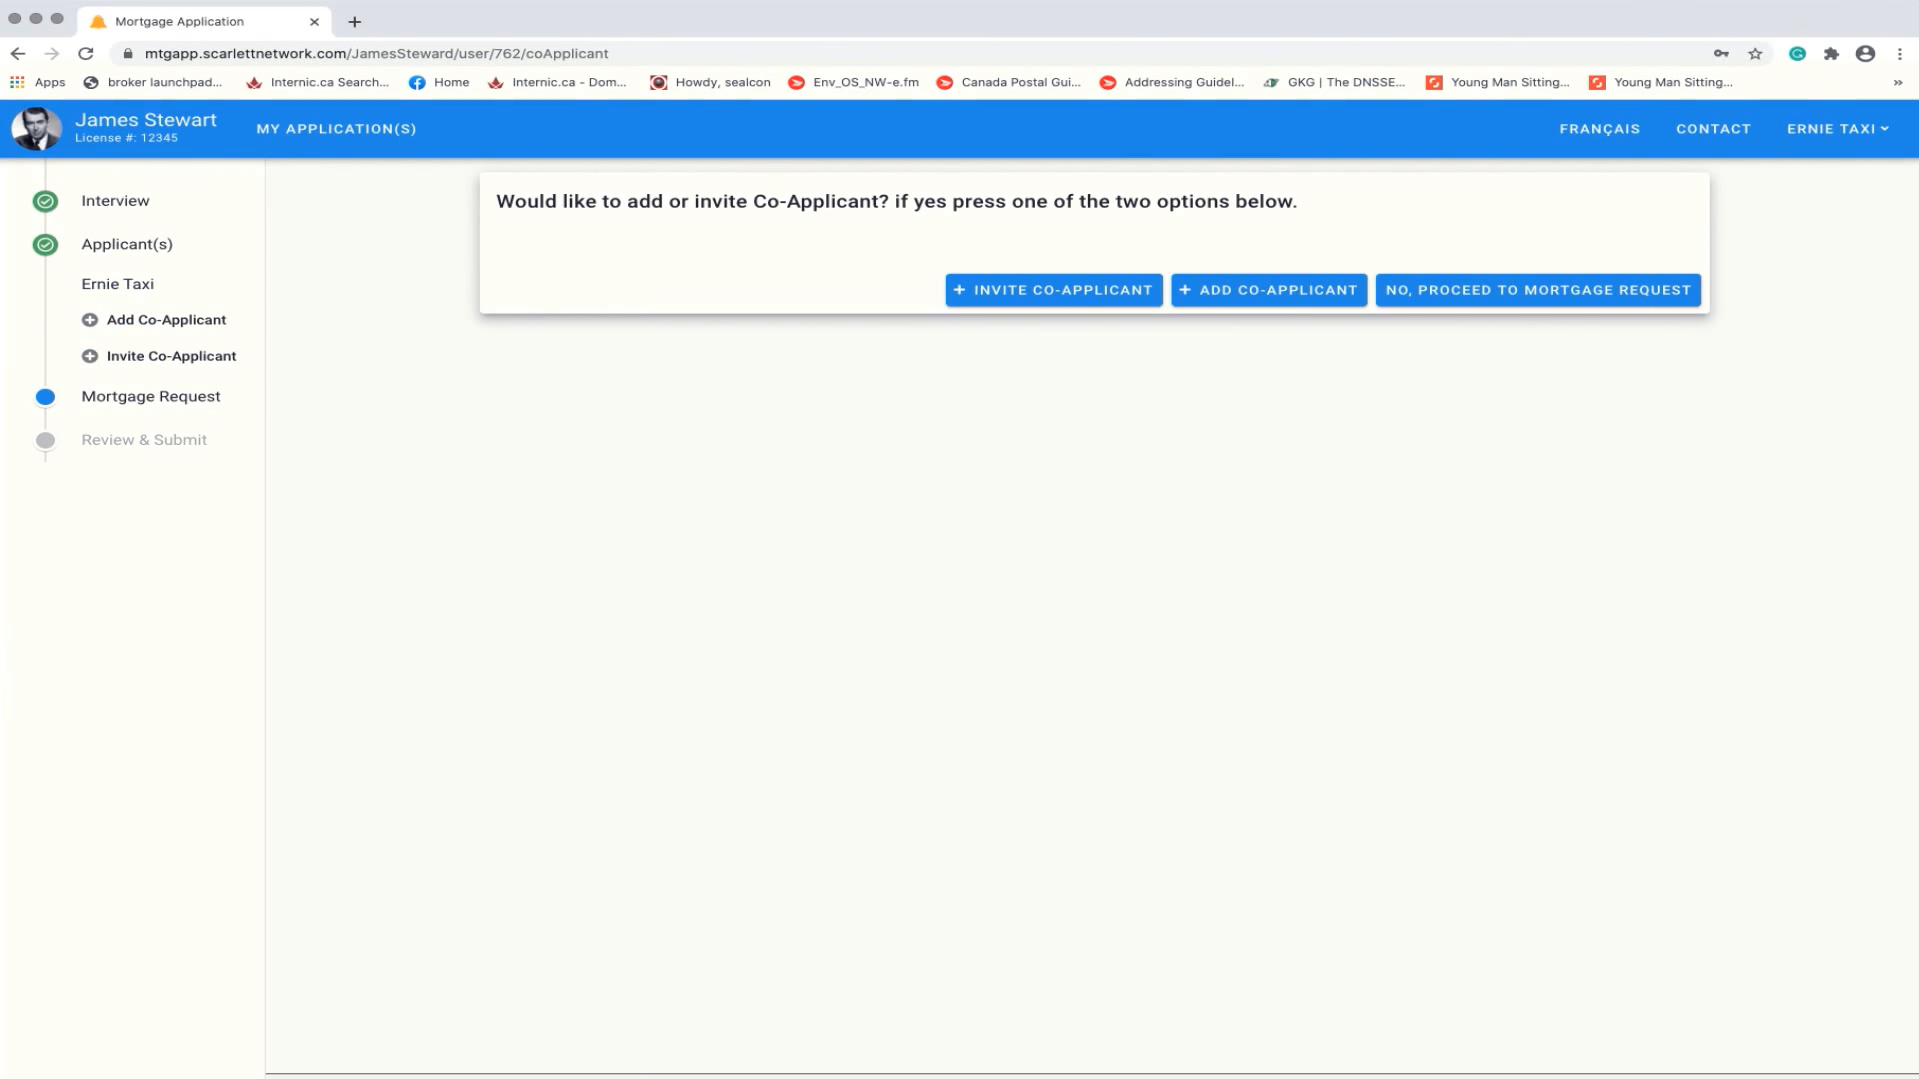
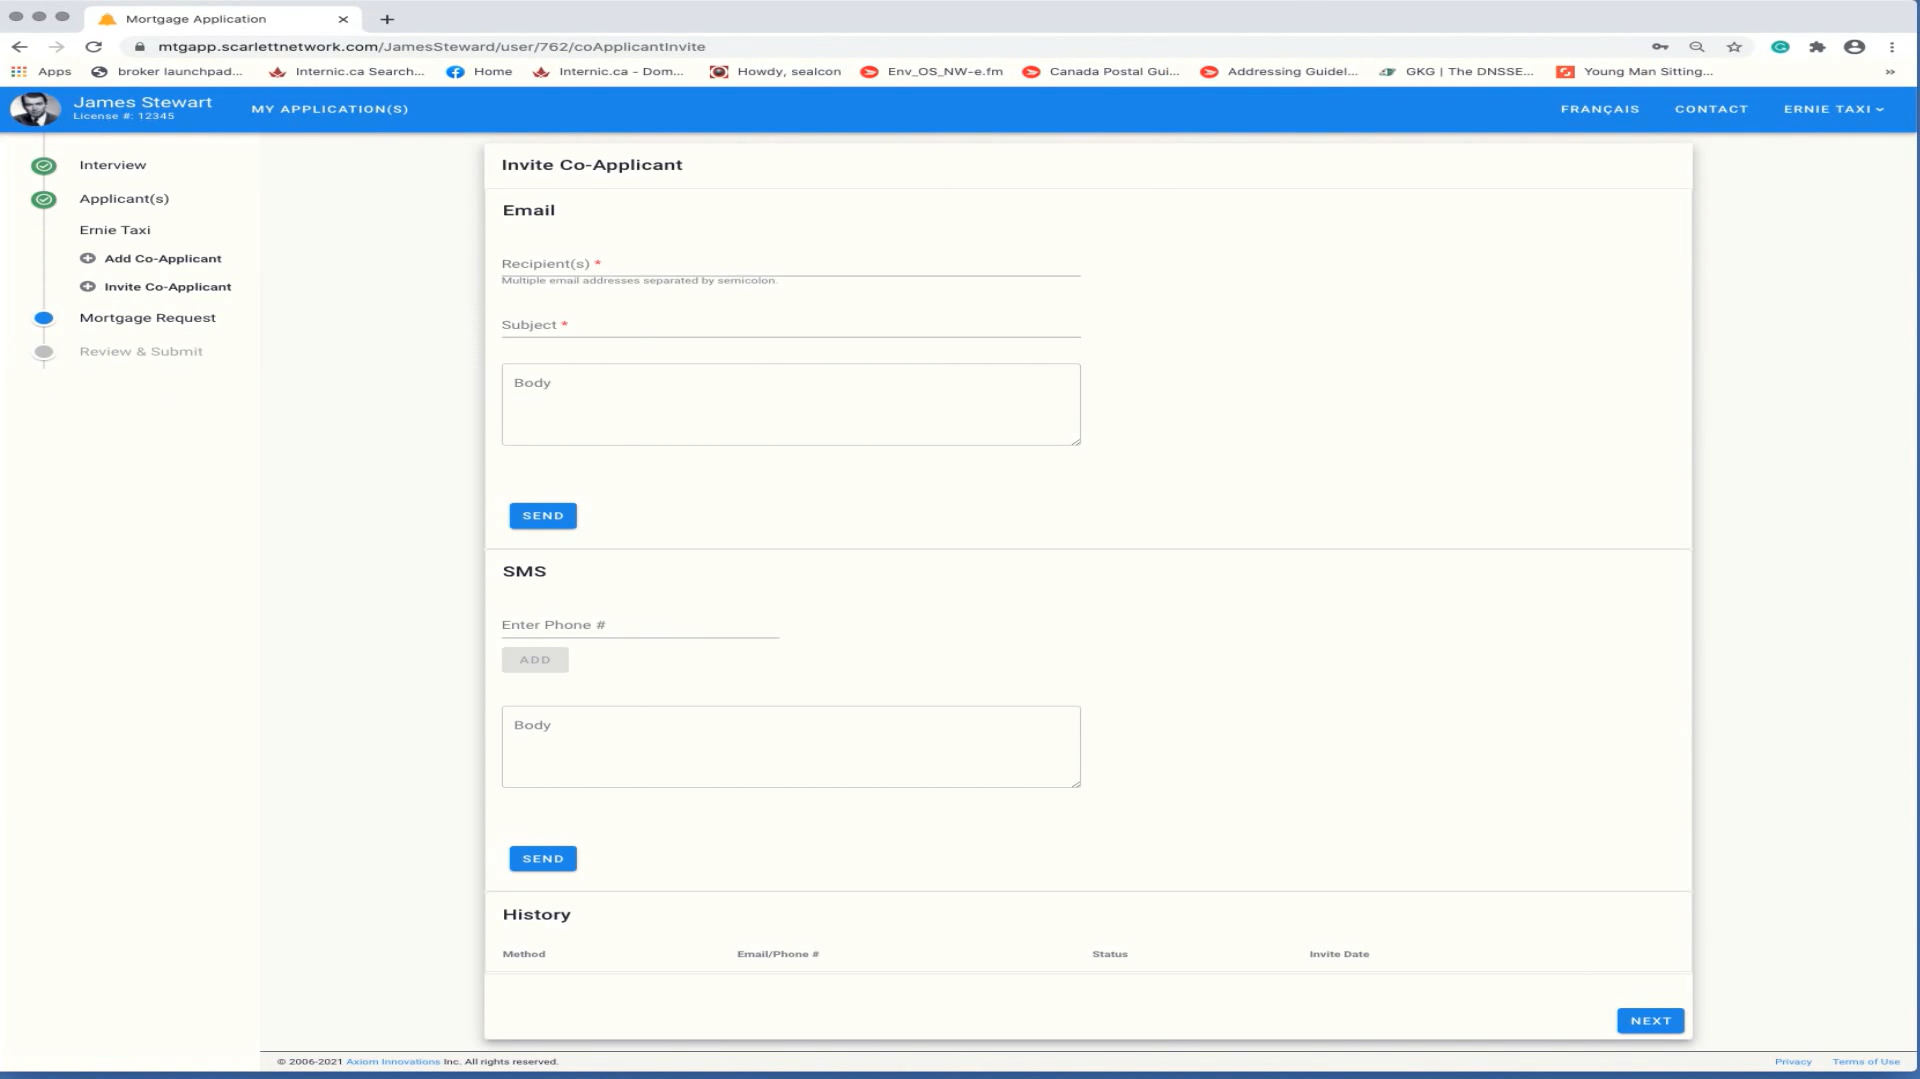
12) This next section allows you to invite a co-applicant, add a co-applicant, or proceed directly to the mortgage request.
13) Here we will click on invite a co-applicant. You can invite co-applicants either by e-mail or by SMS.
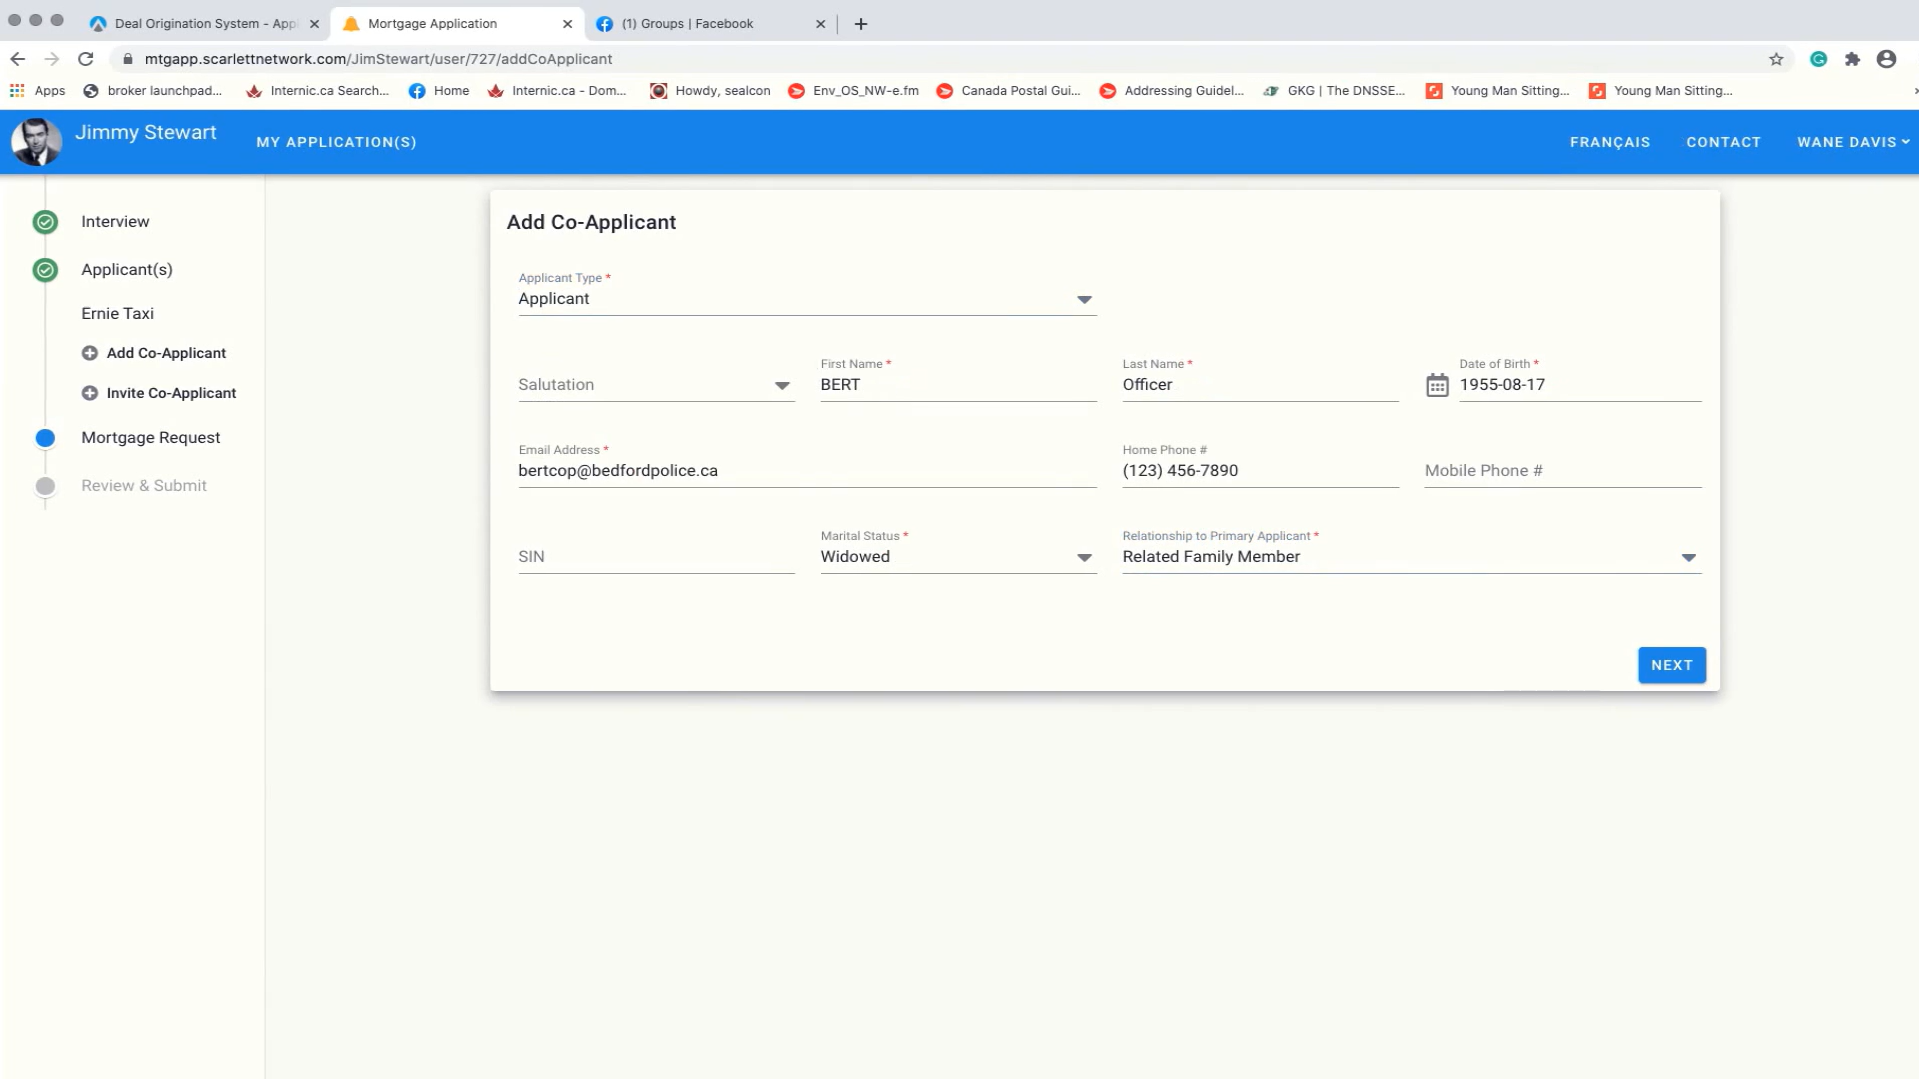
14) For simplicity of this application, lets add a co-applicant. In the co-applicant section, we collect Personal Information
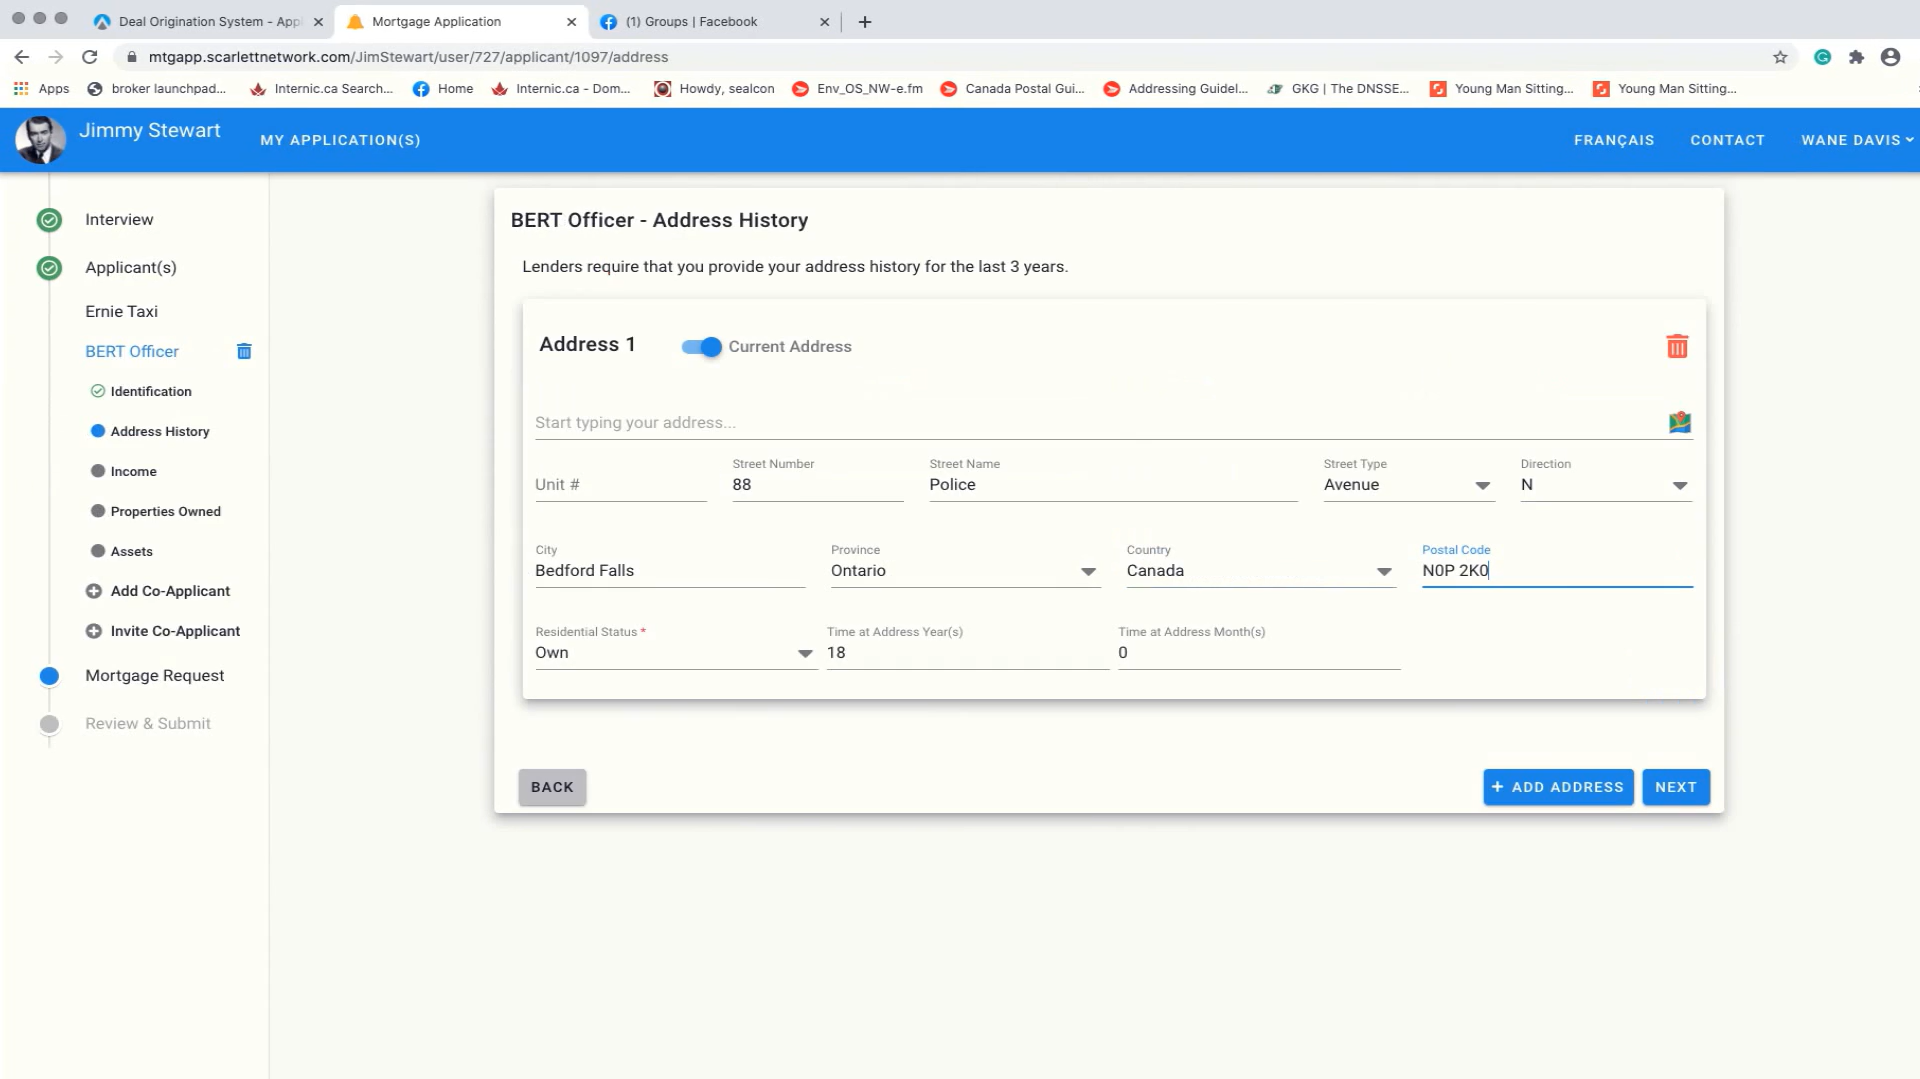
Address History
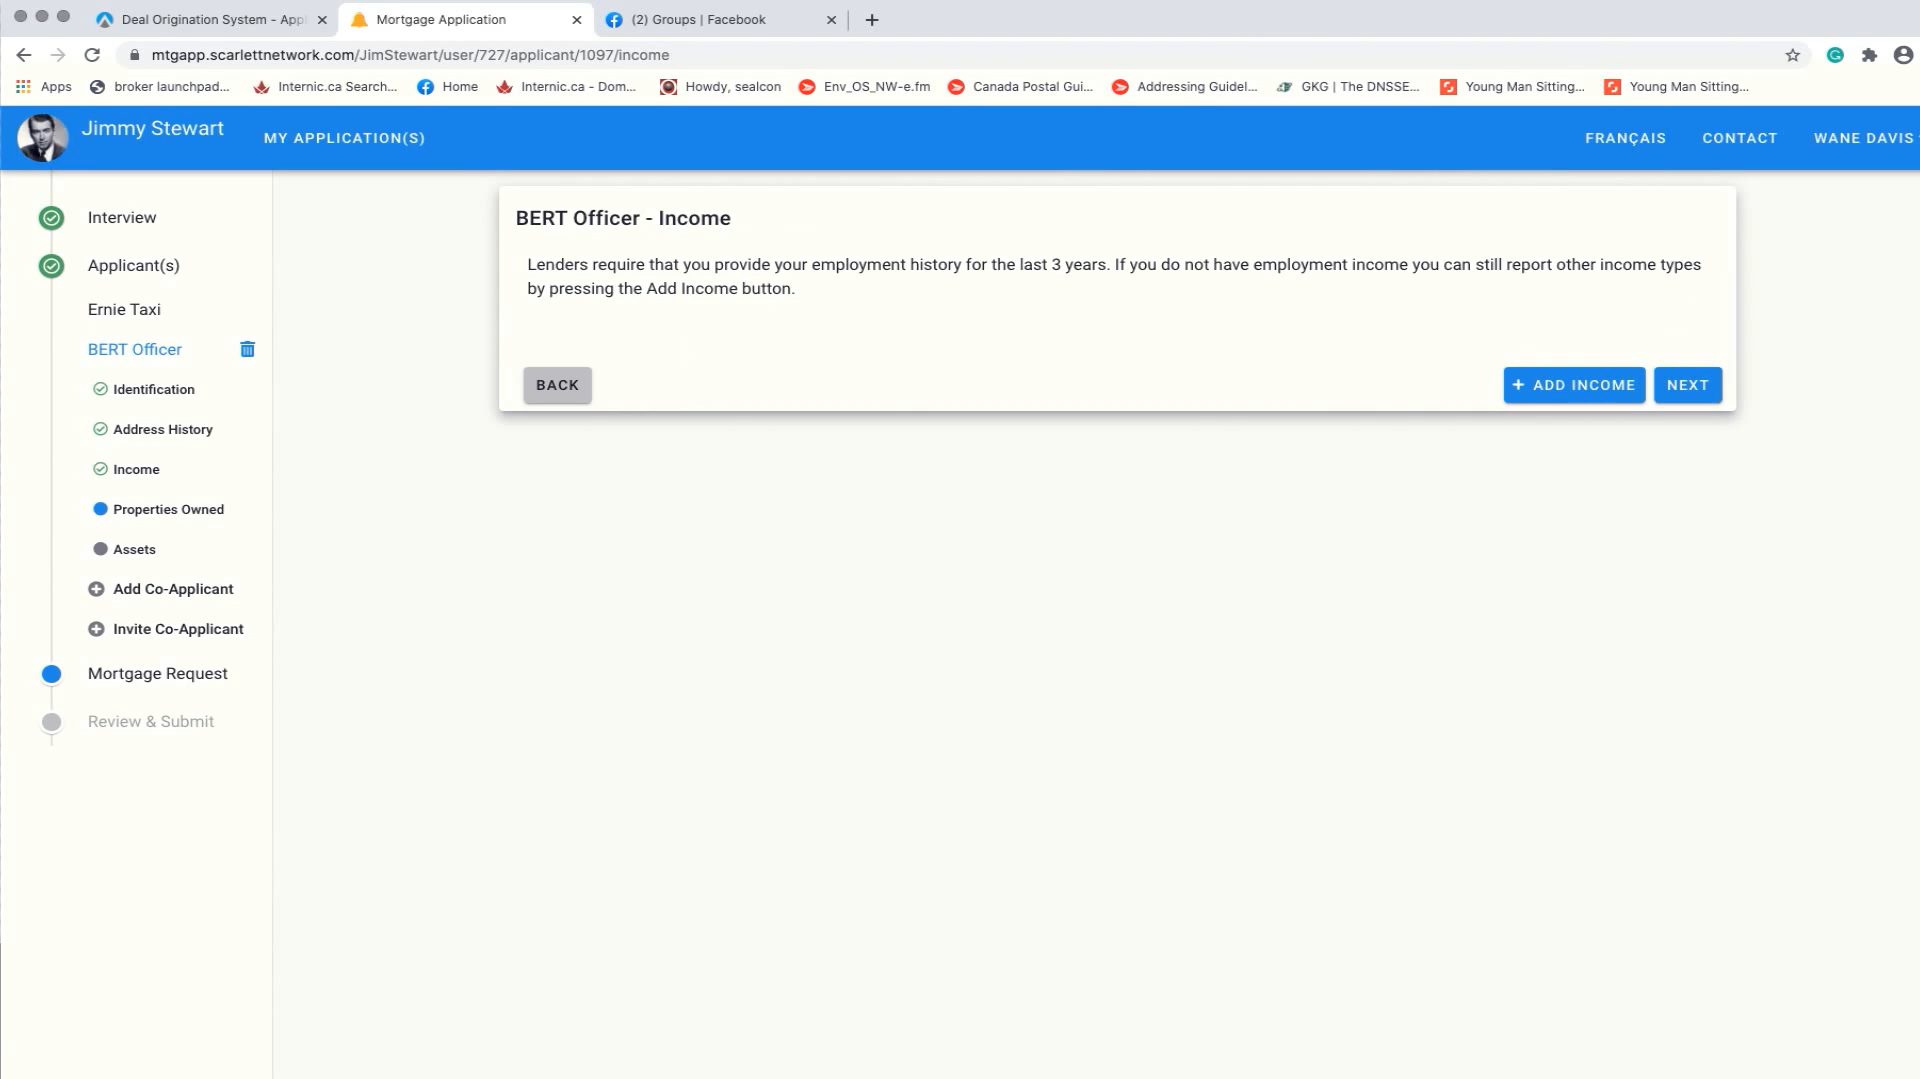
Income Information
and Property Information
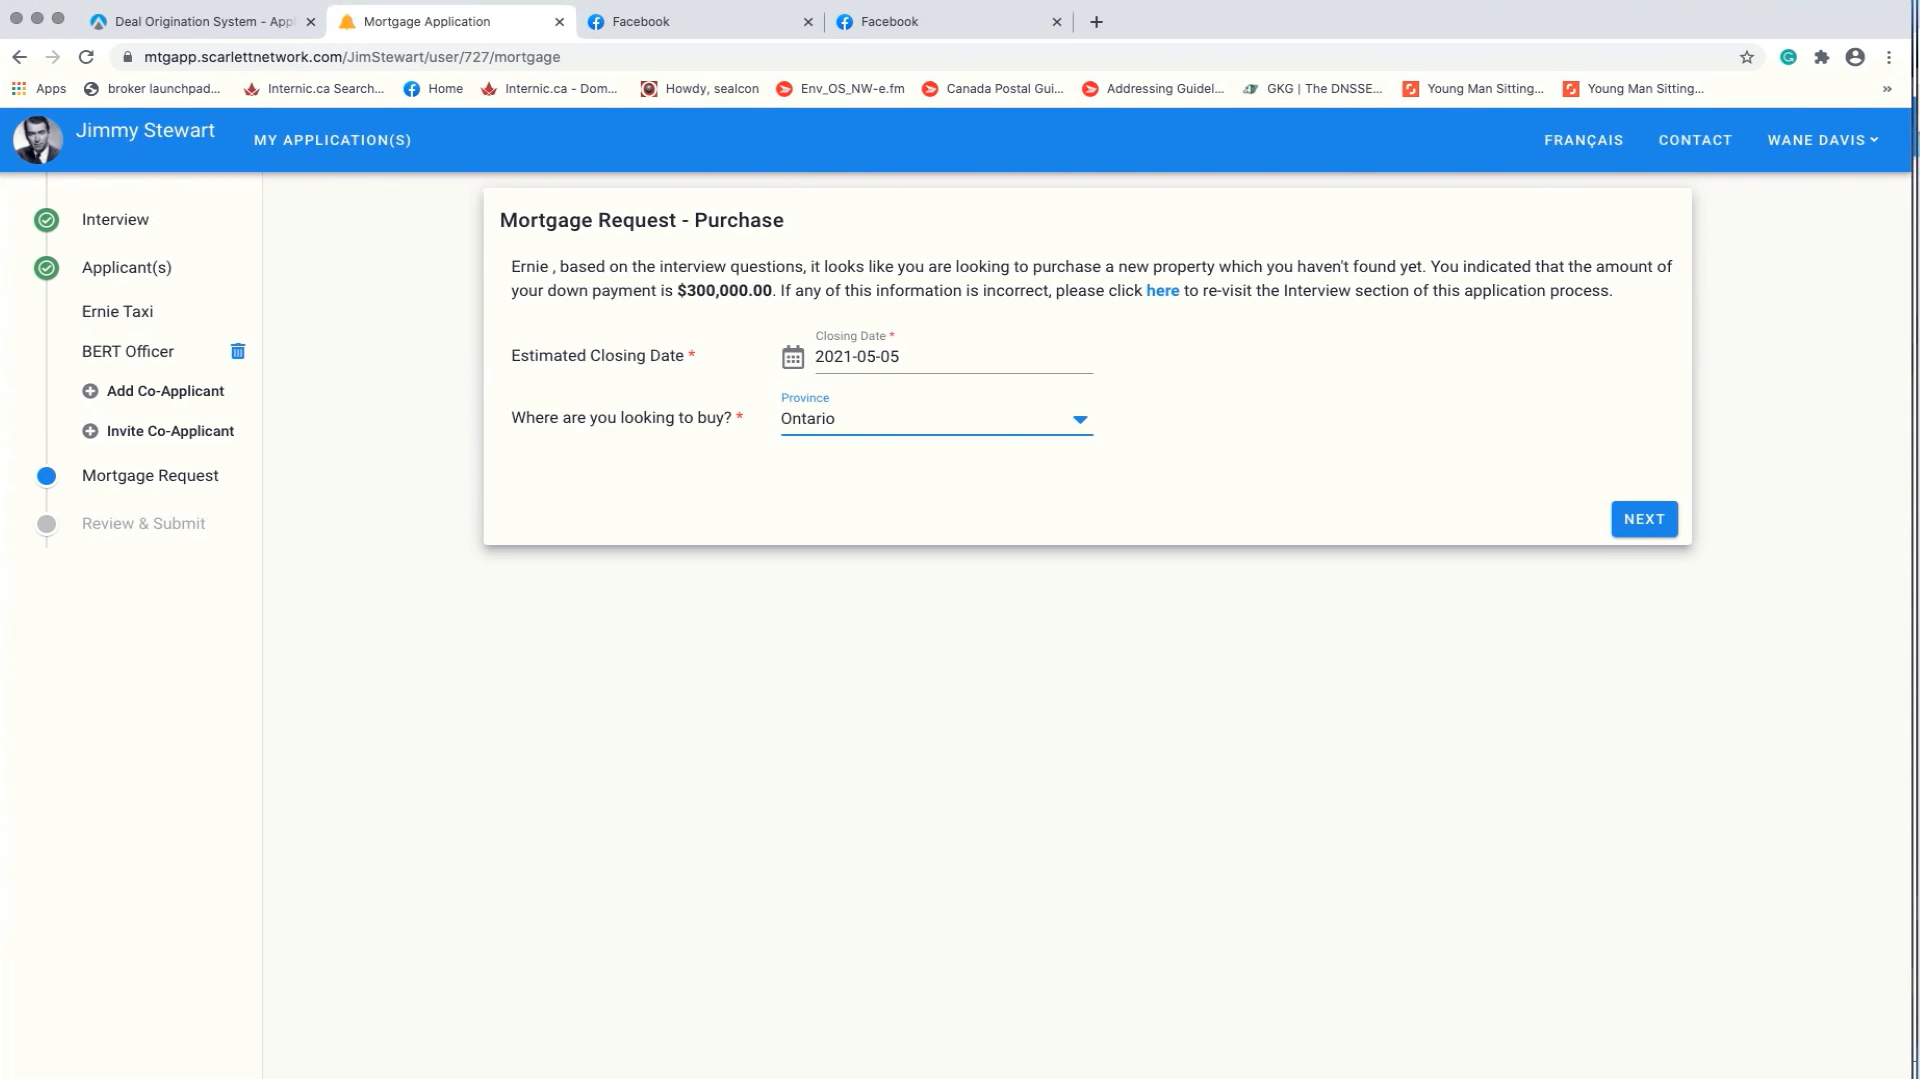
15) Now we will go to the Mortgage Request Section. It will populate the estimated closing date; you will need to indicate the province where you are looking to buy.
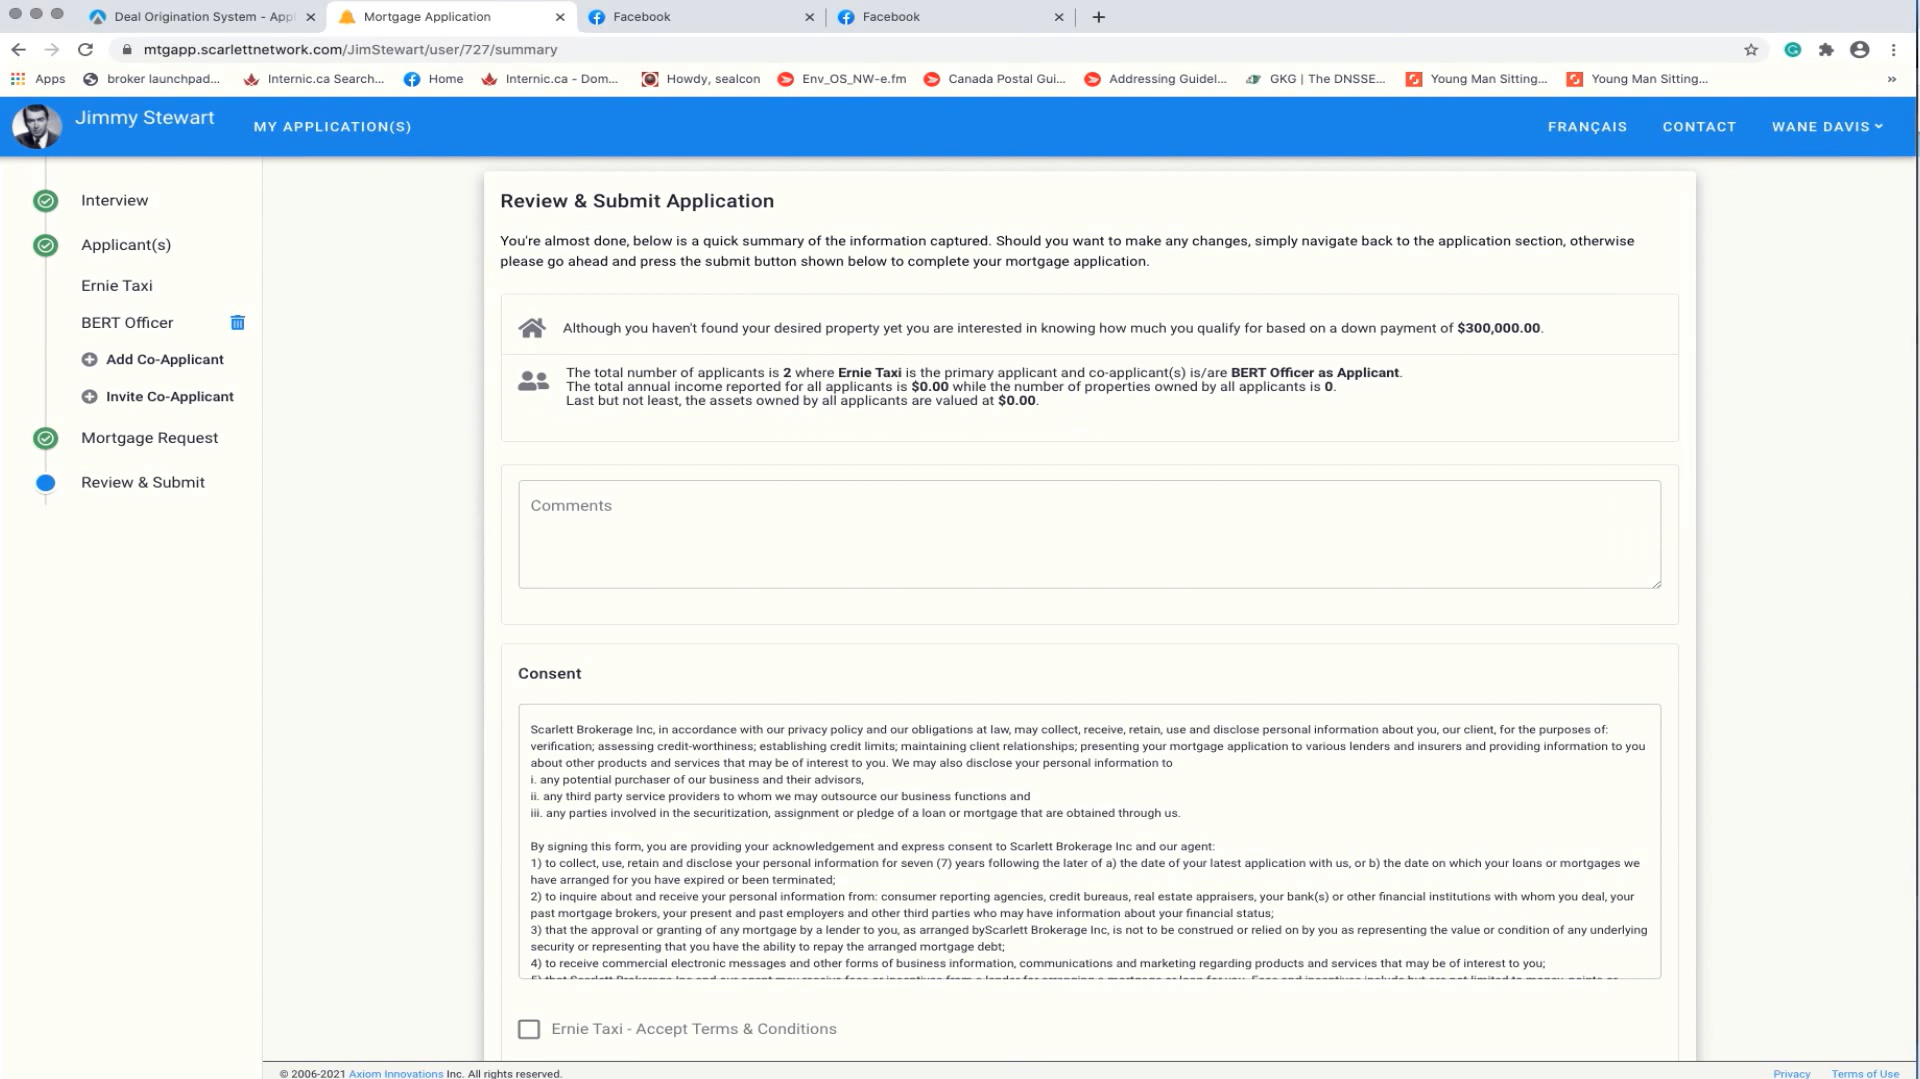
16) This last section is called "Review and Submit Application". This is where the client can review the input information and review the necessary consents. Once reviewed, check "Accept Terms & Conditions" and hit submit. The application is then completed.
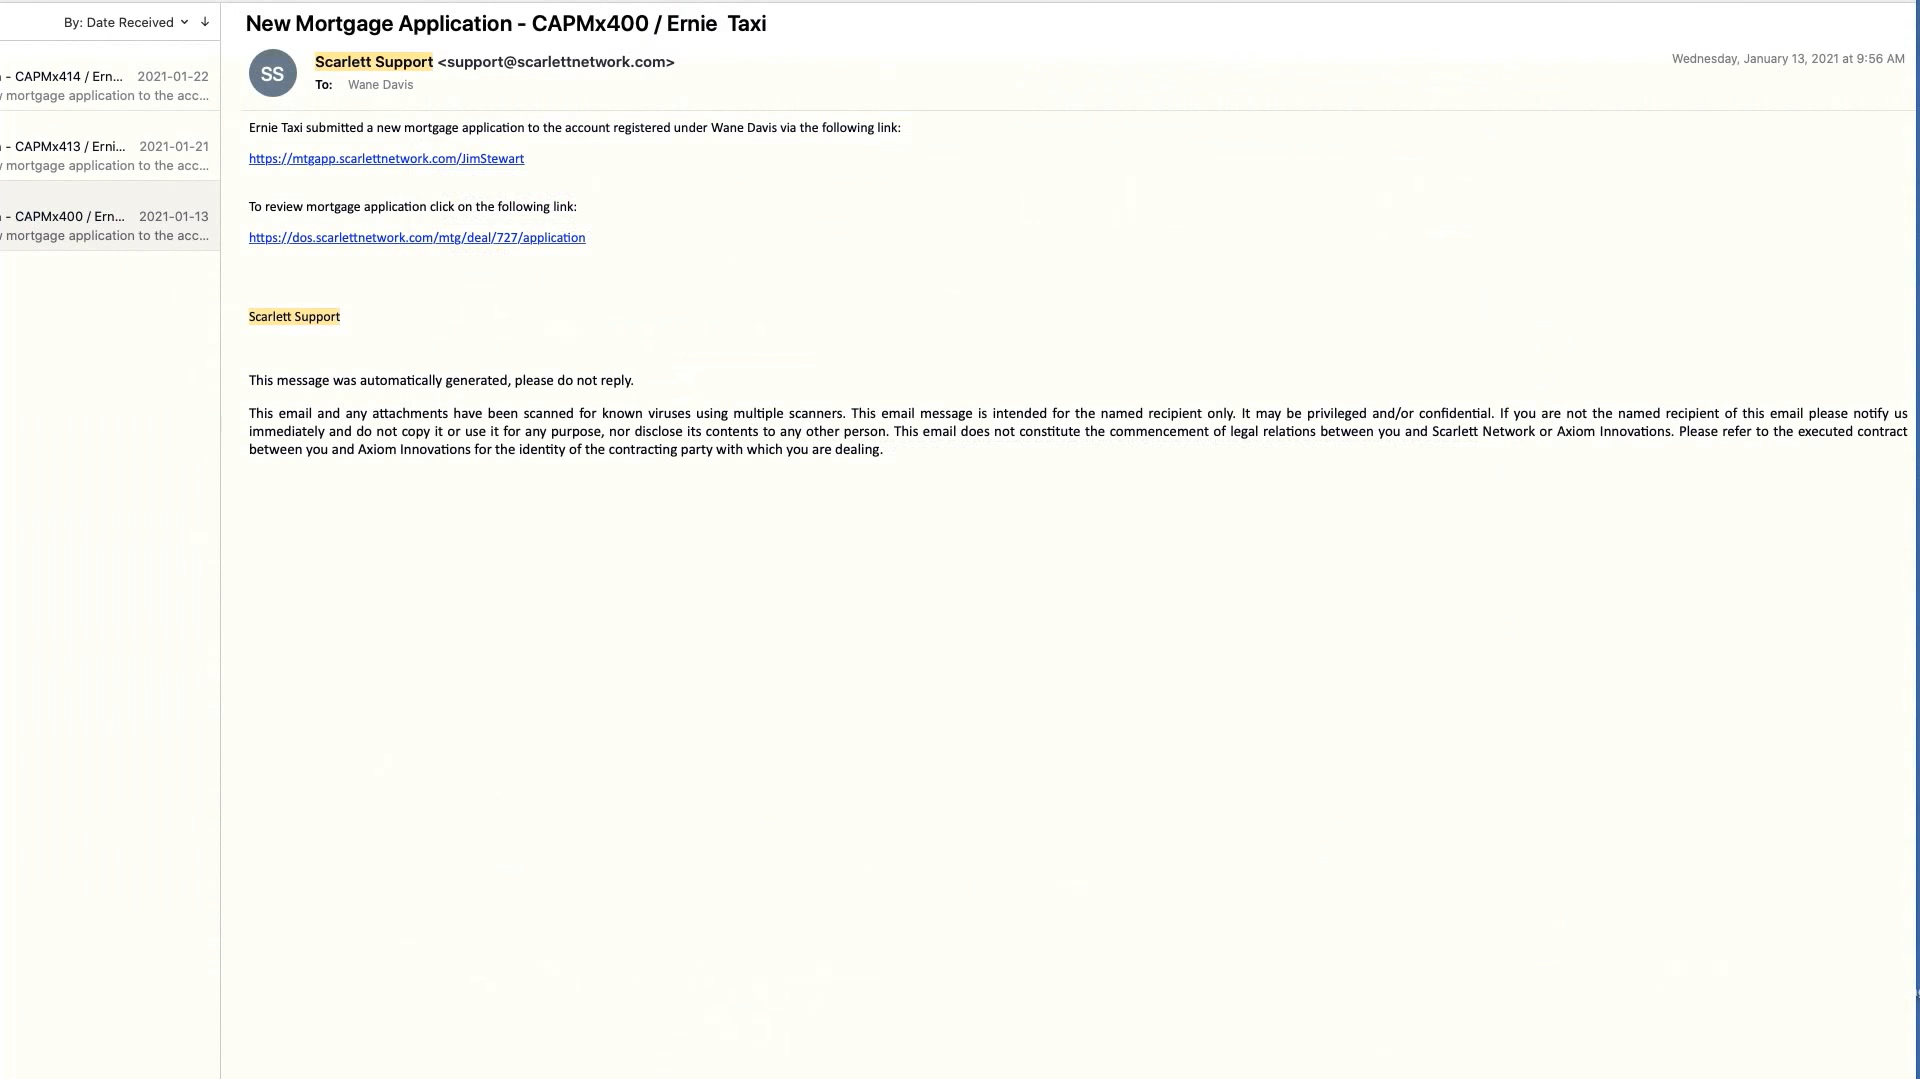
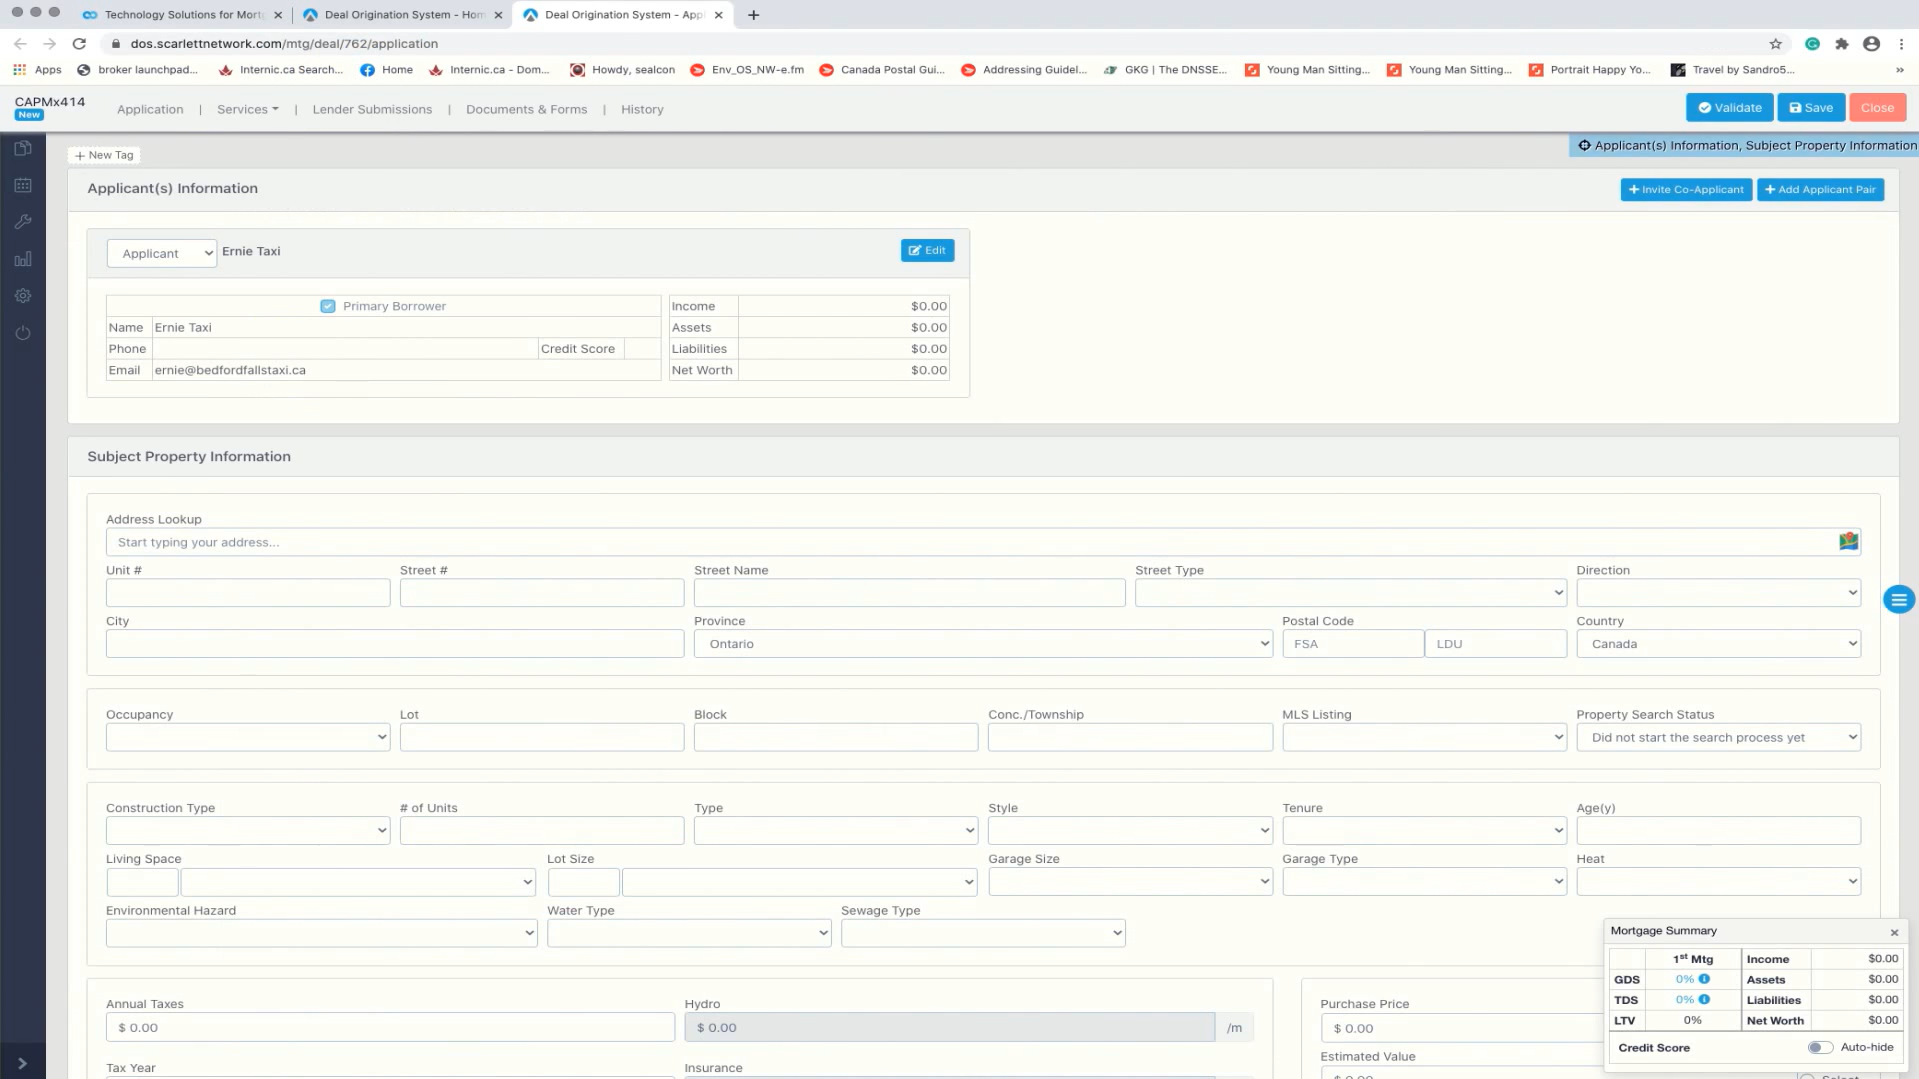
17) Now let's take a look at the broker side of the application. When an applicant hits the submit button or starts an application, you will receive an automated e-mail.
18) Let's click on the second link and have a look. This will open the actual application that Ernie Taxi had completed.
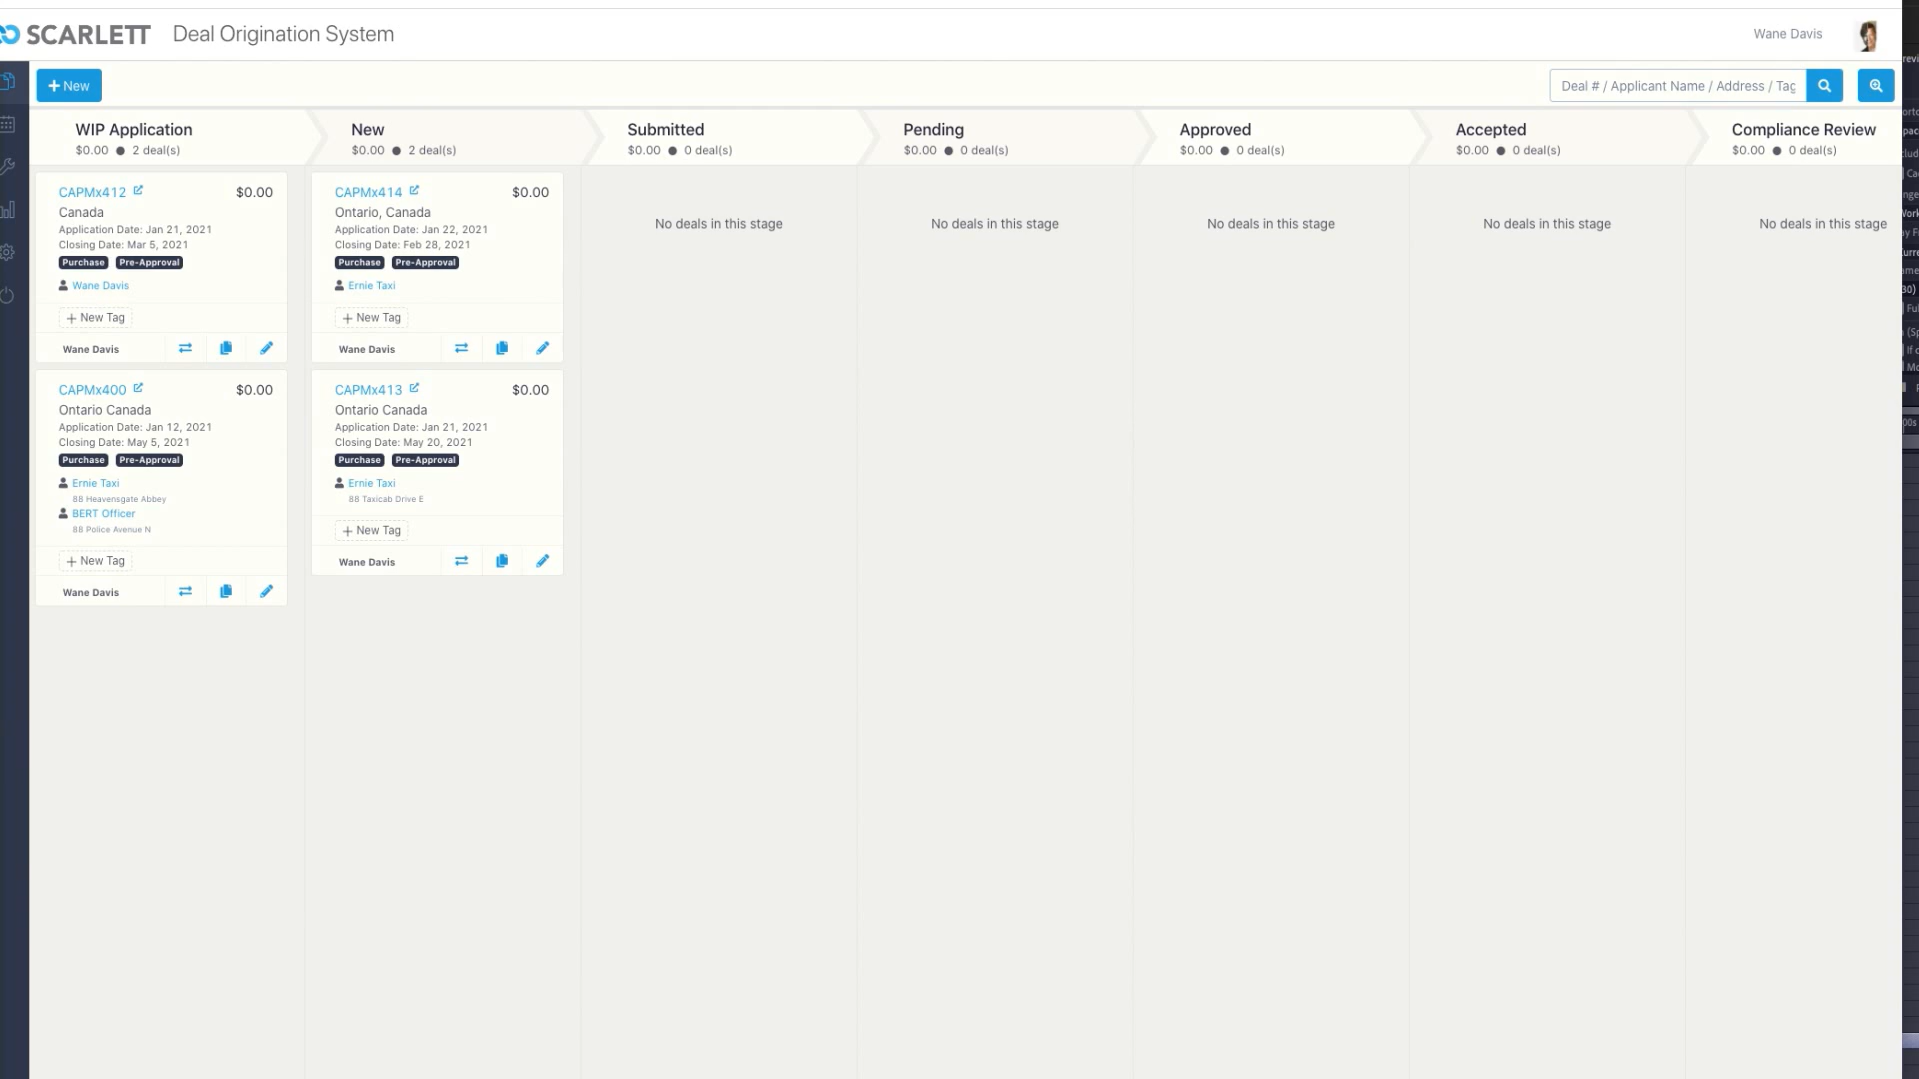
19) On the dashboard you can now see your "Work in Progress Applications", and your "New Applications"
