Customize Your Desktop
This guide provides step-by-step instructions on how to customize your desktop with shortcuts and design elements. It covers everything from changing the desktop theme to adding shortcuts and sharing your new layout. By following this guide, you can create a personalized and efficient desktop setup tailored to your preferences.
Video Walkthrough
Step-by-Step Guide
Create a New Desktop
Lets look at how you create a new desktop.
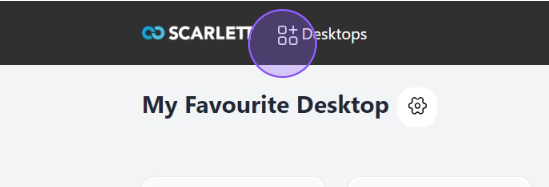
1) Click this icon in the top bar.
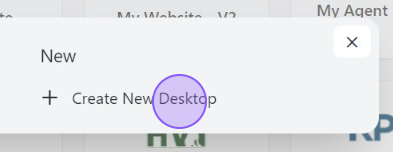
2) Click "Create New Desktop".
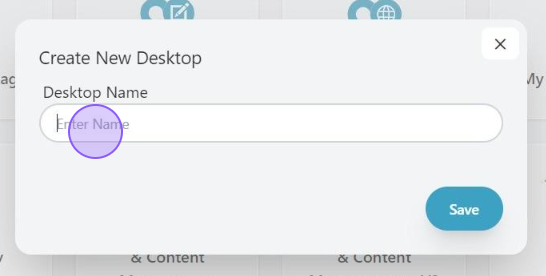
3) Name your desktop and click "Save".
Edit a Desktop
To make edits to an existing desktop, follow these steps.
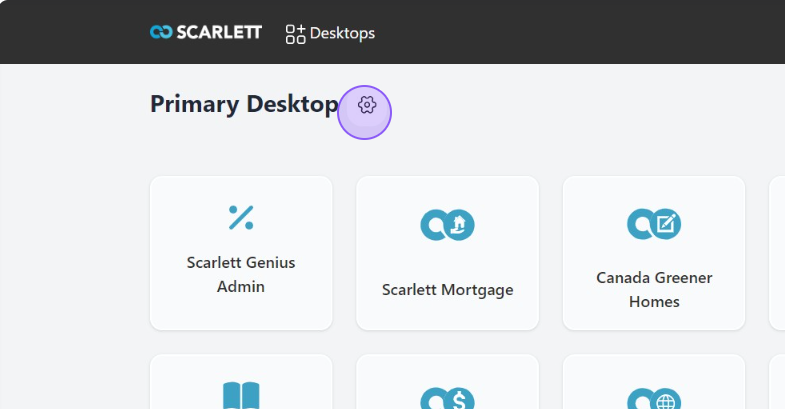
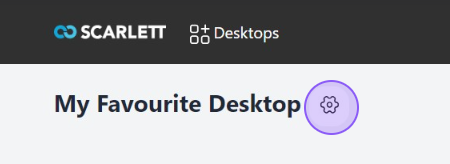
1) Click the gear next to the desktop name.
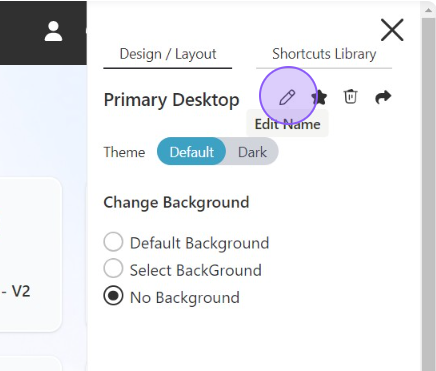
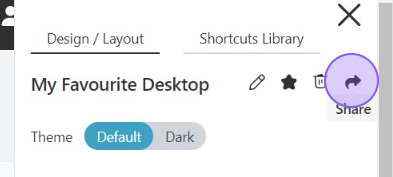
2) This brings up a tool bar on the right hand side. On the Design/Layout tab you can rename your desktop, make it a favourite, trash it, share it, and change visual settings such as dark theme or background.
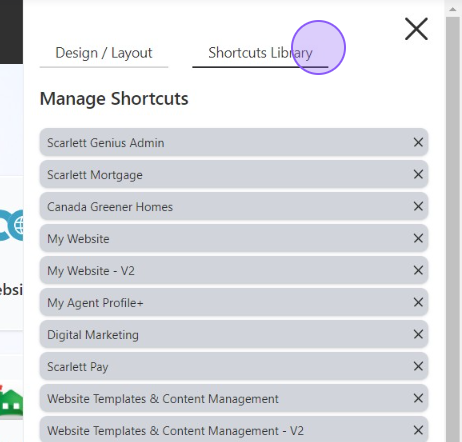
3) On the Shortcut Library tab you will see a list of shortcuts that are already on your Desktop. You can remove any you don't want by clicking the "x" next to the shortcut name. You can re-order them on the desktop by dragging the shortcuts up or down on the list.
4) At the bottom of this list are buttons that allow you to save the desktop, add additional shortcuts, or create your own shortcuts. To add a shortcut, click "Add Shortcut".
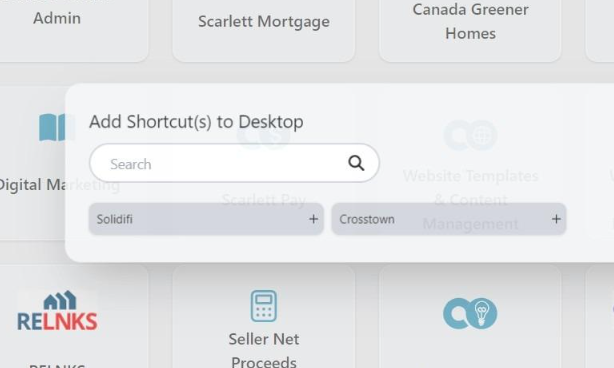
5) This will bring a list of known system shortcuts that are not included in your Desktop. You can add them by clicking on them.
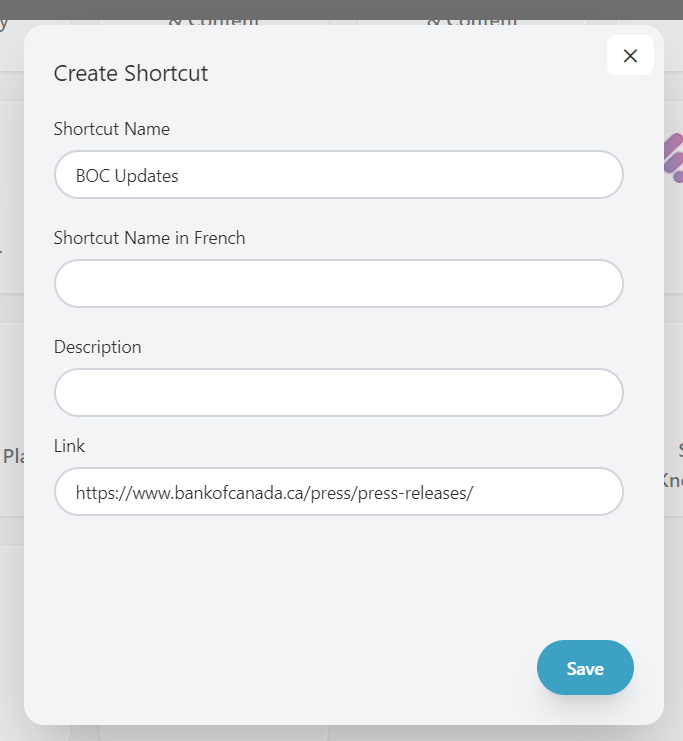
6) To add a shortcut that doesn't exist in the system, click "Create Shortcut".
7) Fill in the information for your shortcut and click "Save".
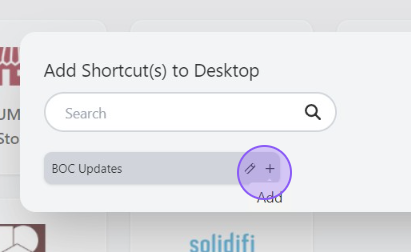
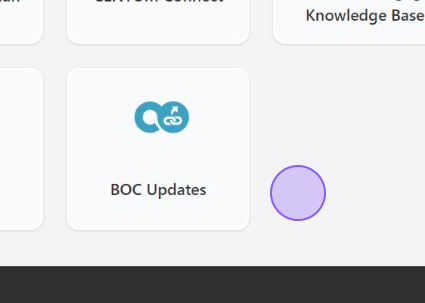
8) Now click "Add Shortcut" and your custom shortcut will be available to add to your Desktop.
Share Your Desktop
Once you have a desktop created, you can share it with your team.
1) Click the gear on the Desktop you want to share.
2) Click "Share"
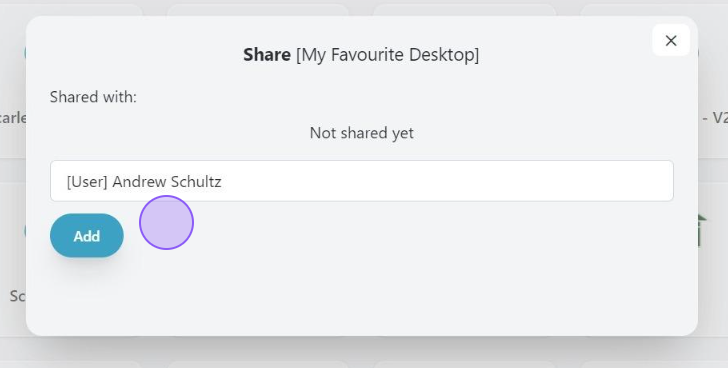
3) Search for the user you want to share to, and click "Add".
