Domain Configuration
This guide provides step-by-step instructions on how to verify your email domain for use within the automation system. By following these steps, you can ensure that your emails are sent directly from the email address your clients know and trust, improving the effectiveness of your email marketing campaigns.
Step-by-Step Guide
Add the New Domain
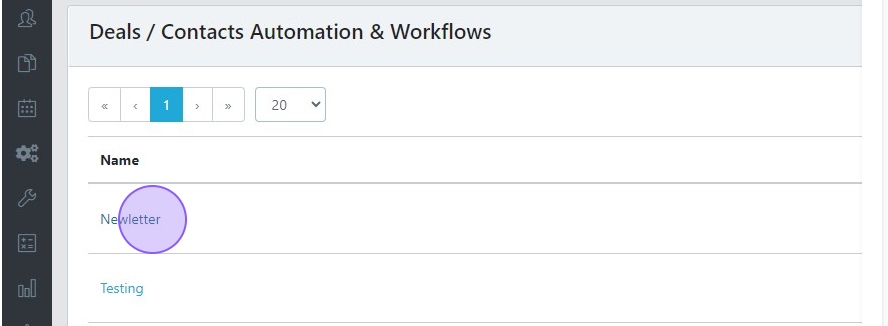
1) Click "Deals / Contacts Automation"
2) Open any automation
3) Click "Create Email"
4) Click "Configure"
5) If your email address isn't listed in this screen, click "Add Domain"
6) Enter the domain.
7) Enter your email and then enter the verification code sent to your email address.
Verify the New Domain
1) Click "Verify" next to the newly entered domain.
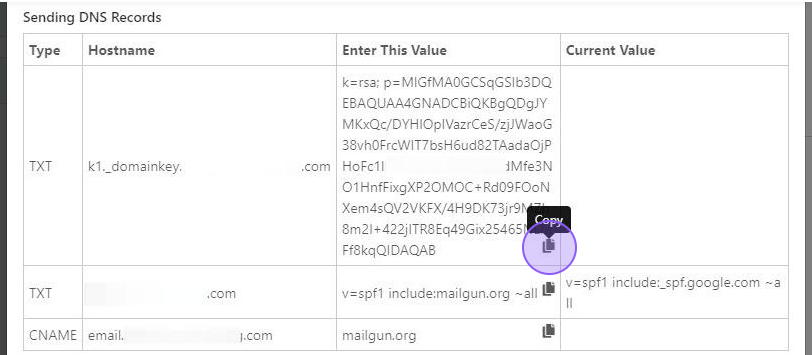
2) This will bring up a pop-up with 3 entries that need to be made into the DNS Record of your domain host. You will need to log in to your domain provider and create these three records. You can close this window while you do this. The values will not change.
3) Once the entries are made, click "Verify DNS Settings"
4) If the entries are correct, the domain will now show as "Verified" and can be used in automations.
Scarlett Tips
Don't remember who your domain is registered with? You can search it up at whois.com/whois and the "Registrar" or "Name Server" is your domain host.
If you have an IT company that manages your website & technology, they can likely make these DNS entries for you.
If you get truly stuck, let our support team know and we will do our best to assist you.


