Tasks & Activities
This guide provides step-by-step instructions on how to navigate and use the activities feature on the Scarlett Network mortgage website. By following these instructions, users can easily create and manage activities, set up meetings, update meetings, invite people, and customize the activities grid. It is a helpful resource for anyone who wants to efficiently utilize the activities feature on the Scarlett Network mortgage website.
Video Walkthrough
Step-by-Step Guide
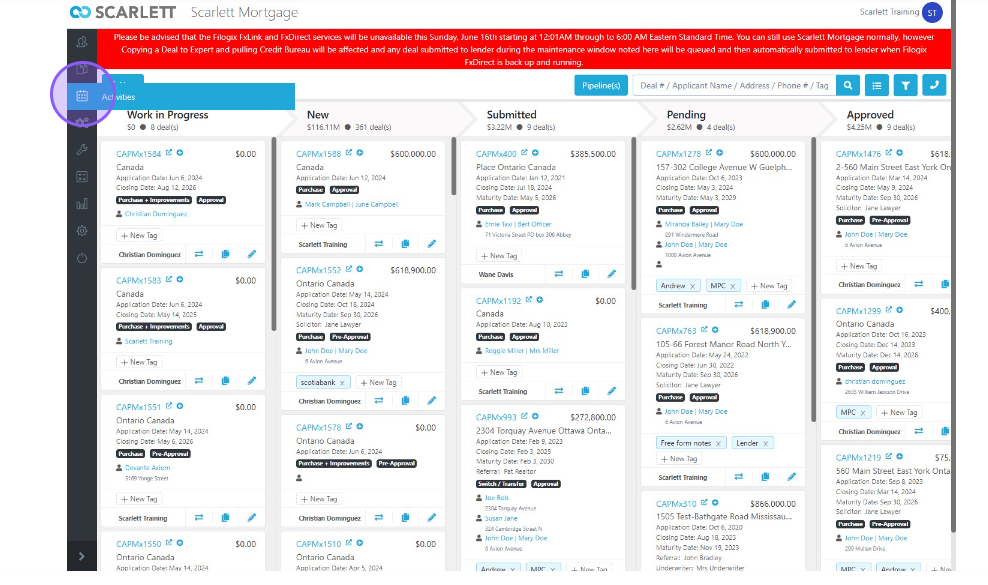
1) Log into your deals dashboard and select the activities icon on the left menu
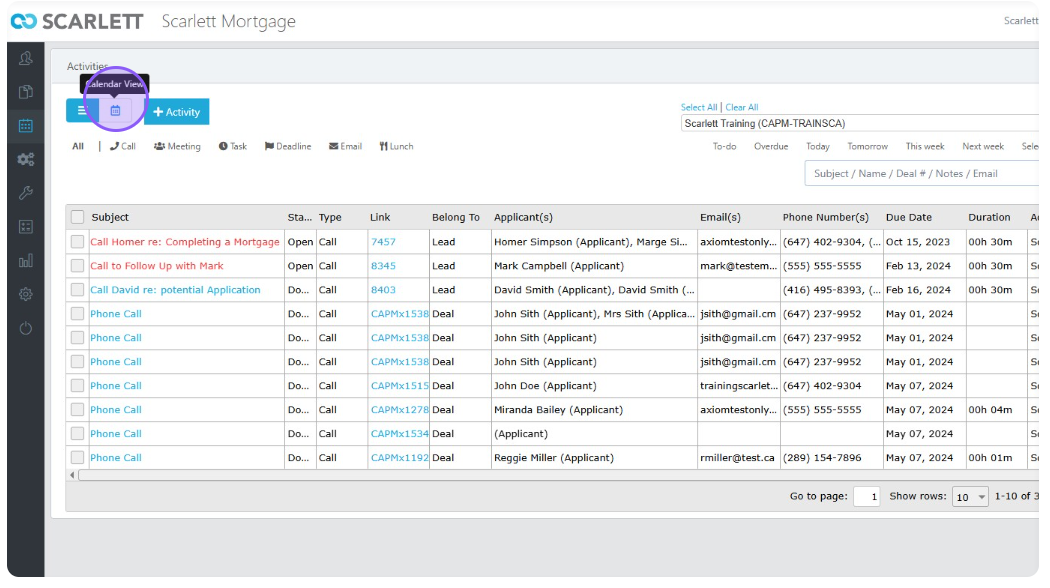
2) You can toggle between calendar and grid view
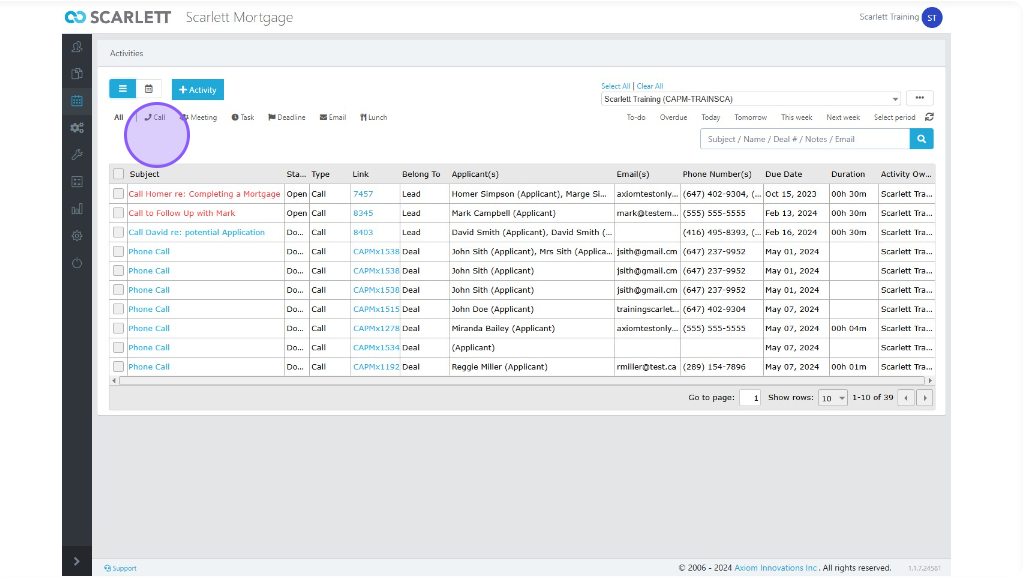
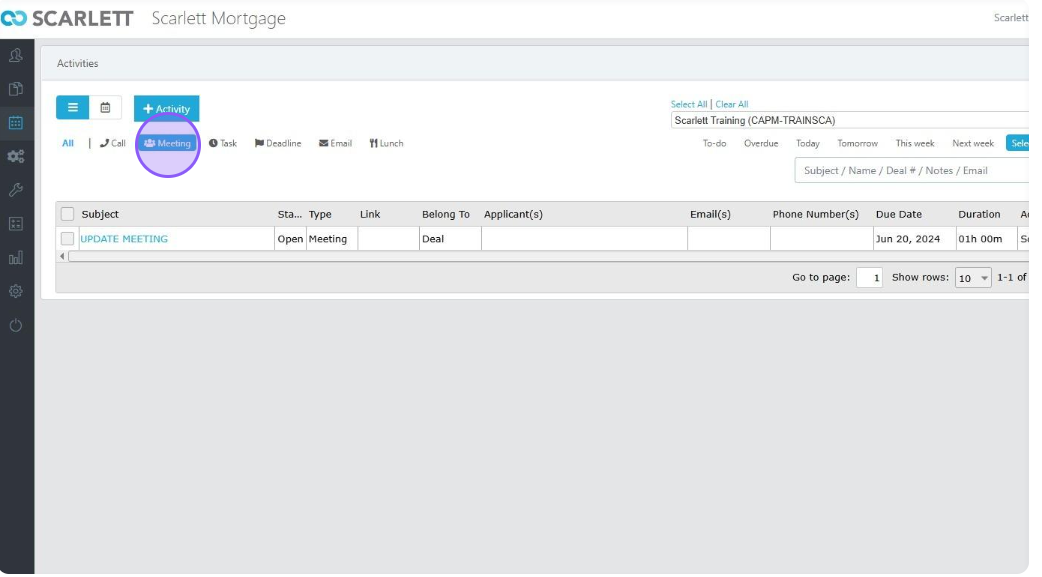
3) You can also filter each of the views by call, meetings, tasks, deadline, email, and even lunch
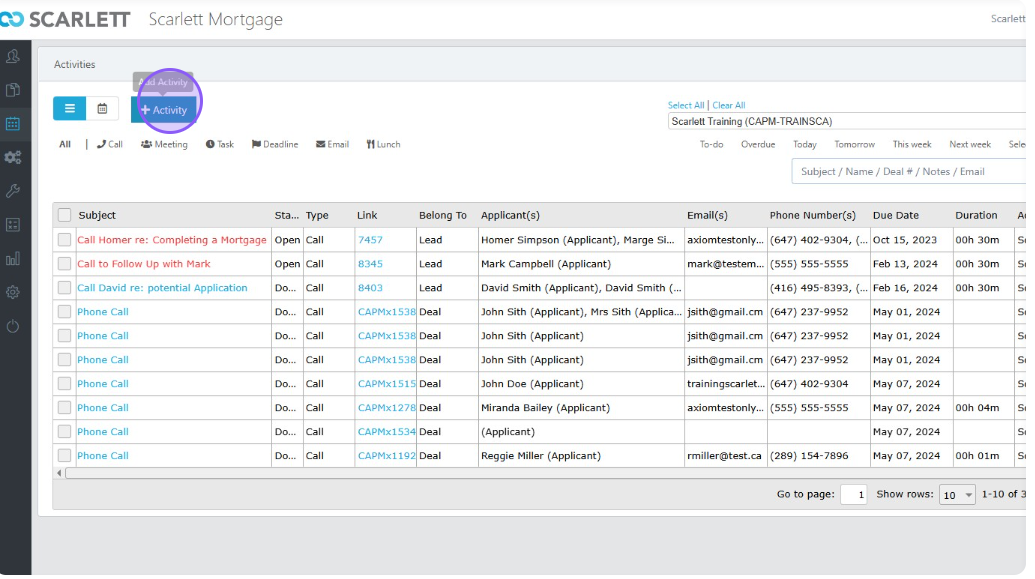
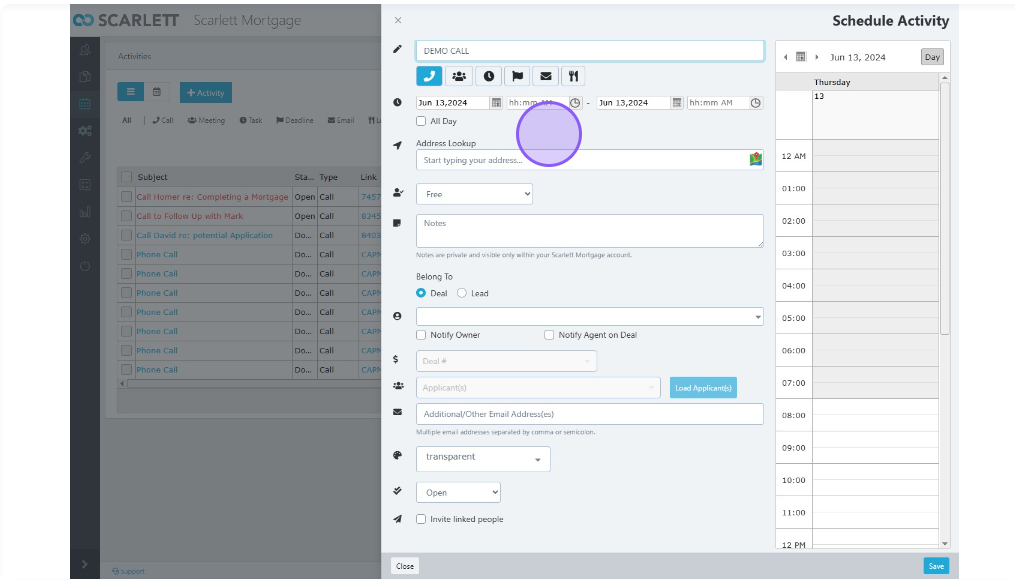
4) Let's input an activity first
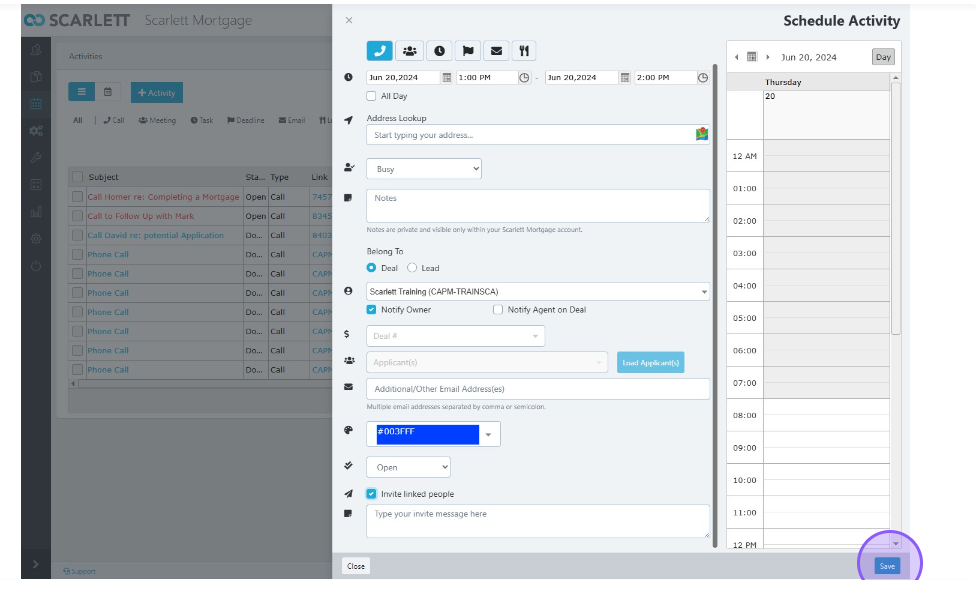
5) We'll name it DEMO CALL and select the call icon
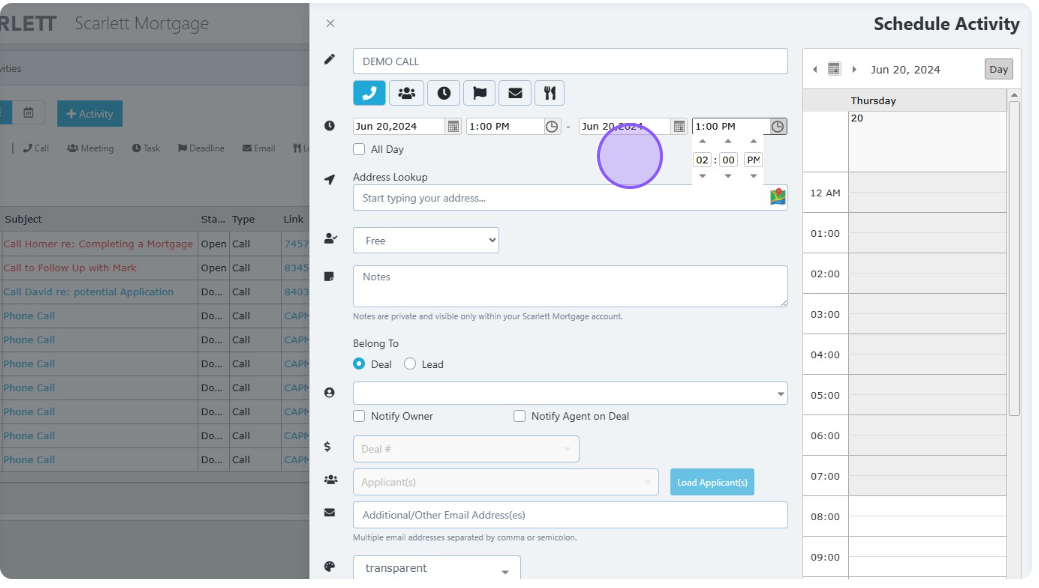
6) Now we select time from the easy to use drop down menu. We'll book it from 1PM to 2PM on June 20th, 2024.
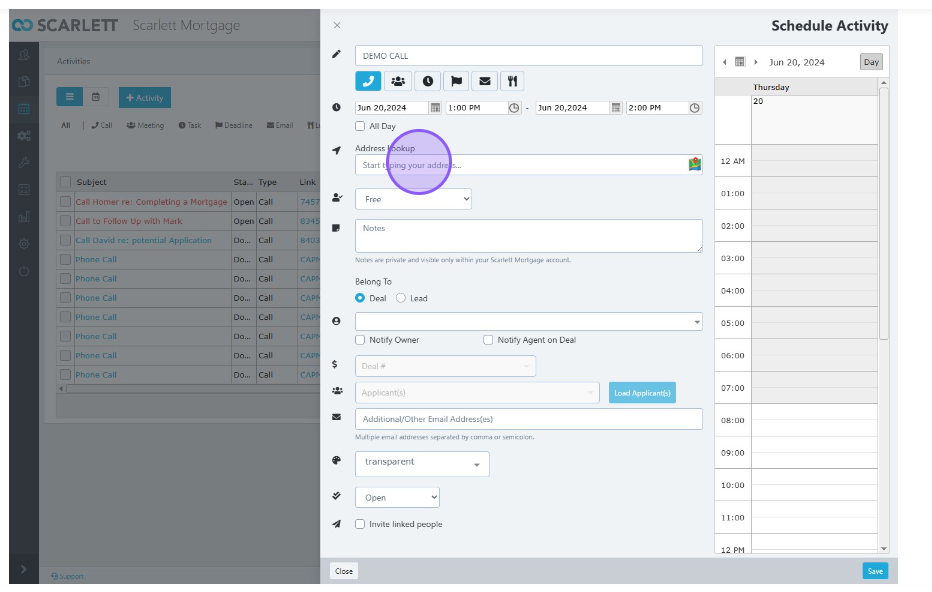
7) If this was an in-person meeting, we have the option to add an address using the automatic address lookup feature
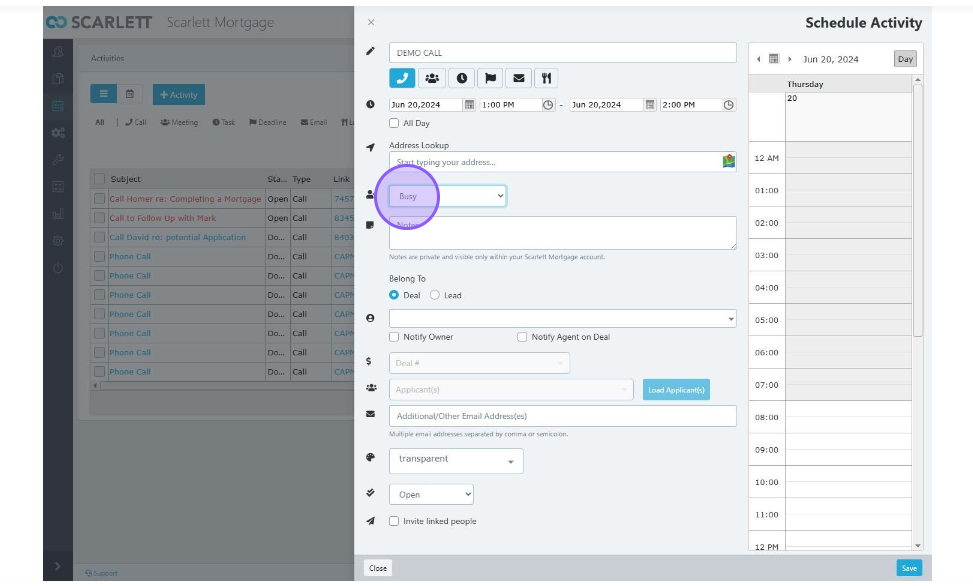
8) You can also book your time as busy, free, or tentative. Here we will book it as busy for that call period.
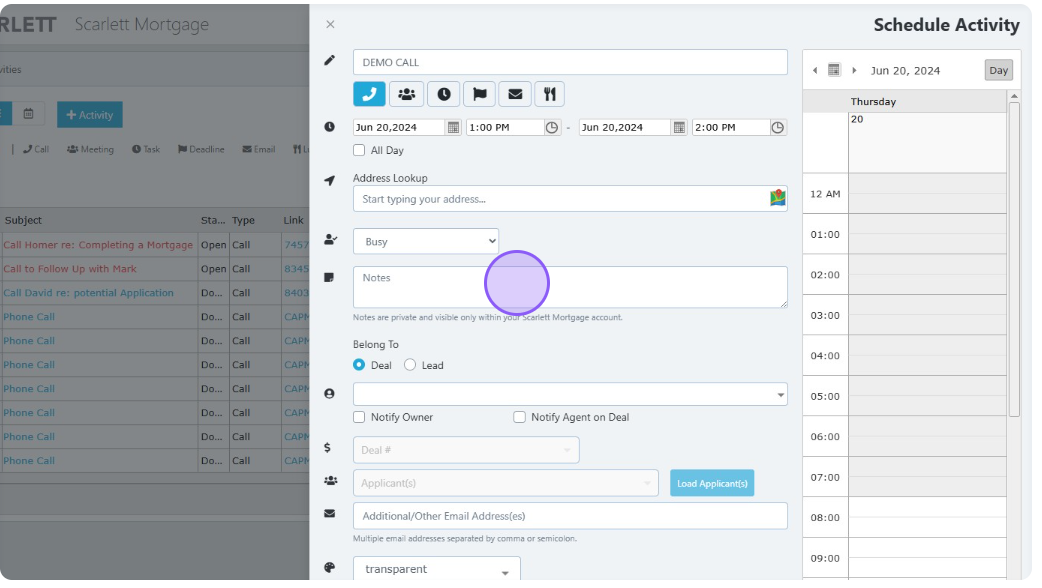
9) You can also put any notes needed specific to the activity
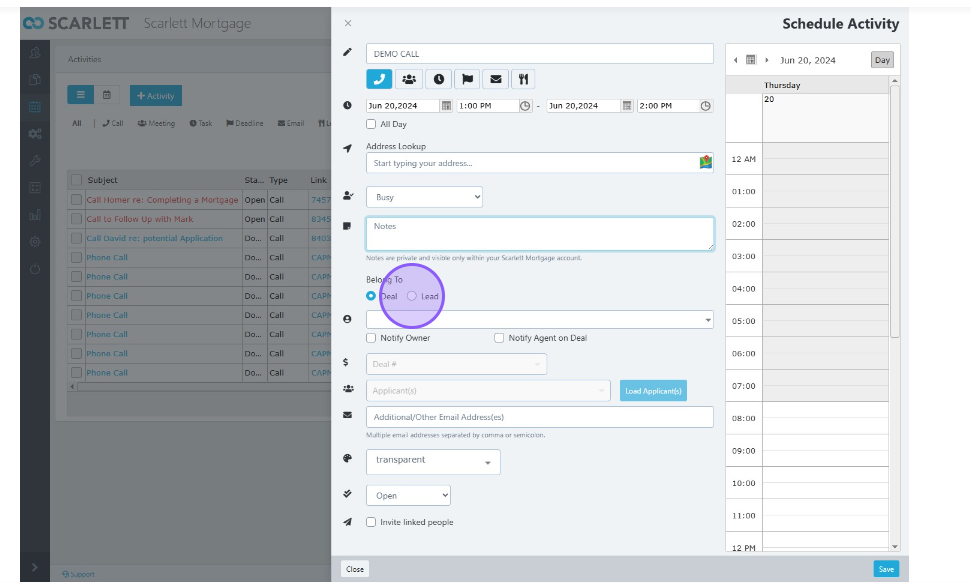
10) As well, you can identify whether this is specific to a deal or lead
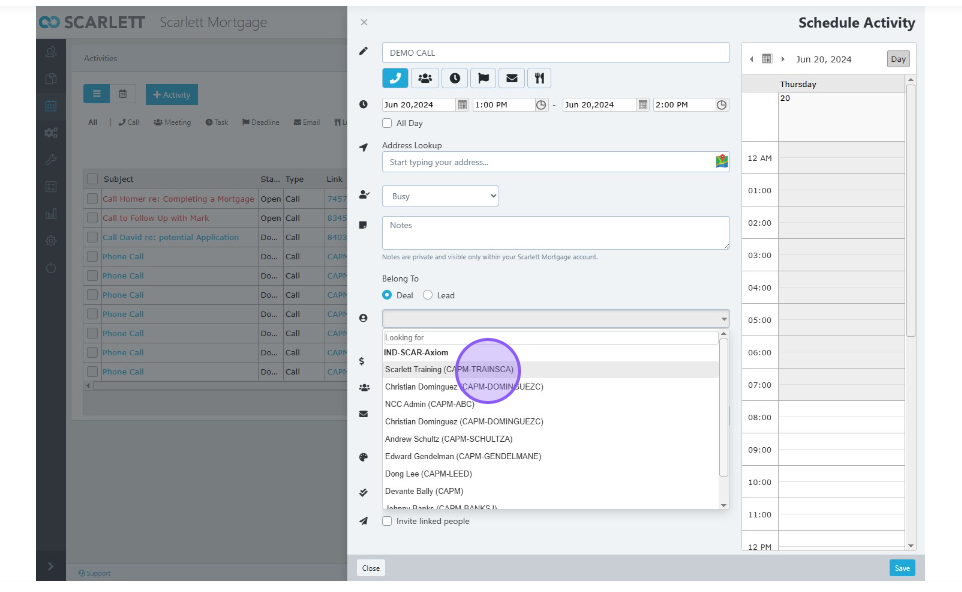
11) You can also assign the task, which will most often be yourself
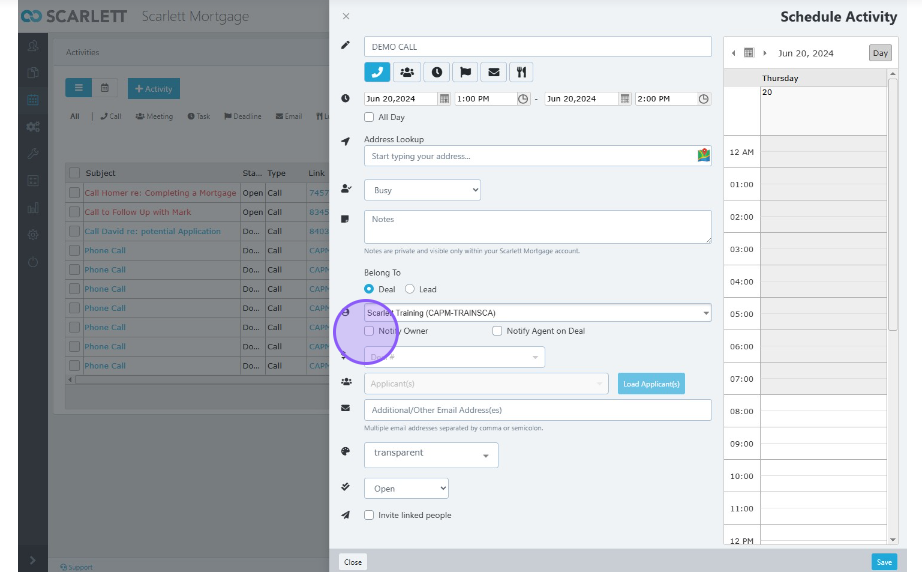
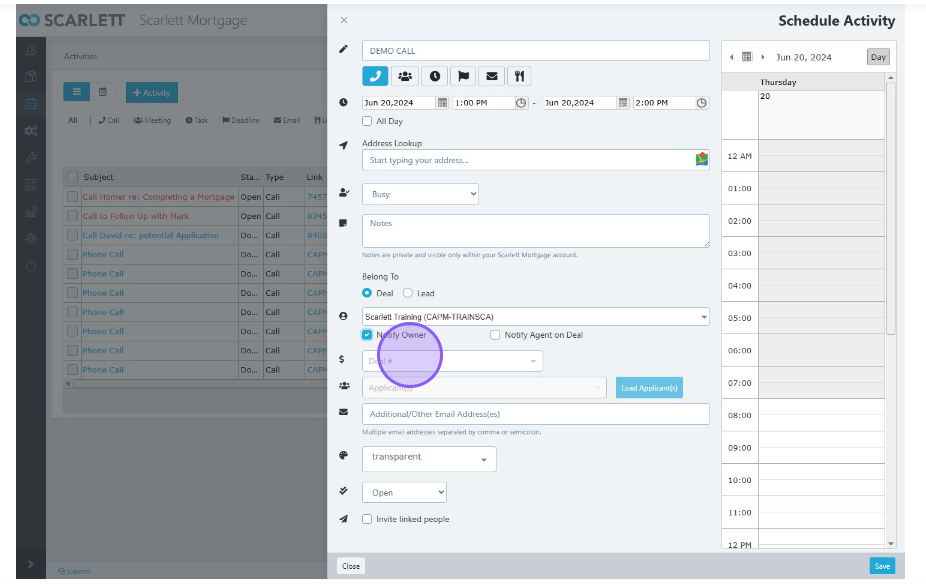
12) You can assign the task to another in your group by pressing the "Notify Owner" button. They will receive an email advising them of the task assigned.
13) You can also assign the deal number to that specific task as well as the applicants. Once you put in the deal #, the system auto-populates the applicant to the deal for you.
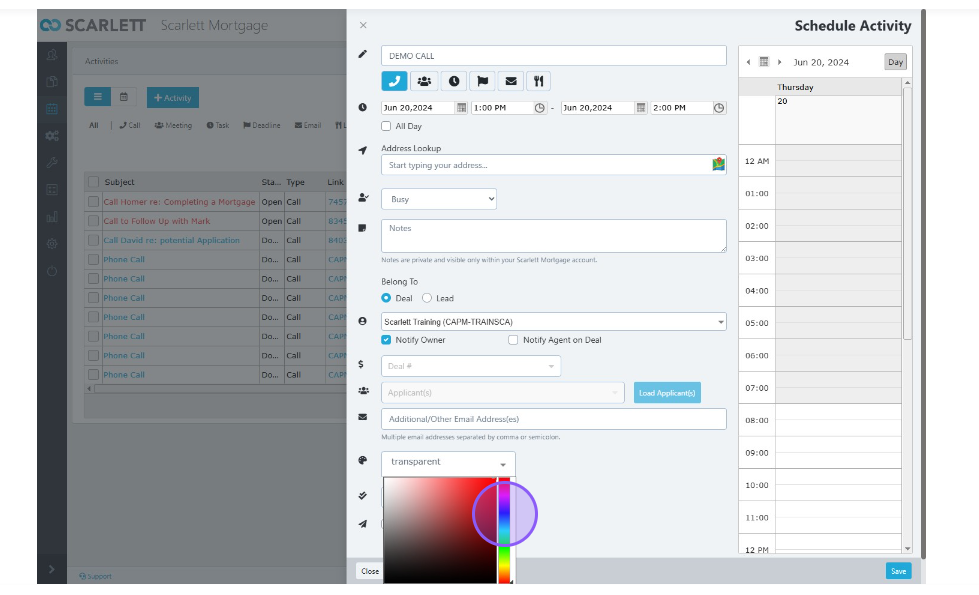
14) You can also colour code individual tasks using a simple dropdown
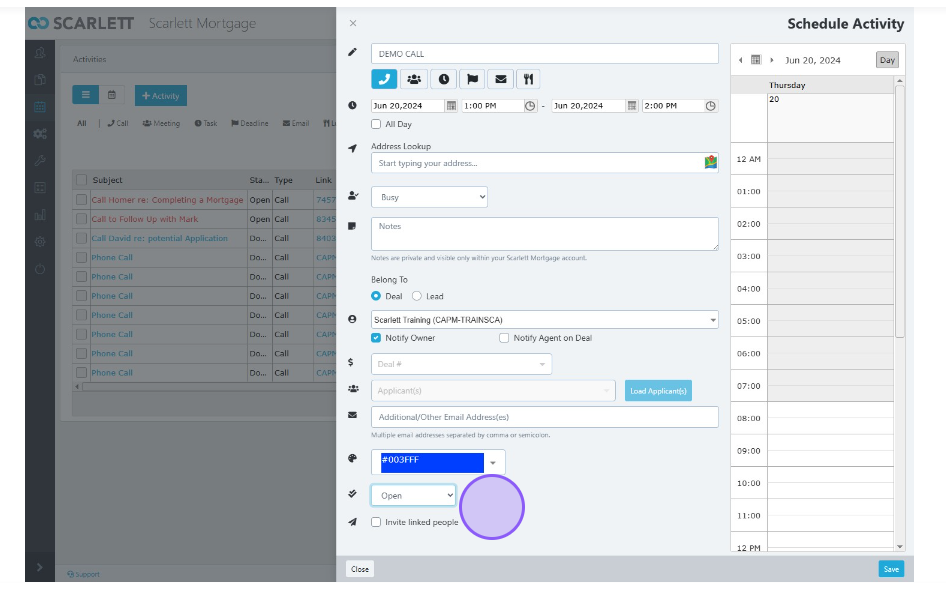
15) The next dropdown allows you to close the task once completed
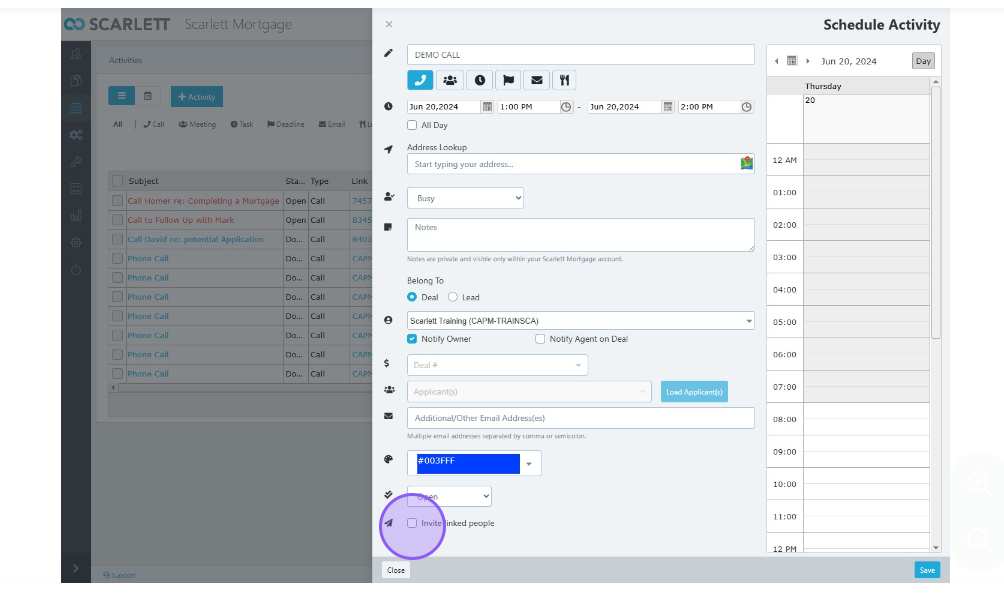
16) You also have the ability to invite any participant you also require for the task
17) Now save the task and go to the calendar
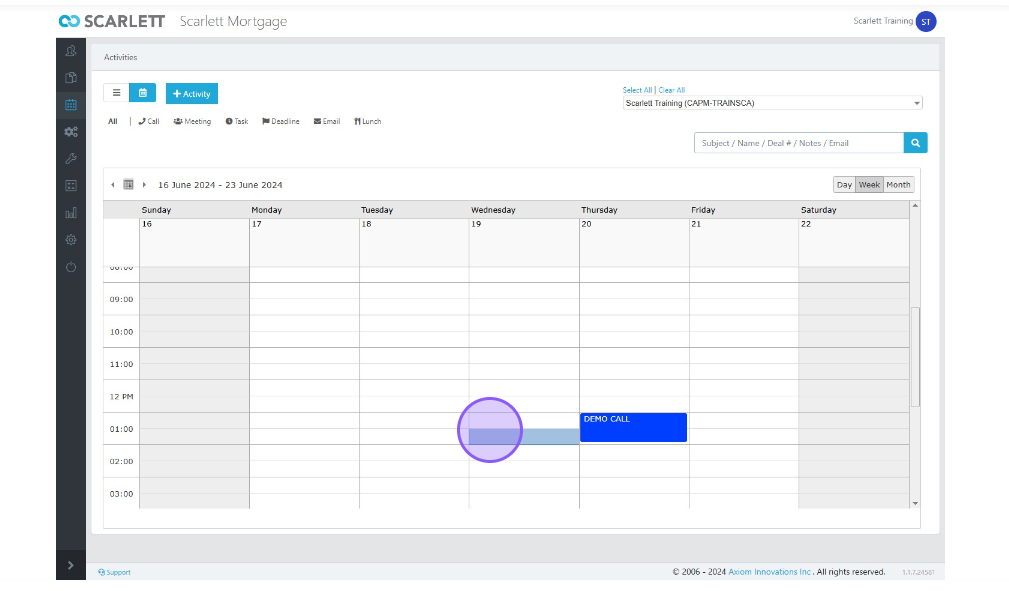
18) If you go to the correct date on your calendar, you can see the task has been added and is identified with the colour we had chosen
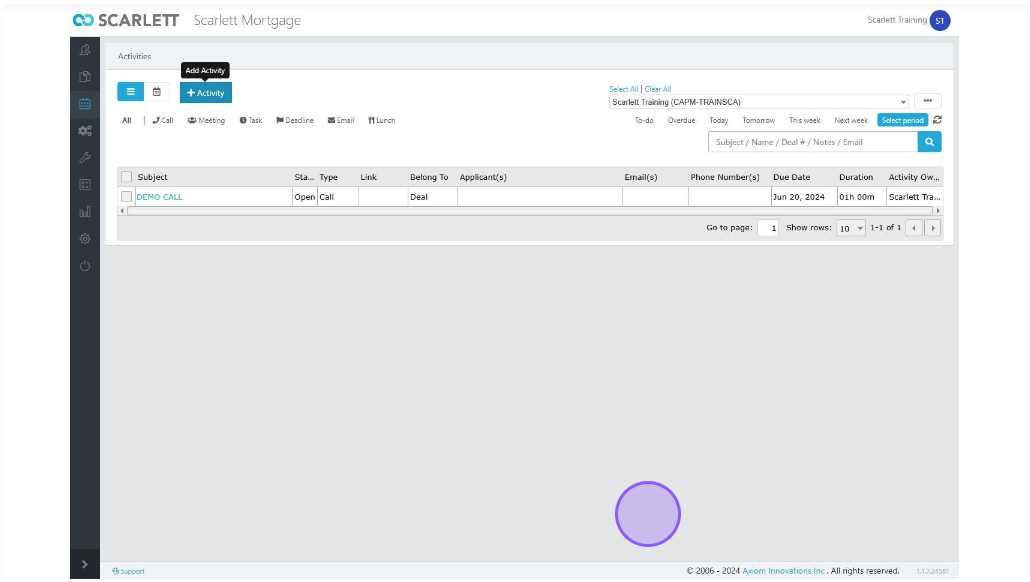
19) Now let's look at the activity in list view
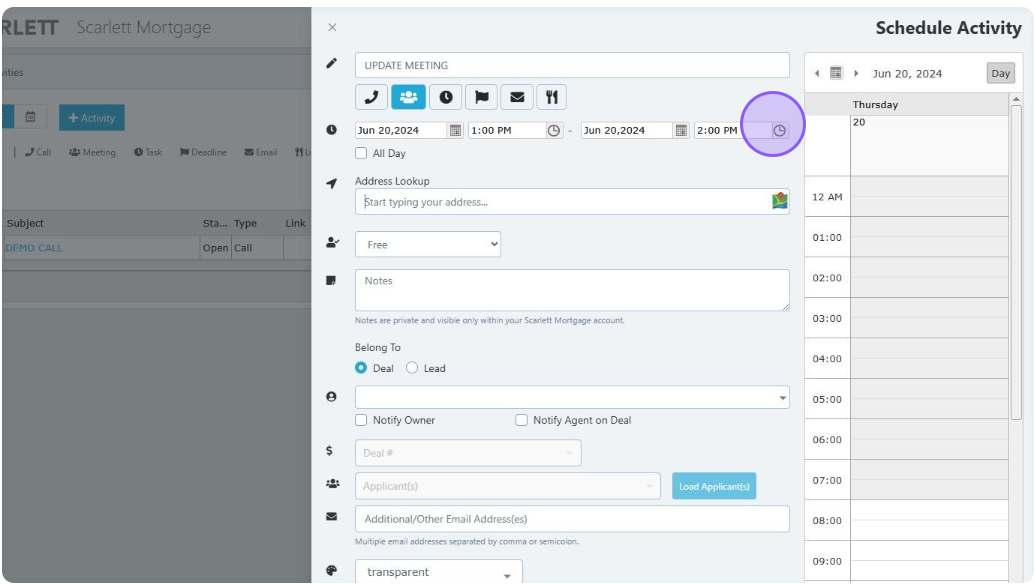
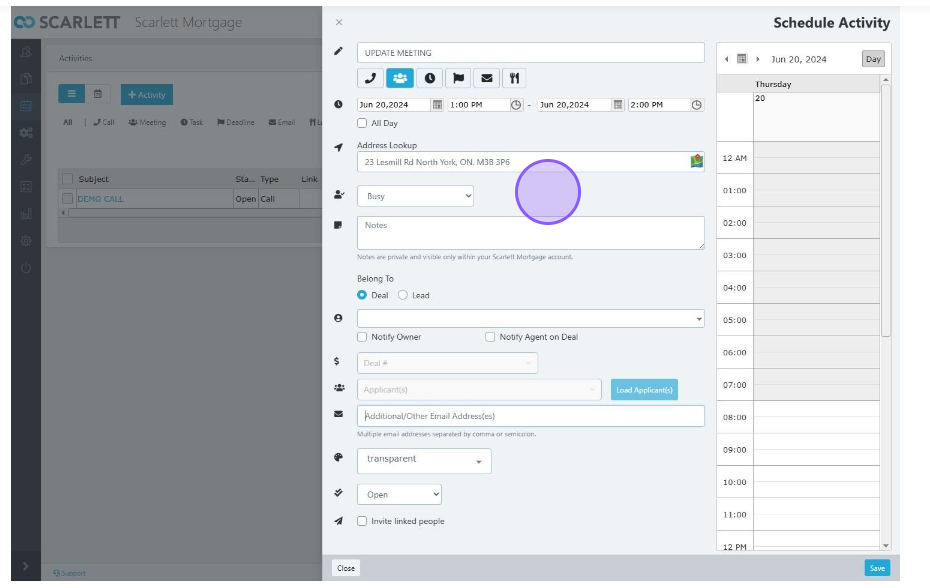
20) Now let's add another activity. We'll name it "UPDATE MEETING" and select the time and date as well.
21) Now let's add the address and change the "free" button to "busy"
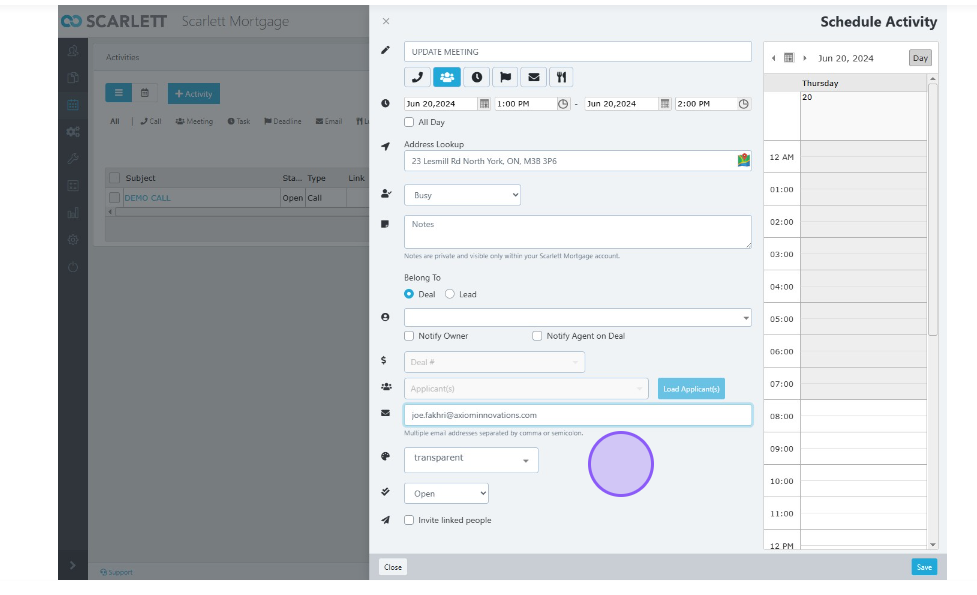
22) We'll invite Joe by adding his email address in the other email addresses section to notify him of the event
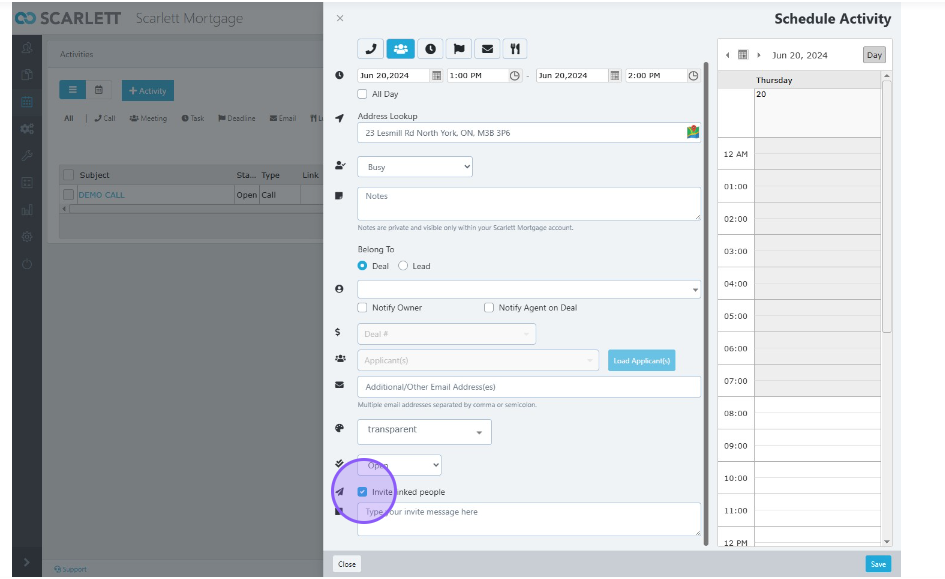
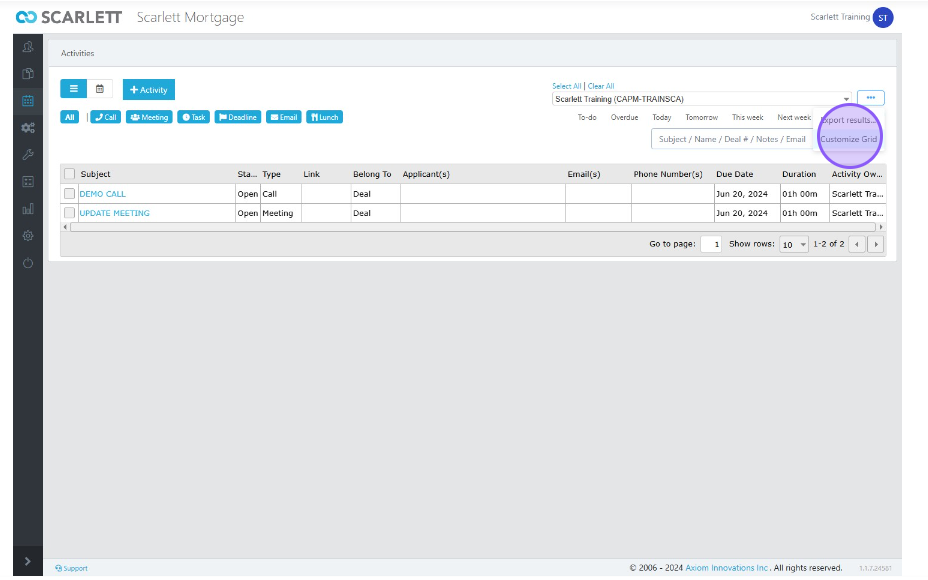
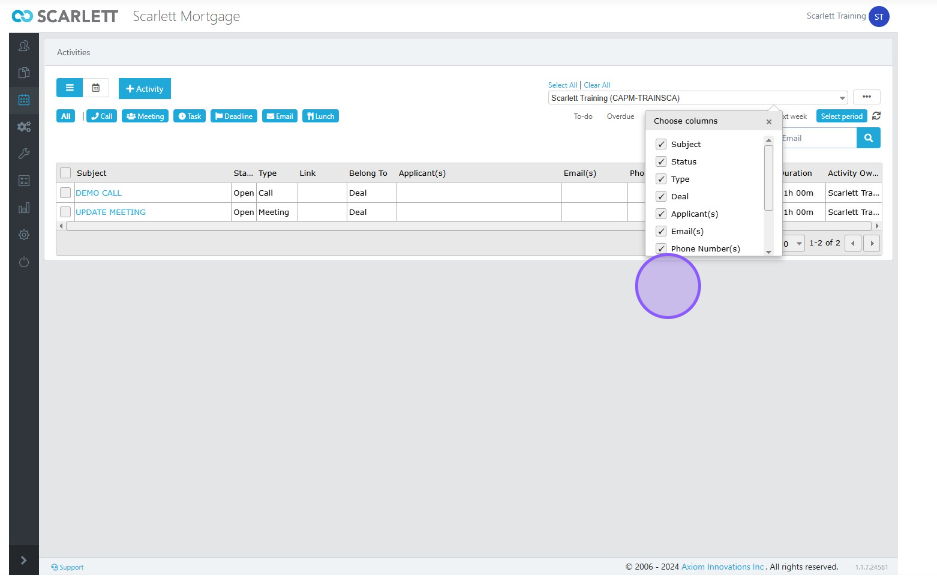
23) Then click the invite linked people box. This opens a text field where we can insert a message to Joe.
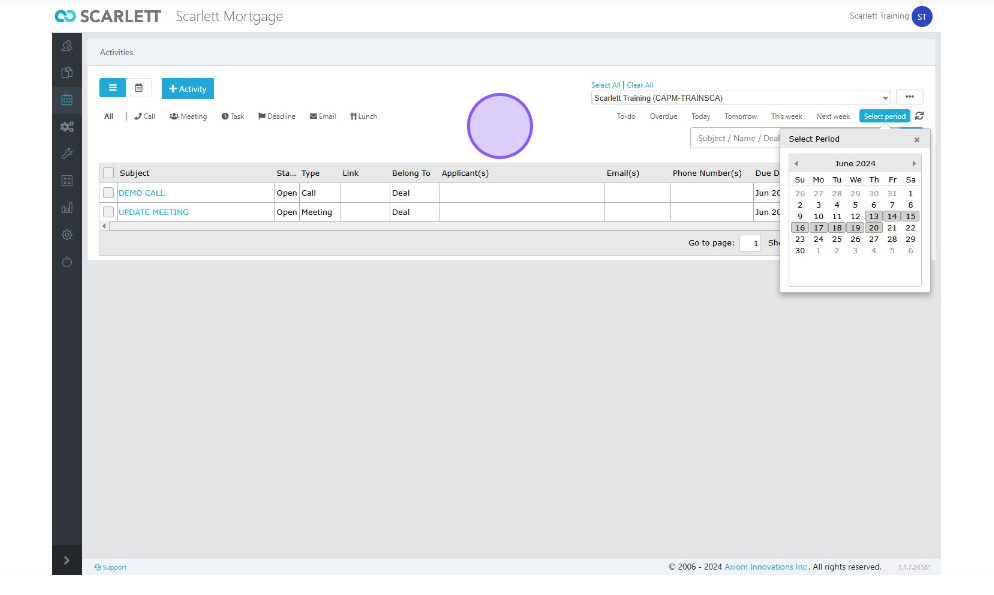
24) We can go back to our activities page and go to the selected period of our range, and you can see the activities balance of the month
25) You can also see filtered tasks accordingly by selecting the activity you want to view
26) You can customize your grid to personalize preferences from this dropdown menu

