Quick Search & Custom Filters
This guide provides step-by-step instructions on how to perform a quick search and create custom filters on the Scarlett Network mortgage platform. By following these steps, users can efficiently search for specific deals or applicants, apply tags, filter results, and create personalized filters for future use.
Video Walkthrough
Step-by-Step Guide
Quick Search
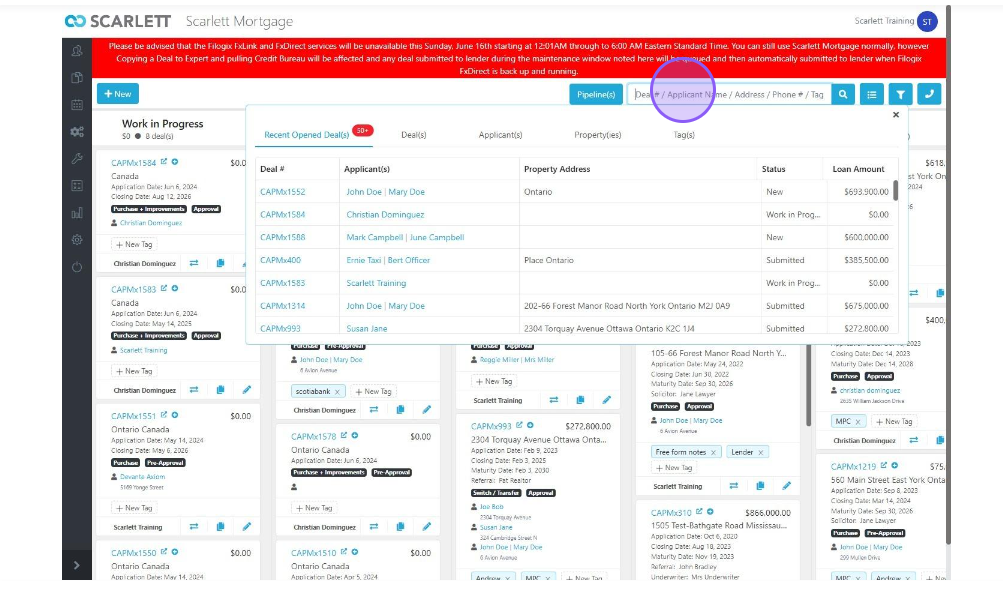
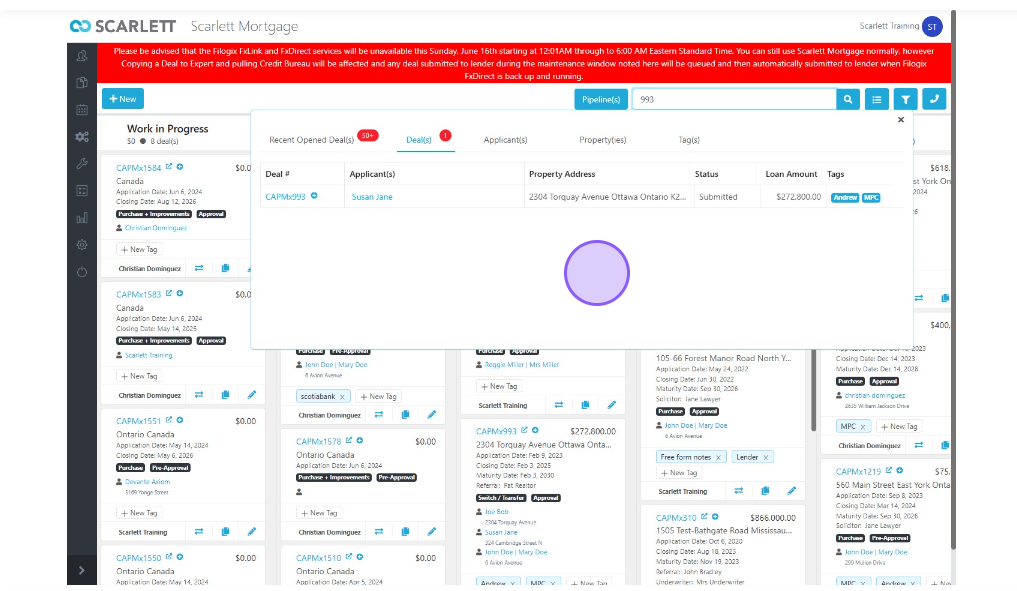
1) Type the Deal Number into the search bar in the top right
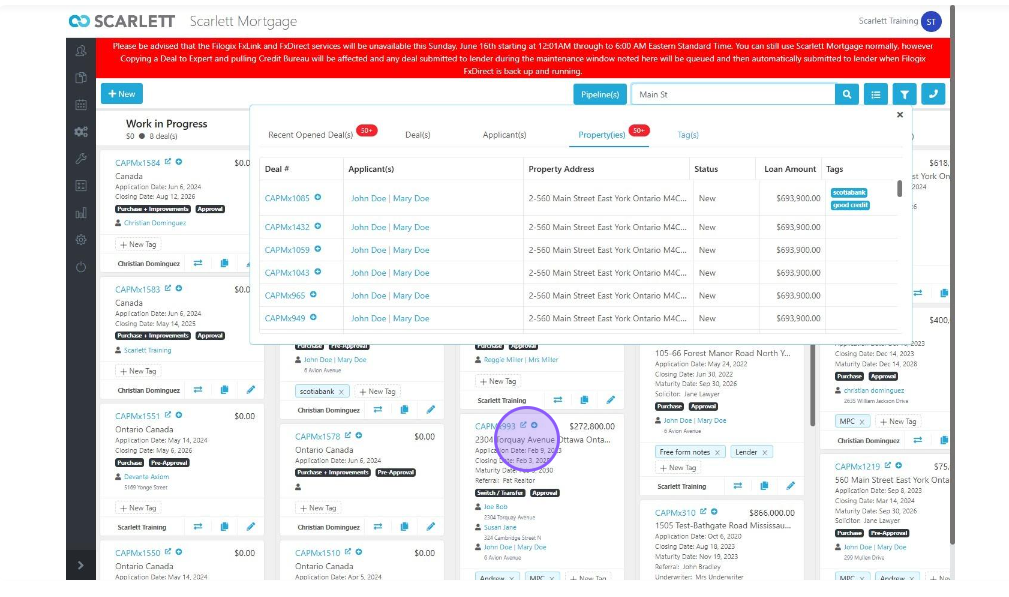
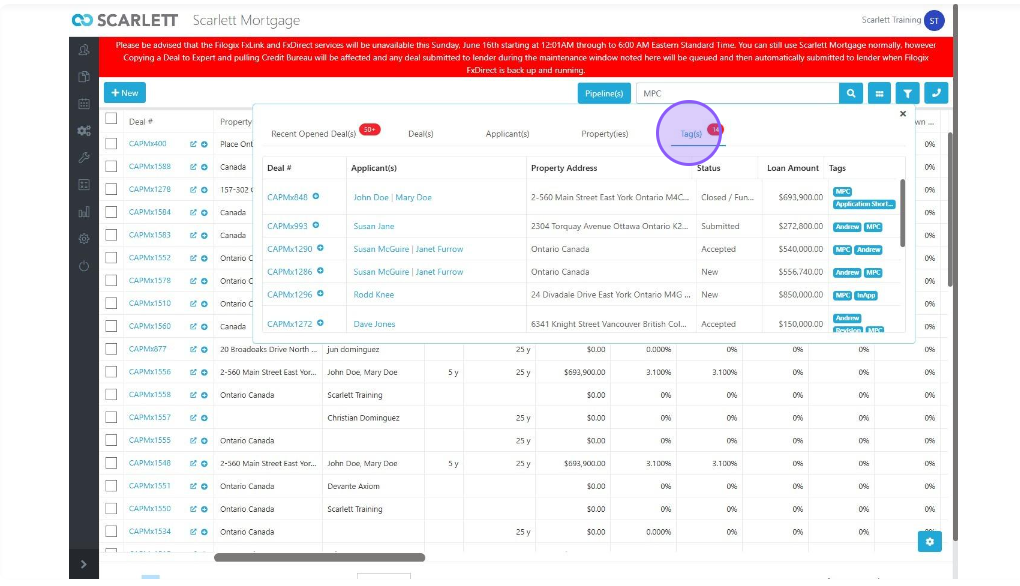
2) You can also search by Name, Property Address, or by Tag
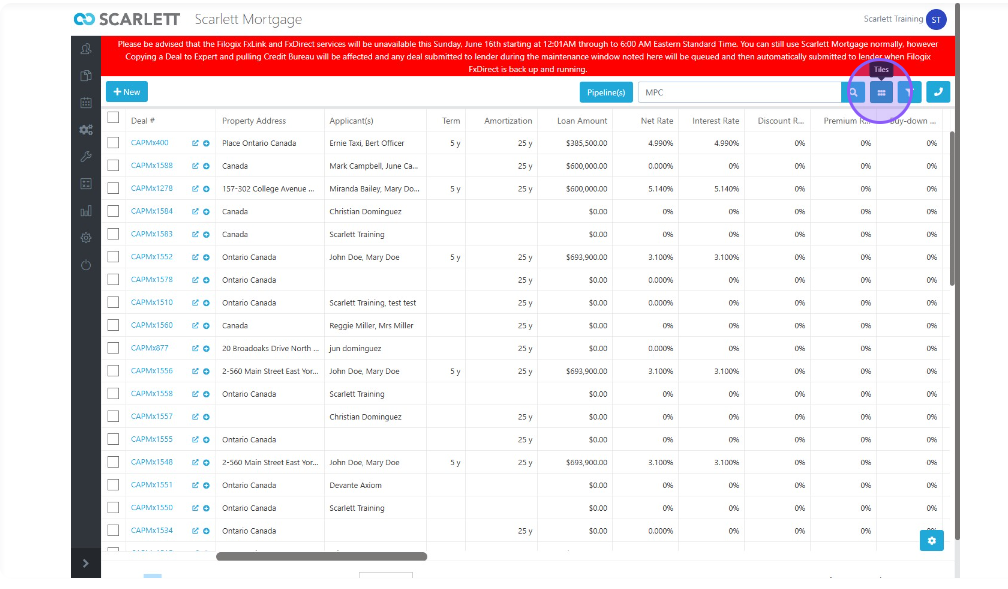
3) You can press the list button in the top right of the screen to display your information either in tile or list form.
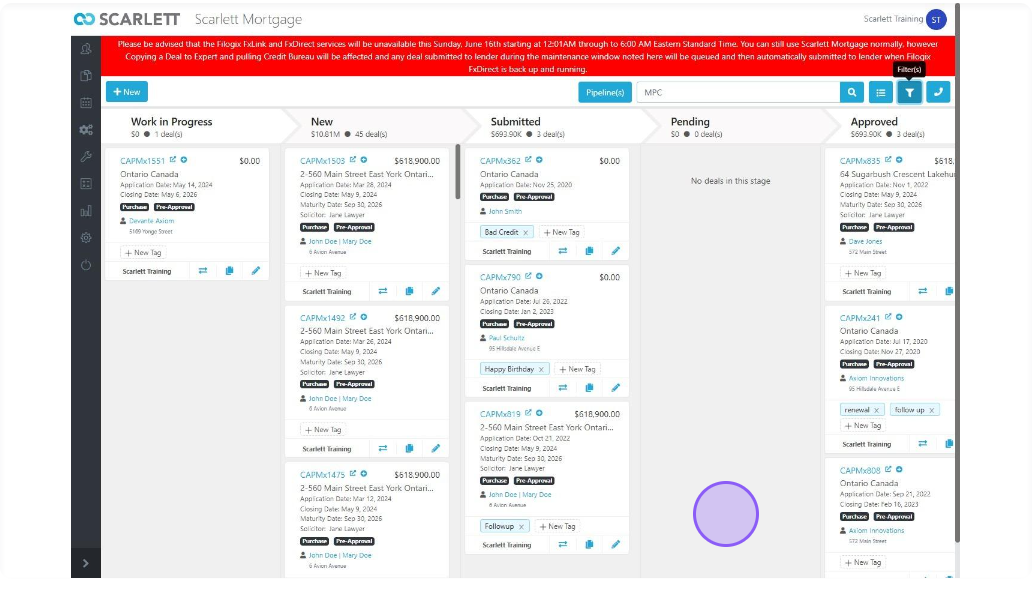
Accessing filters
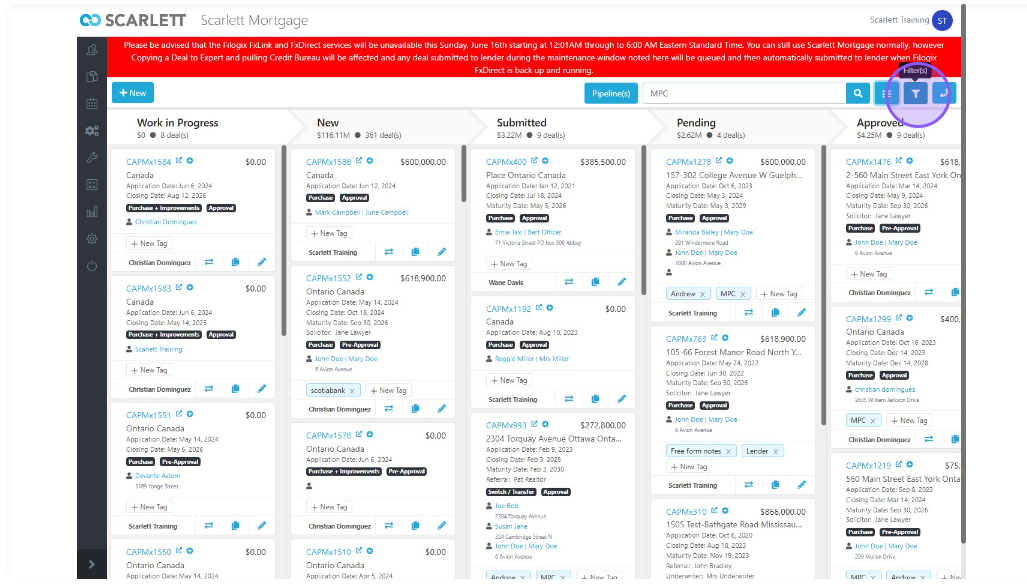
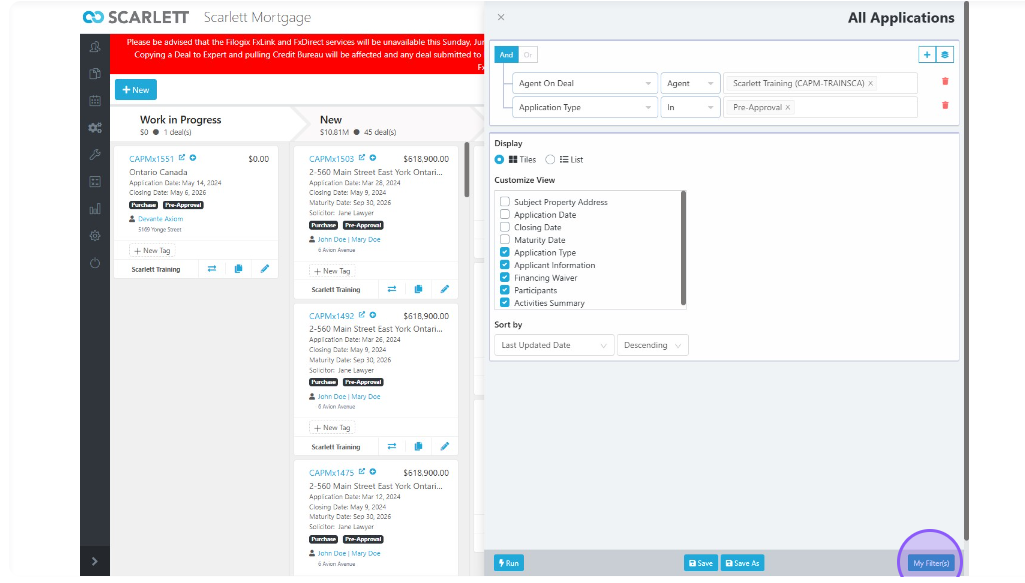
1) Click on the blue box in the top right of the screen to get to filters.
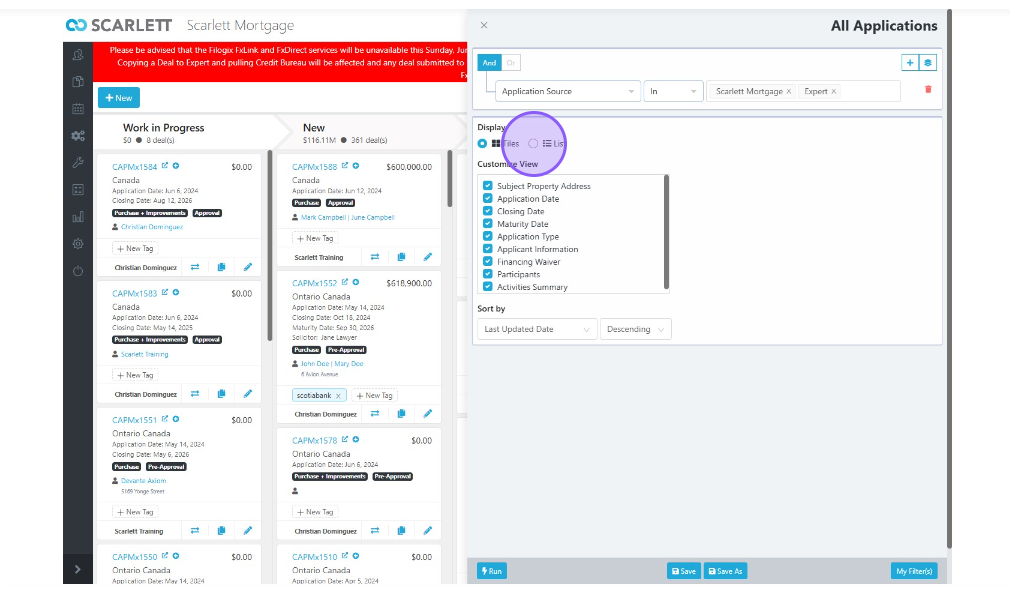
2) In the filters tab, you can once again select to view in List or Tile form
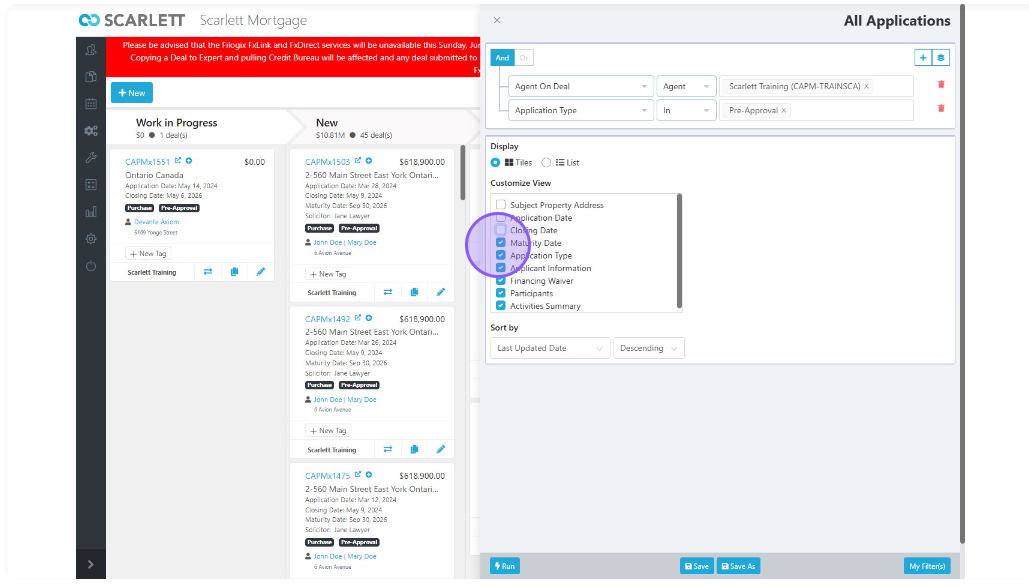
3) You can customize your view by including or not including different criteria such as Subject Property Address or Application Date
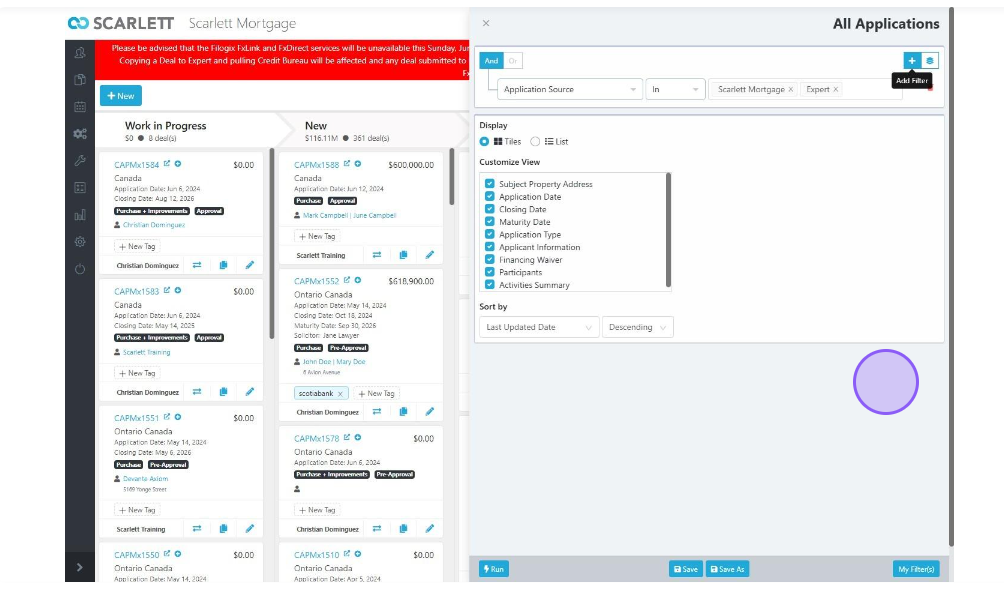
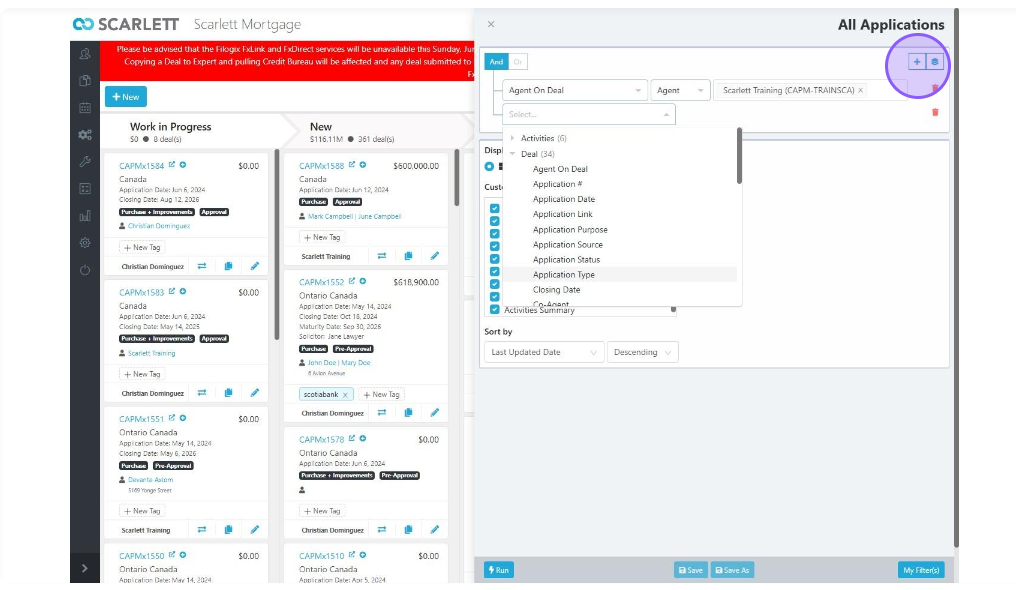
4) You are also able to add to the filter by clicking on the "Plus" button in the top right of the screen
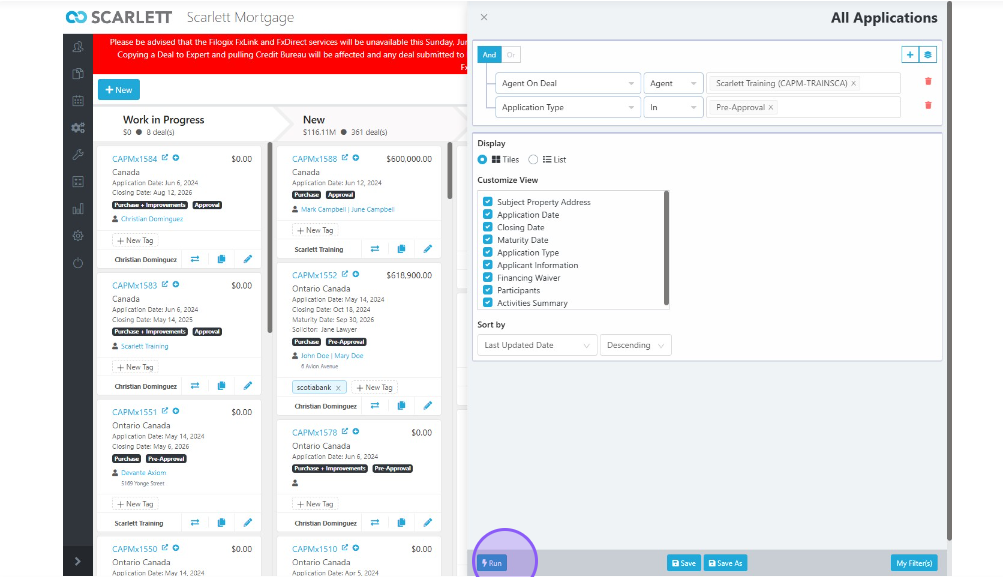
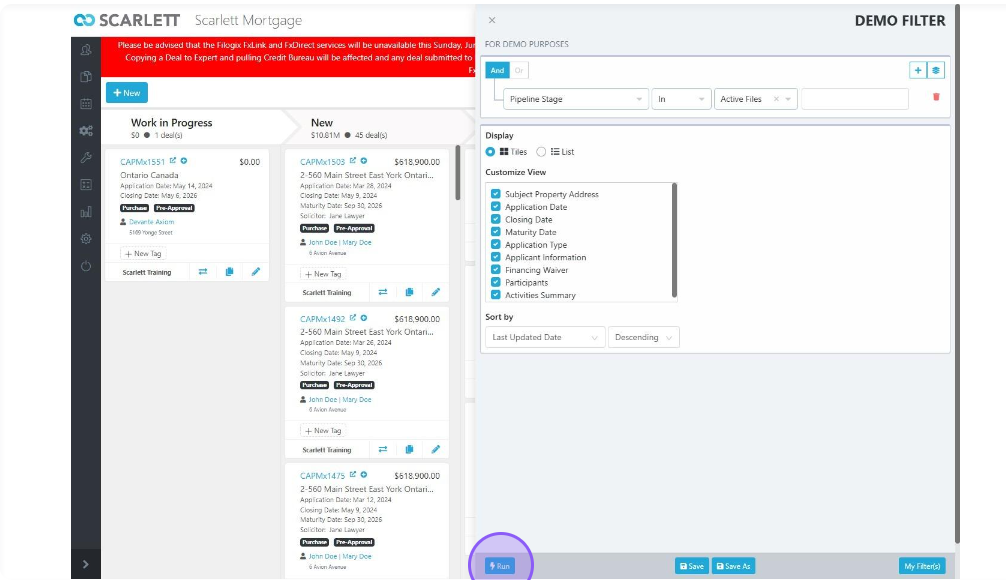
5) Here we entered "Application Type", "In", and "Pre-approval". When you are satisfied with your search criteria click the "Run" button at the bottom left of your screen
6) Now you can see all of the "Scarlett Training" agent's deals which are pre-approvals
7) You can also customize the information that is displayed in the filter results from the display panel by clicking on any of the tick boxes based on your personal preferences
Saving Custom Filters
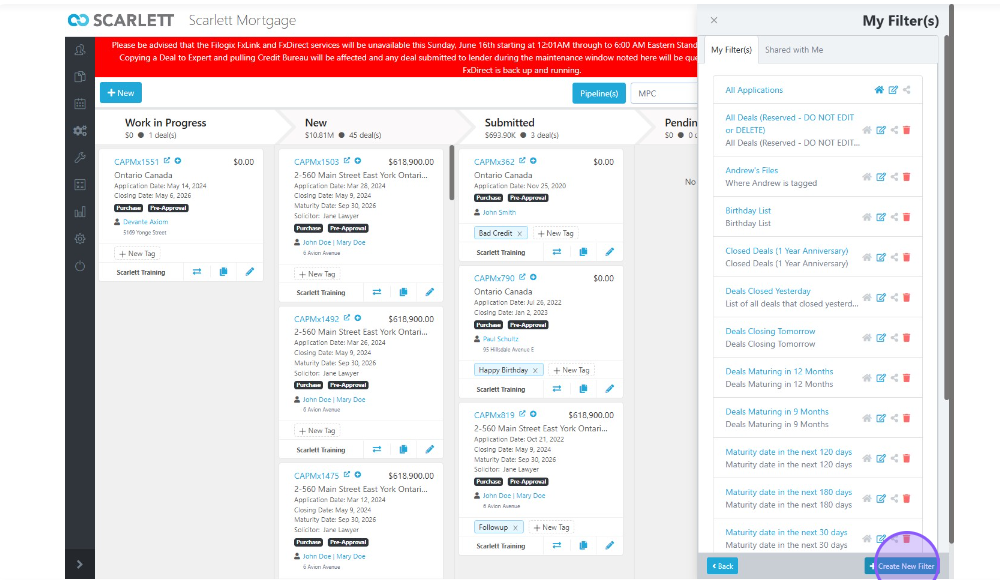
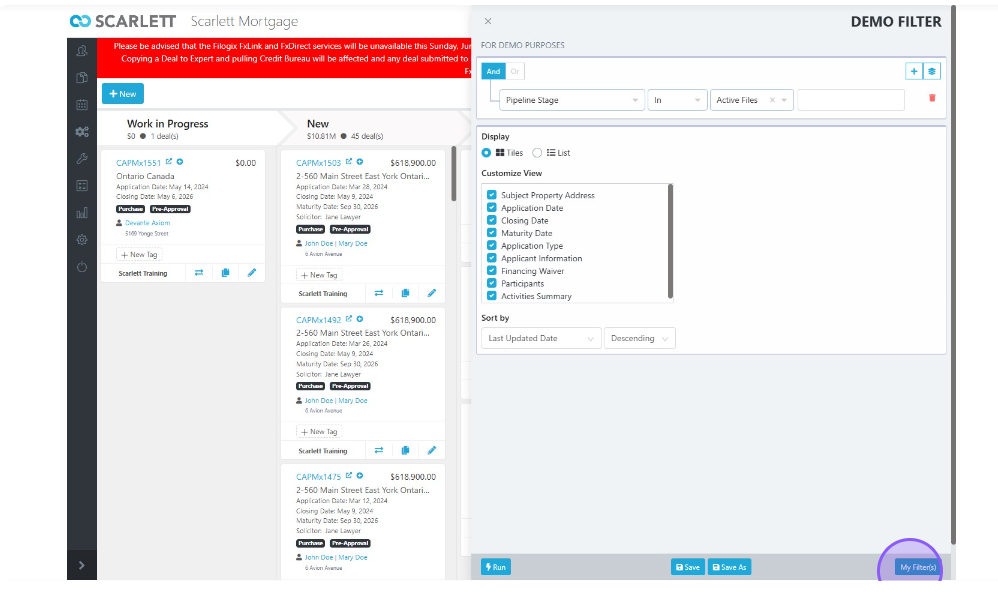
1) You can create custom filters by clicking the "My Filter(s)" button in the bottom right
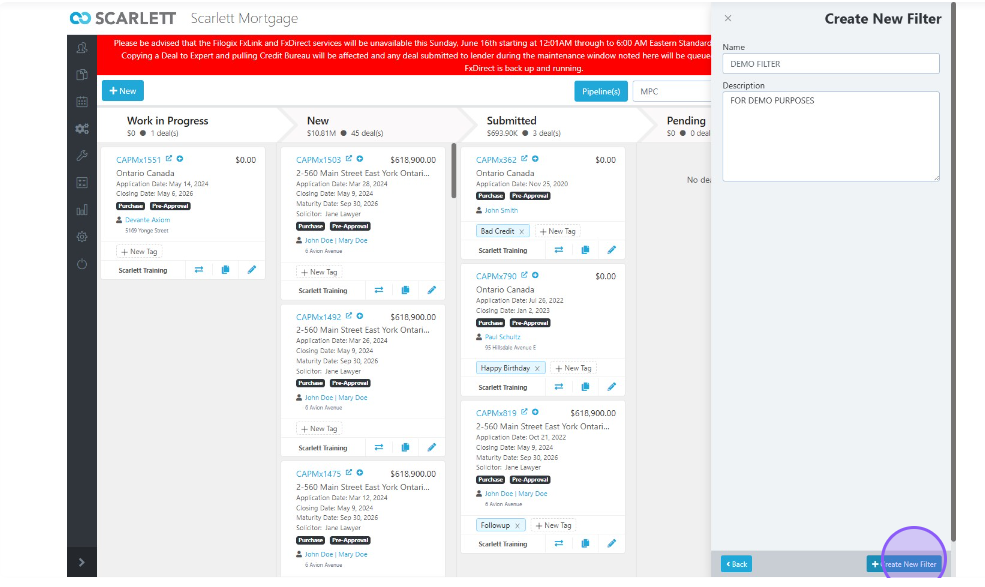
2) This window displays the library filters created previously. To create a new filter click the "Create New Filter" button in the bottom right of the screen
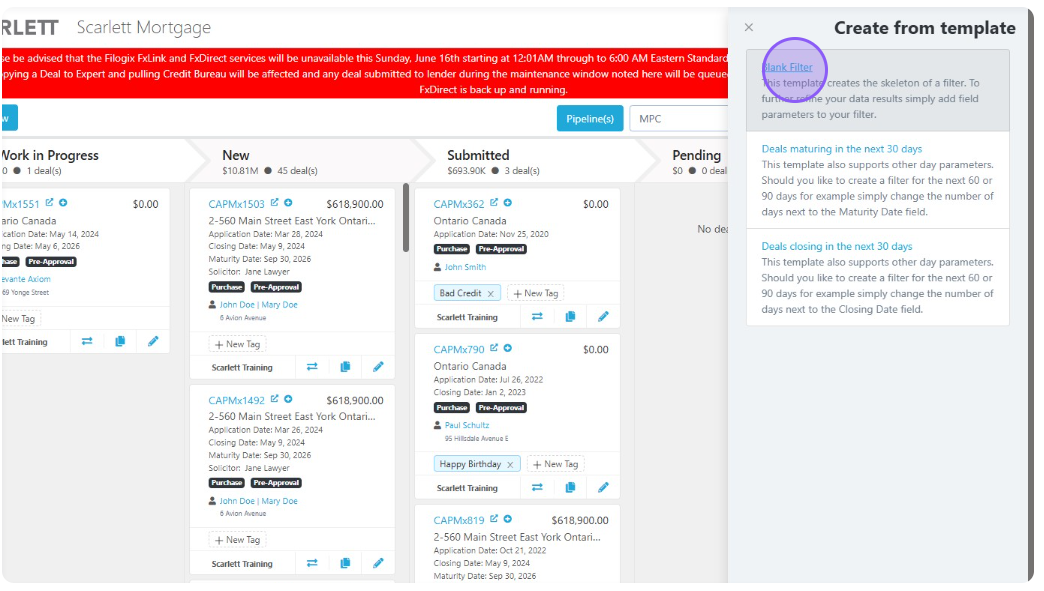
3) This screen gives you the option to choose "Blank Filter", "Deals maturing in the next 30 days", or "Deals closing in the next 30 days". Here we will choose the "Blank Filter" option
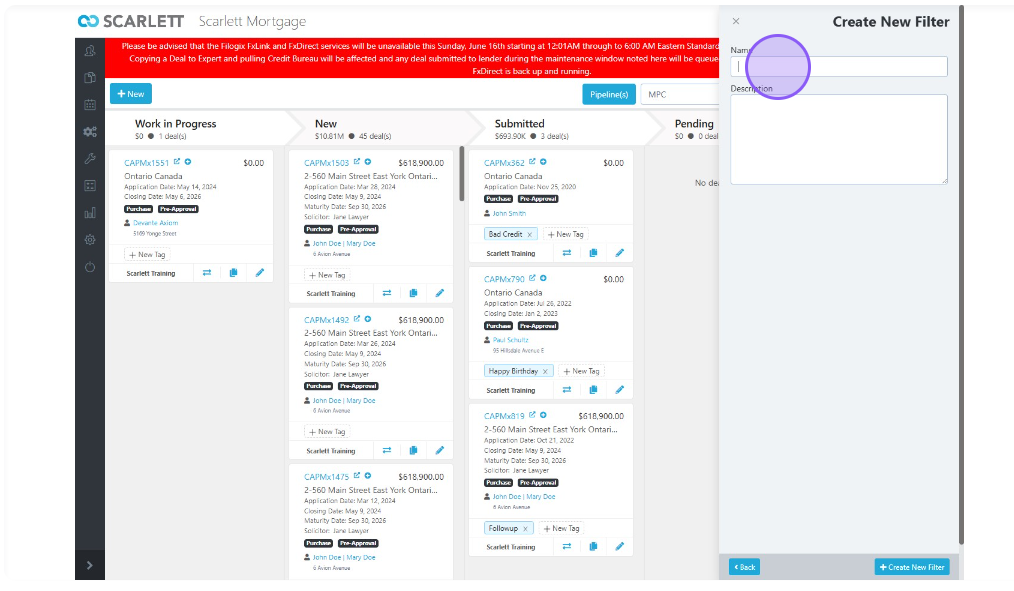
4) Apply a name to the filter, as well as a brief description
5) Create the filter for your requirements and click the "Save" button
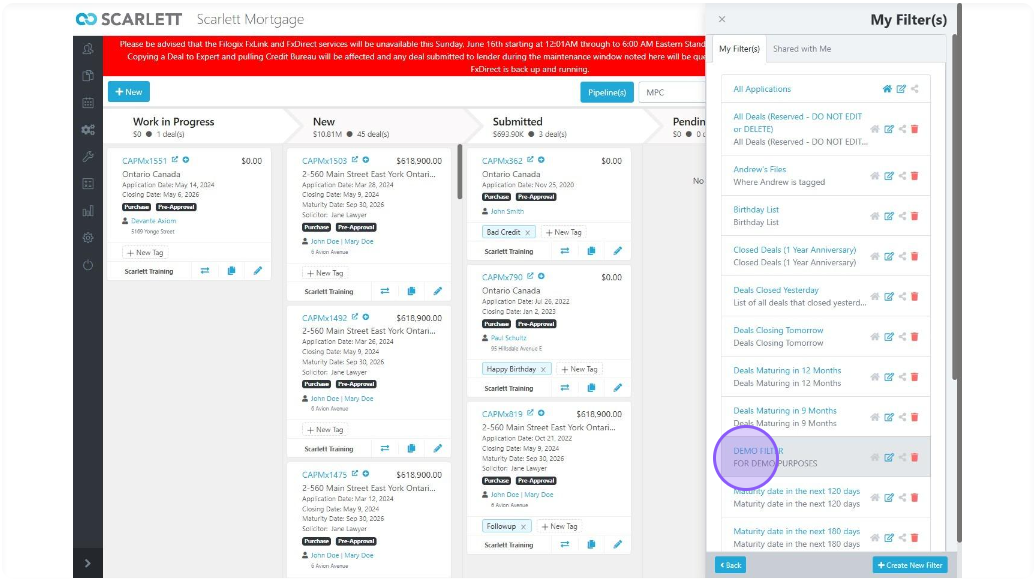
6) Now to view the filter you created click the "My Filter(s)" button in the bottom right
7) As you can see, under the "My Filter(s)" tab there is DEMO FILTER
Sharing filters
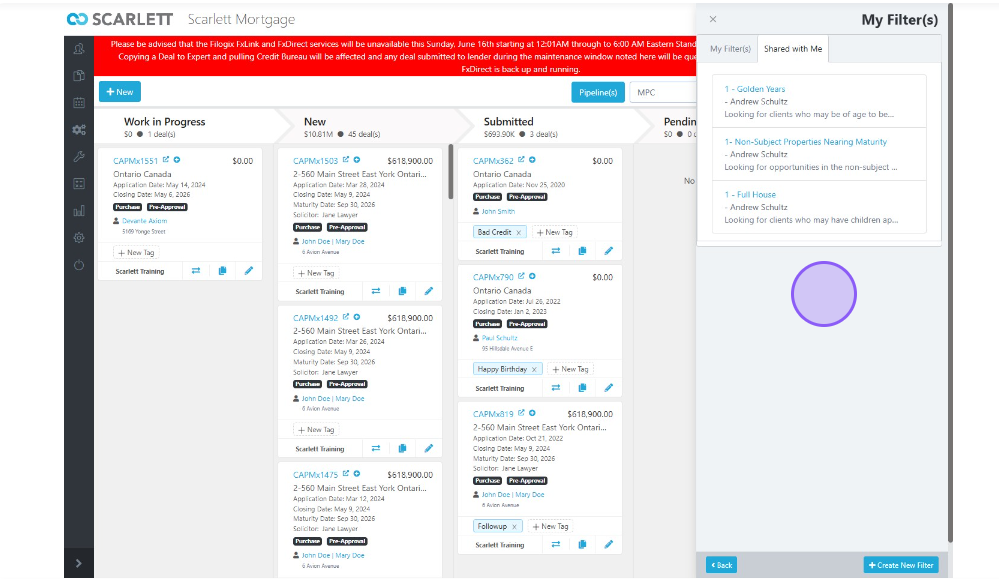
You are also able to share your filters once you've created them. Under the "Shared with Me" box we can see all the filters shared with our account.
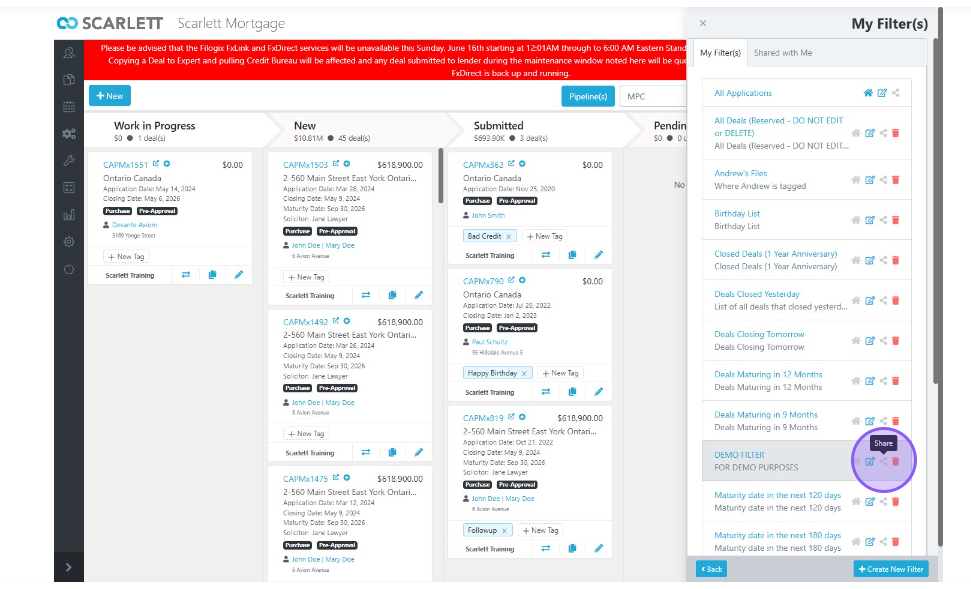
1) To share a filter, navigate to the "My Filter(s)" tab and click the share button
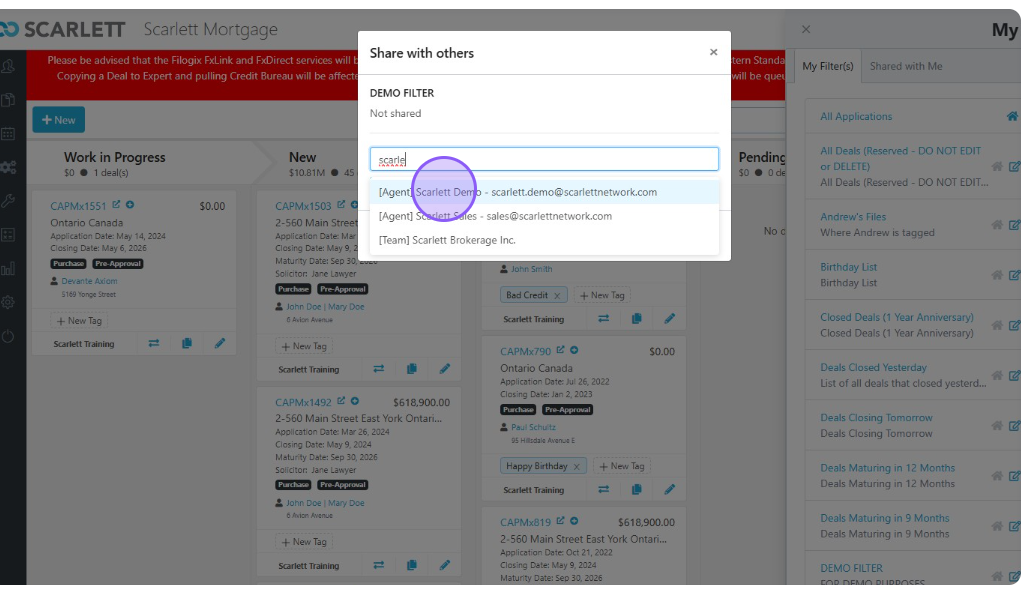
2) Here you will get a list of agents to share the filter to. Here we will share it to the "Scarlett Demo" agent
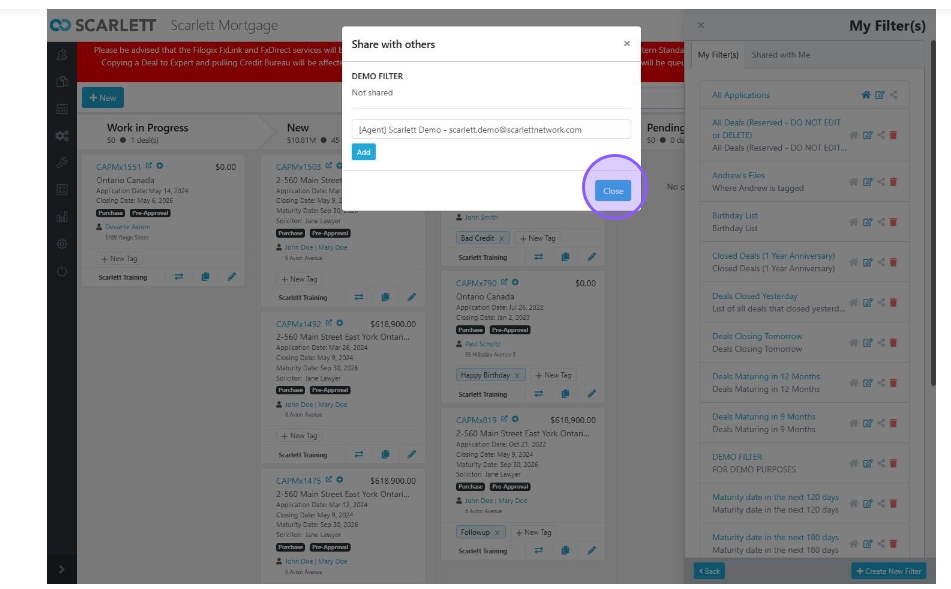
3) Make sure you hit the close button when you are done sharing to an agent!
