Request & Receive Bank Statements from your Clients
This guide gives you instructions of how to request and receive bank statements from your clients. It goes over how to access documents through Flinks and how to bank statement documents within the system. Following these steps will help you access and manage bank statements with ease in the Scarlett system.
Video Walkthrough
Step-by-Step Guide
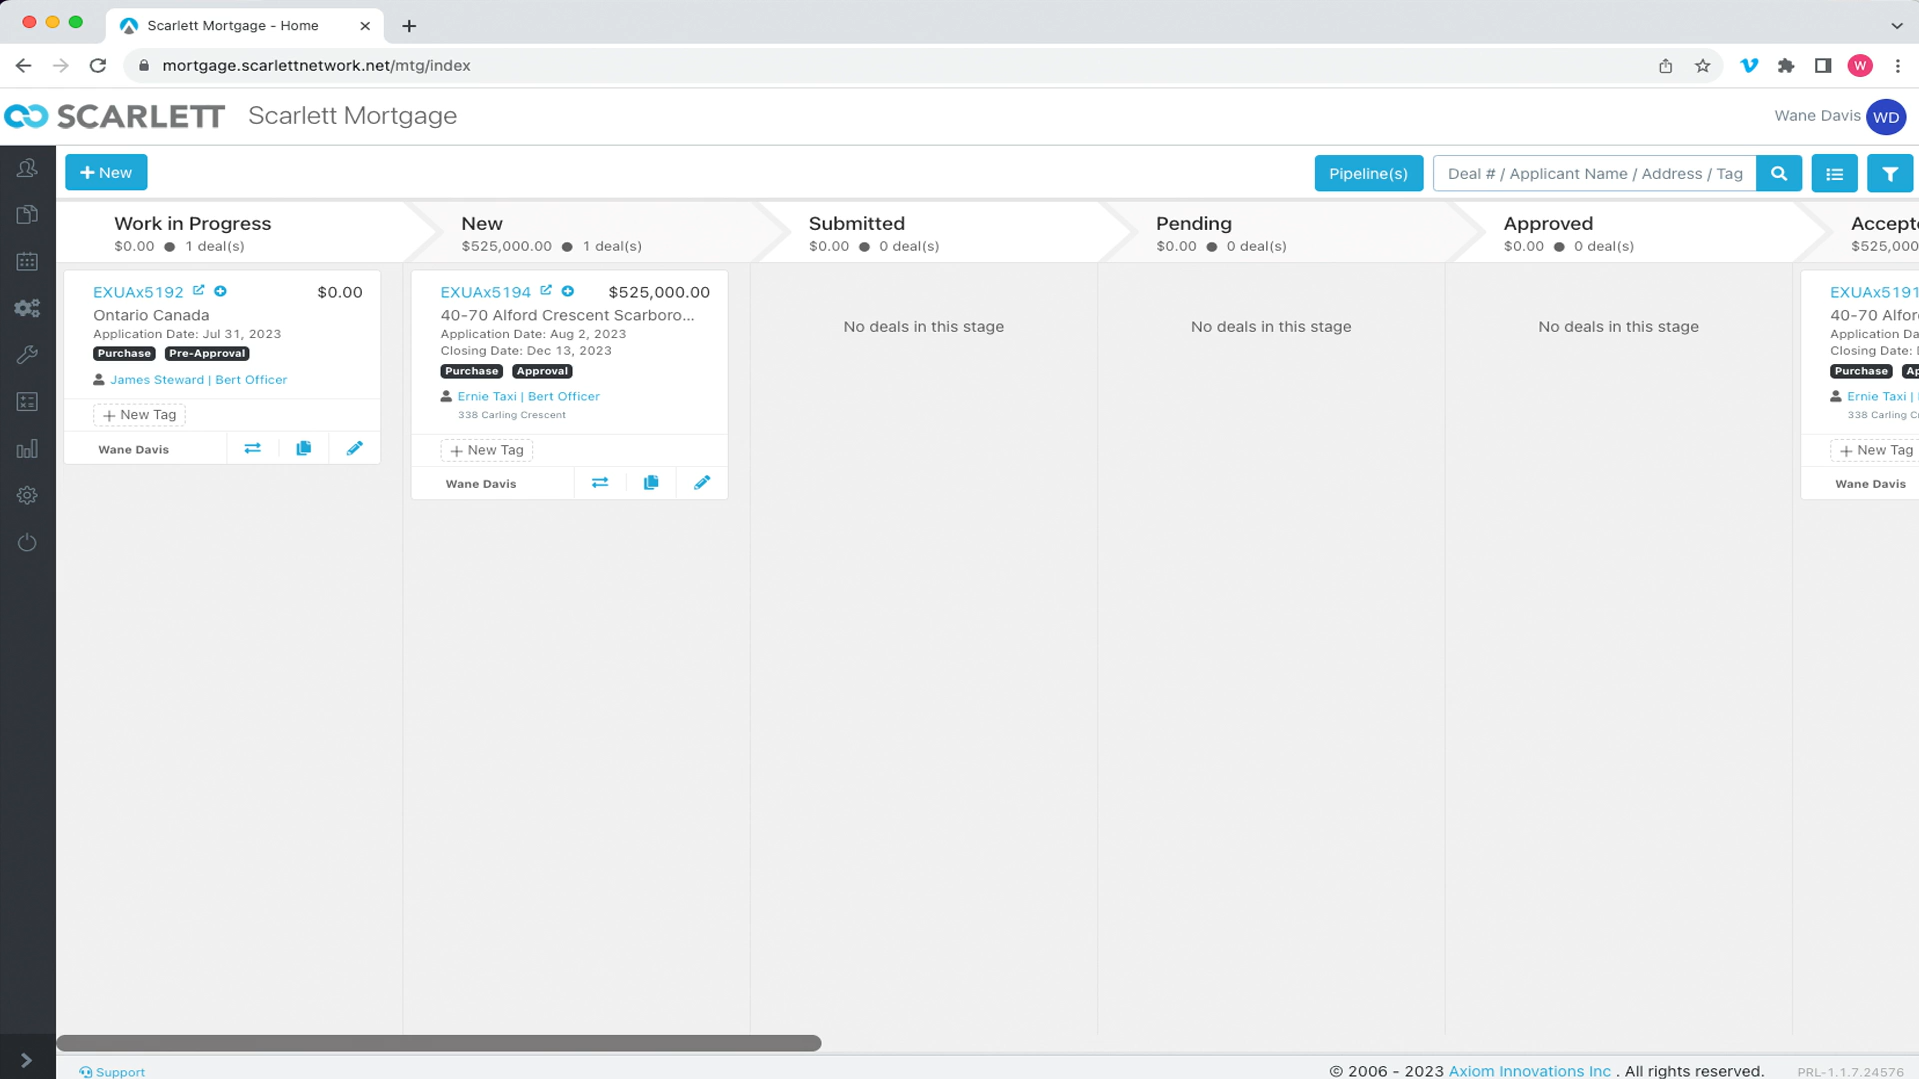
1) Click on the specific deal you want to receive bank statements from. Here we will select deal #5194.
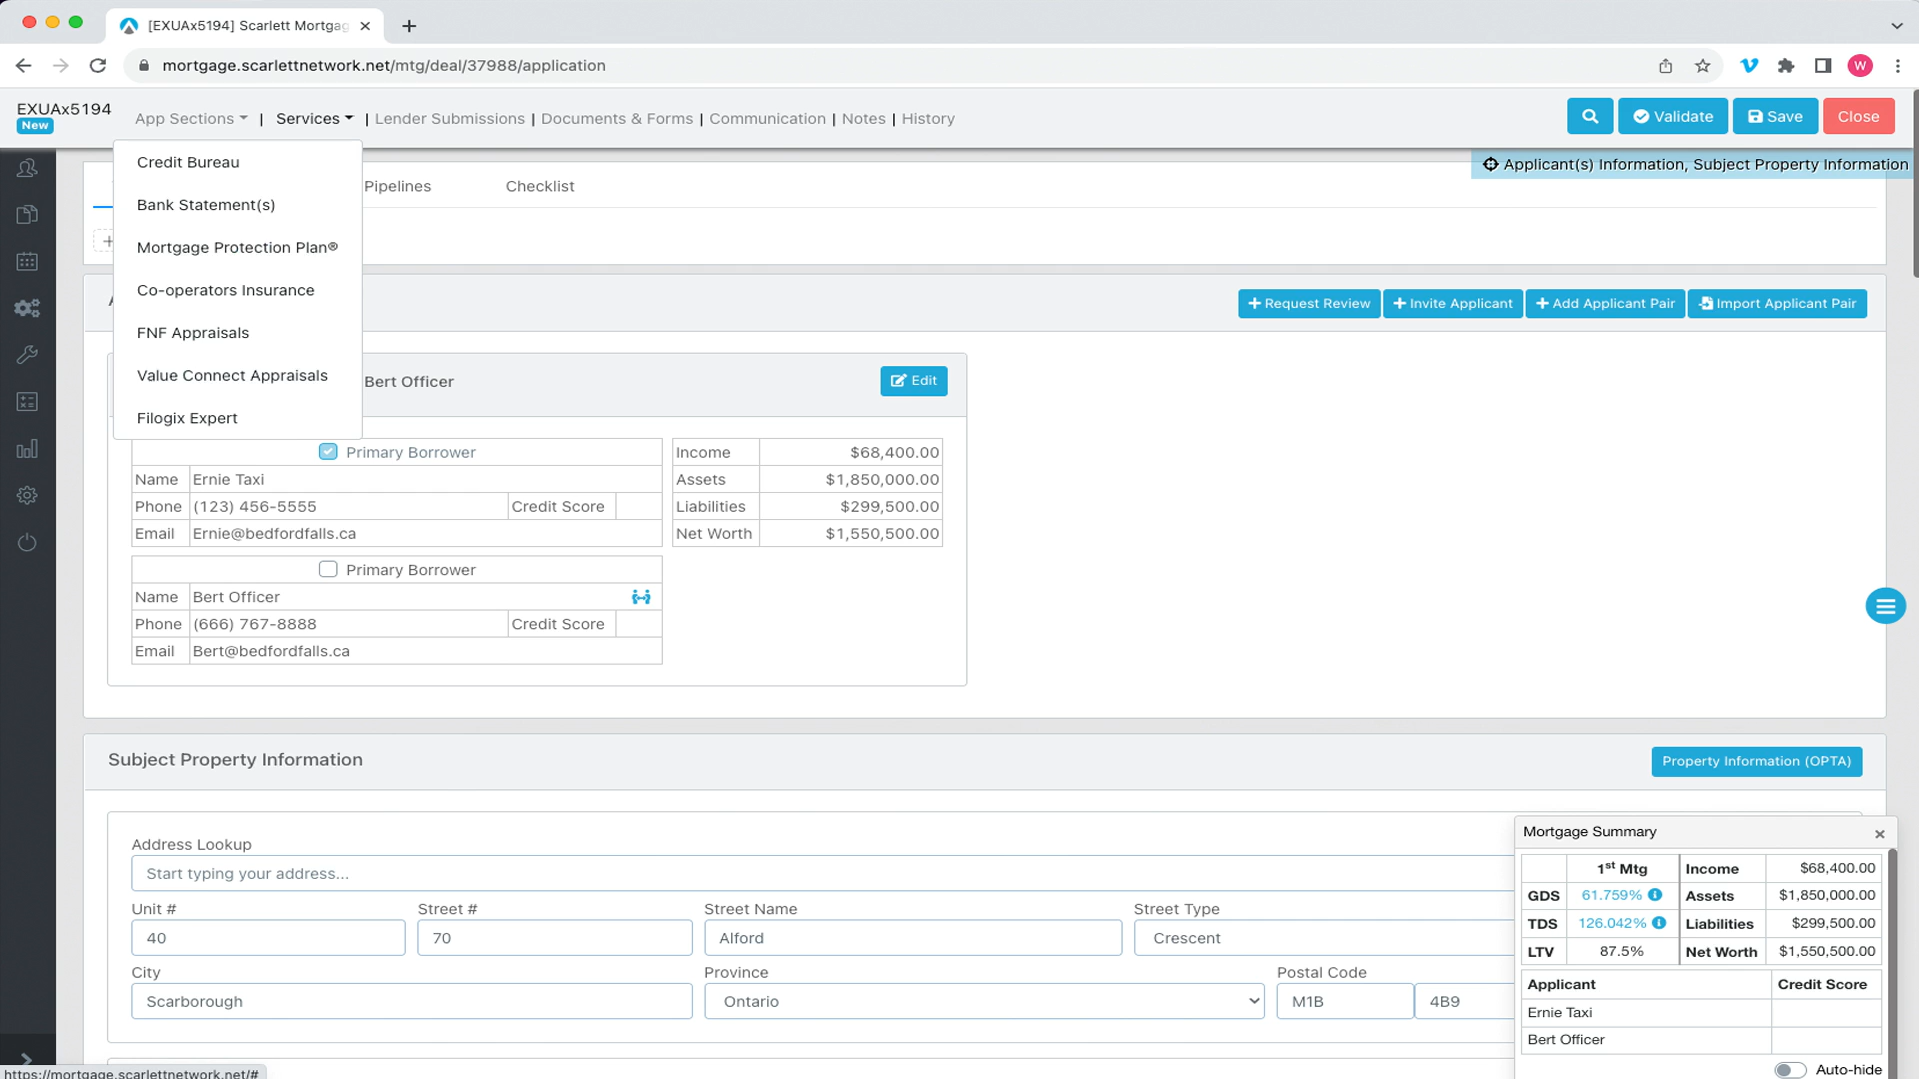
2) Go to the service dropdown menu and select "Bank Statement(s)"
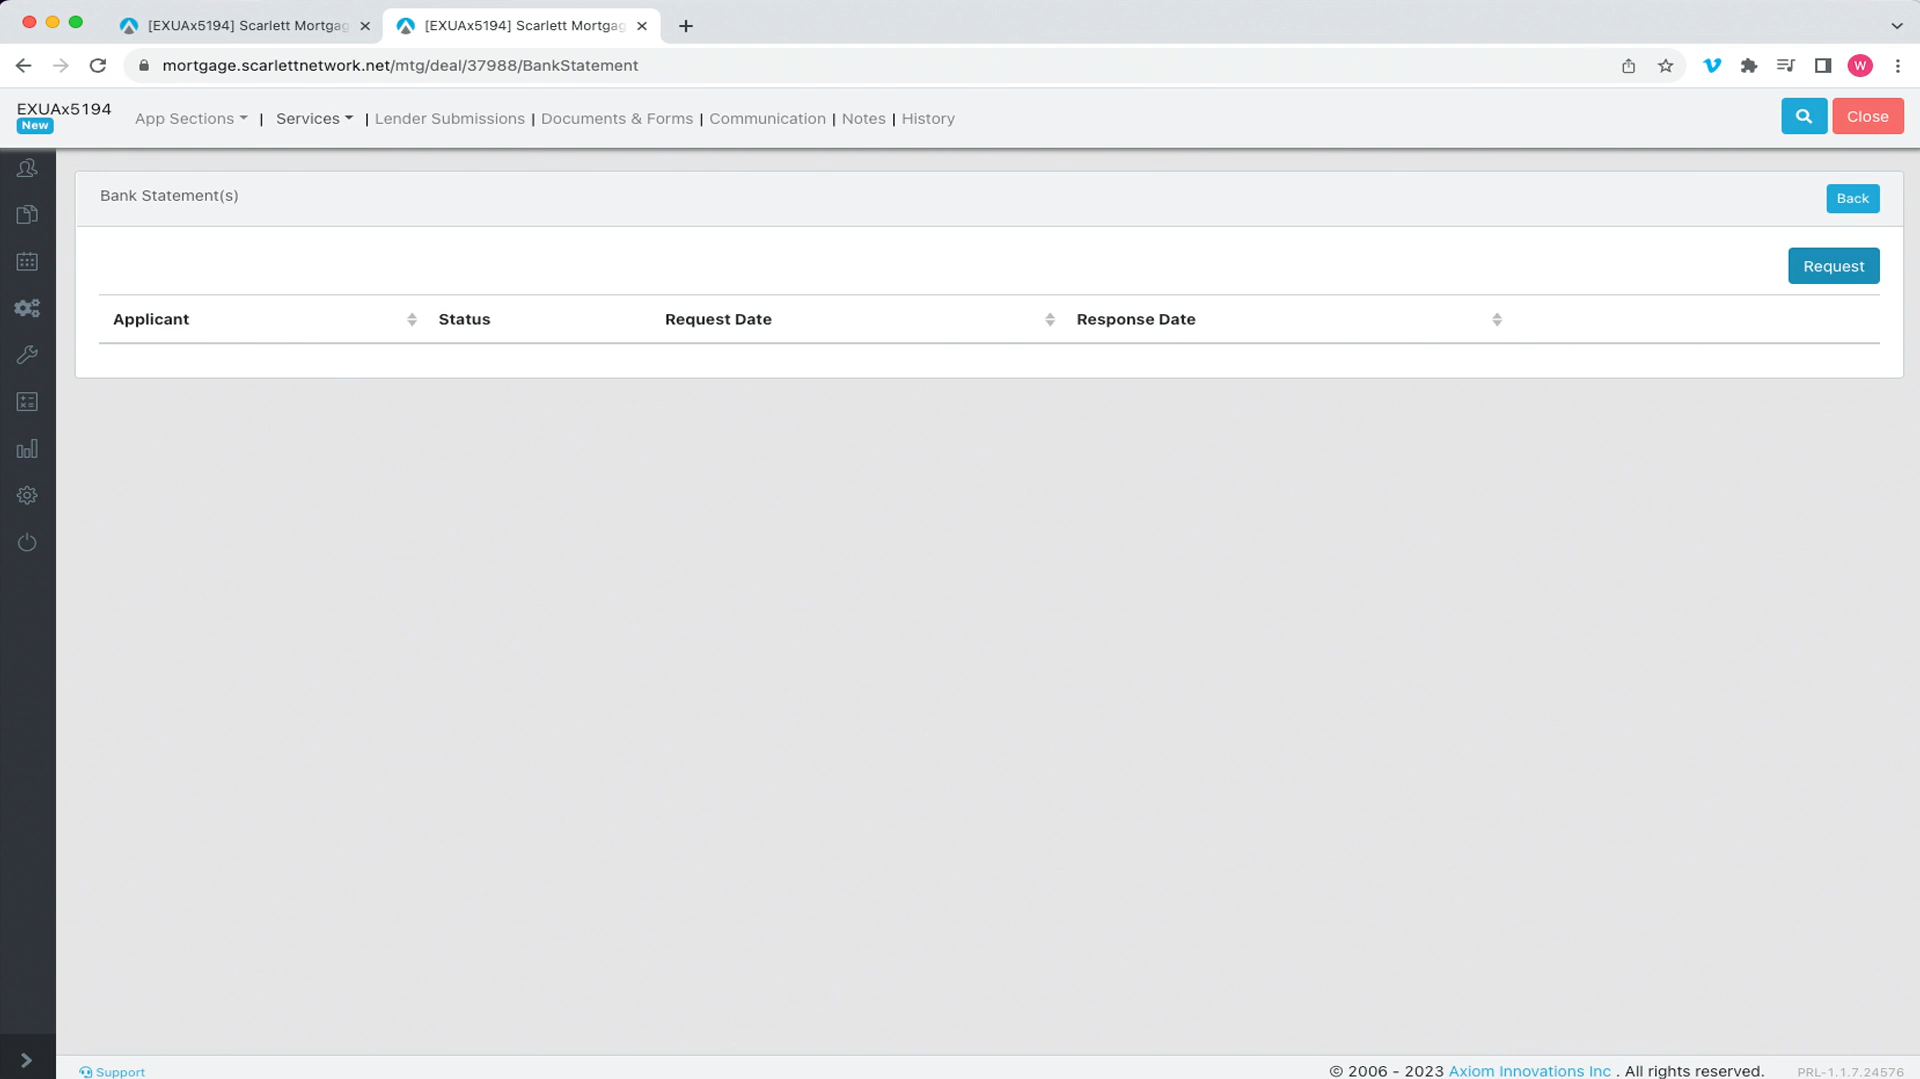
3) Here, a new pop-up window opens up. Click on request on the right side of the screen.
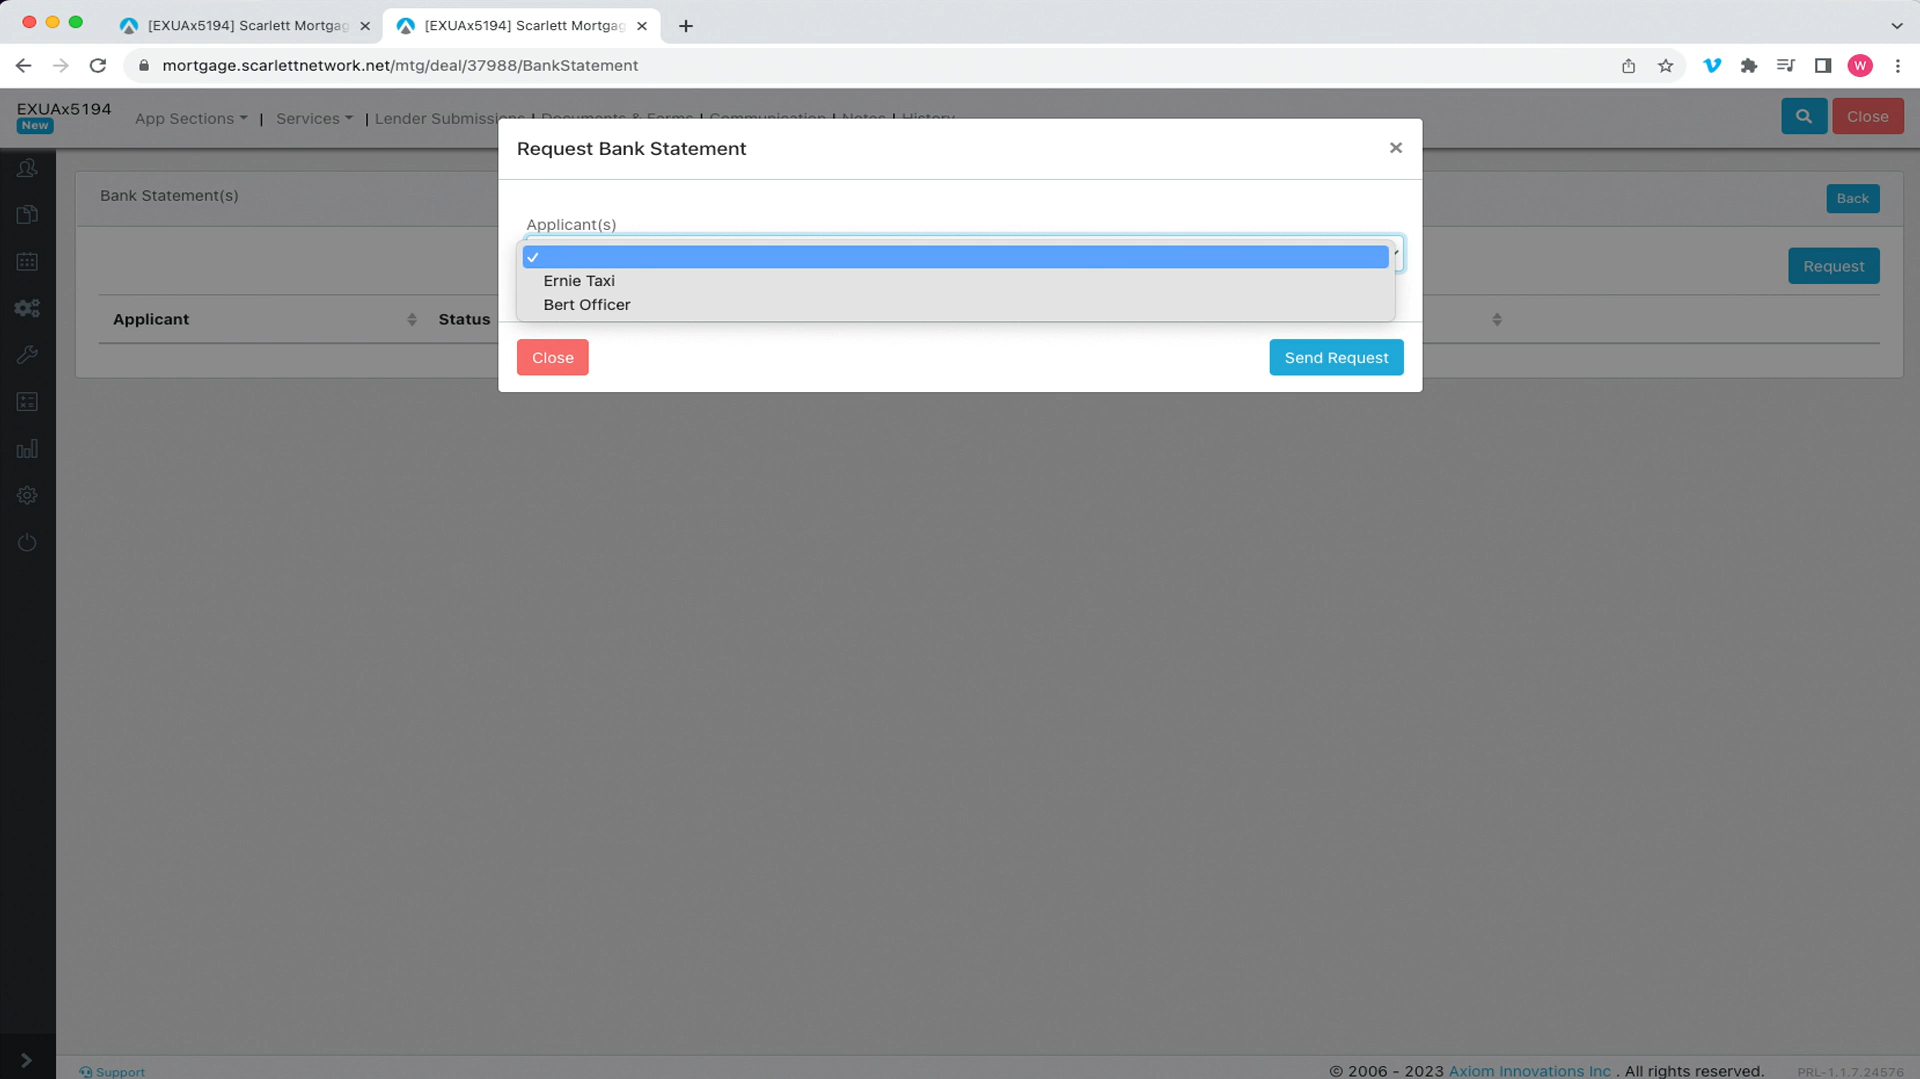
4) This opens a new dropdown where you can select the applicant we are requesting statements for. Let's choose Ernie and click on send request.
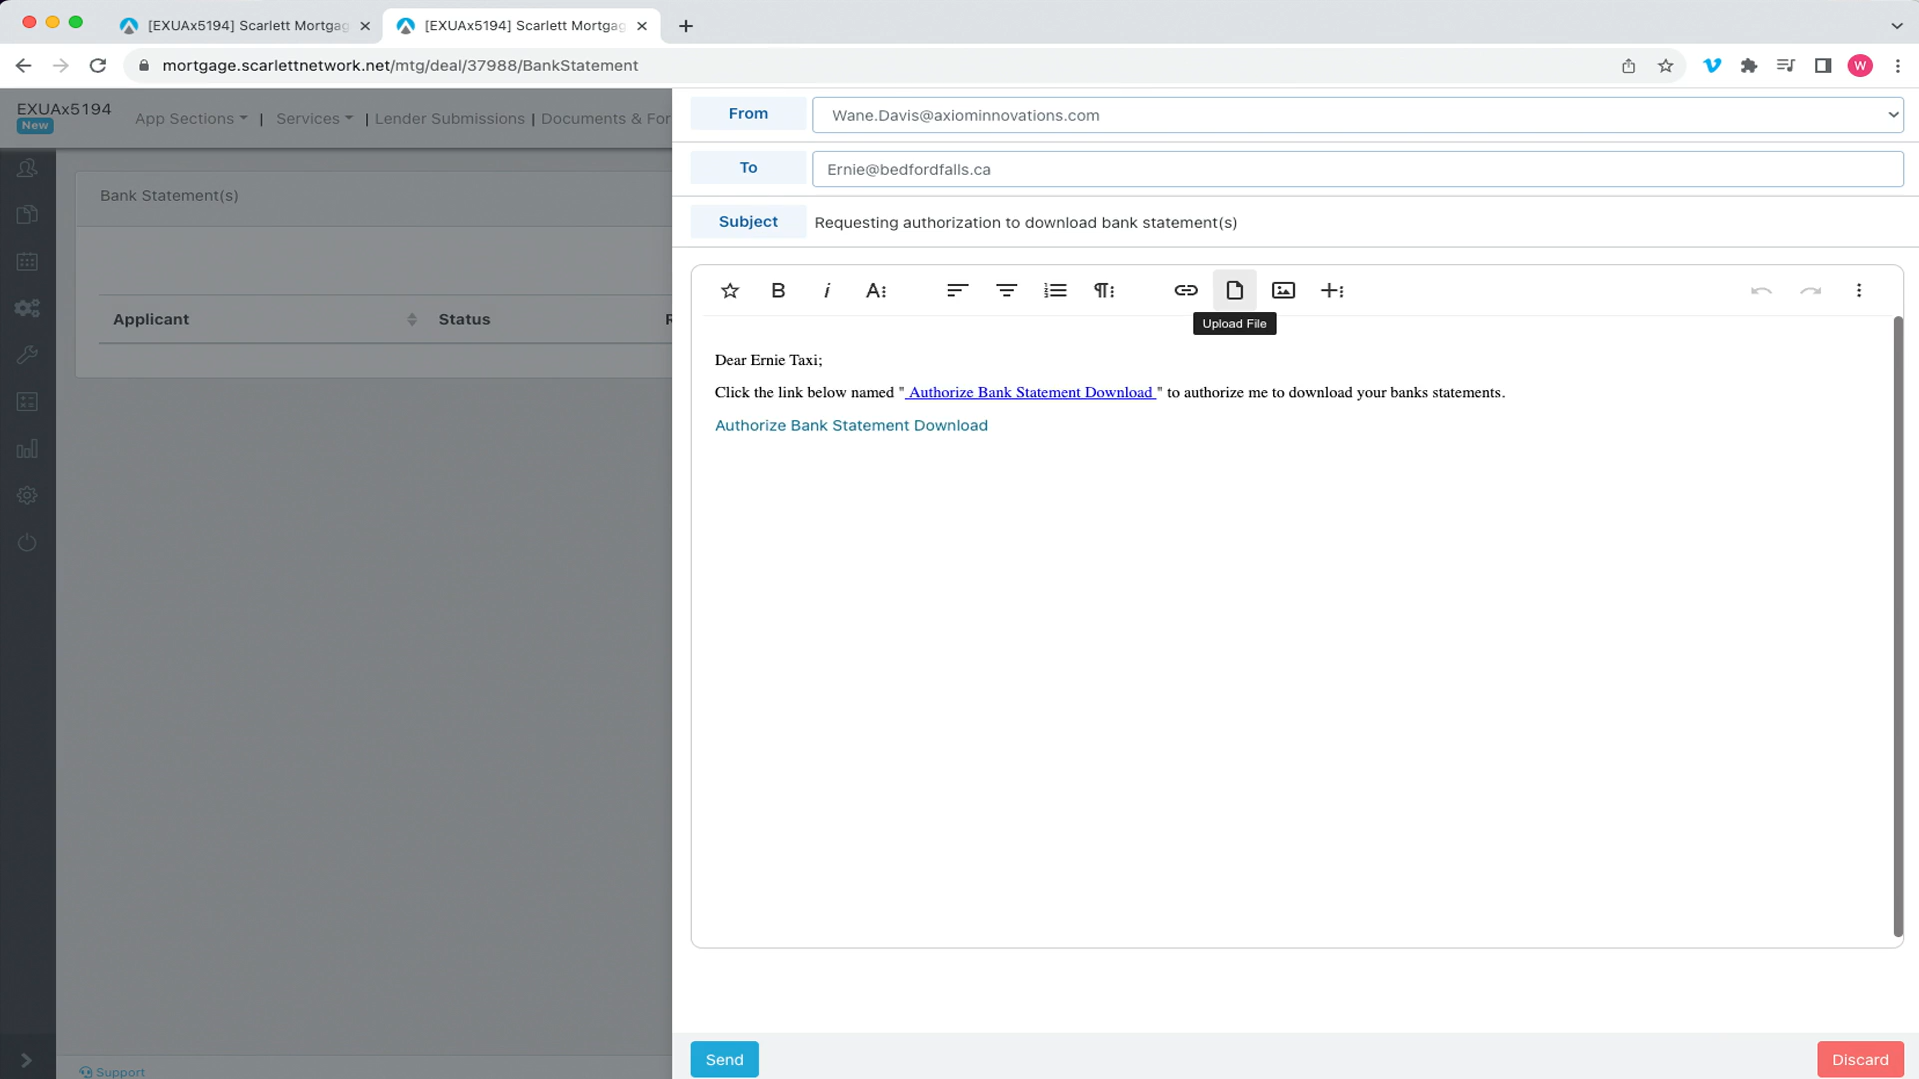
5) This is the e-mail that will be going out to the clients for the request. Click "Send" when you are happy with the e-mail.
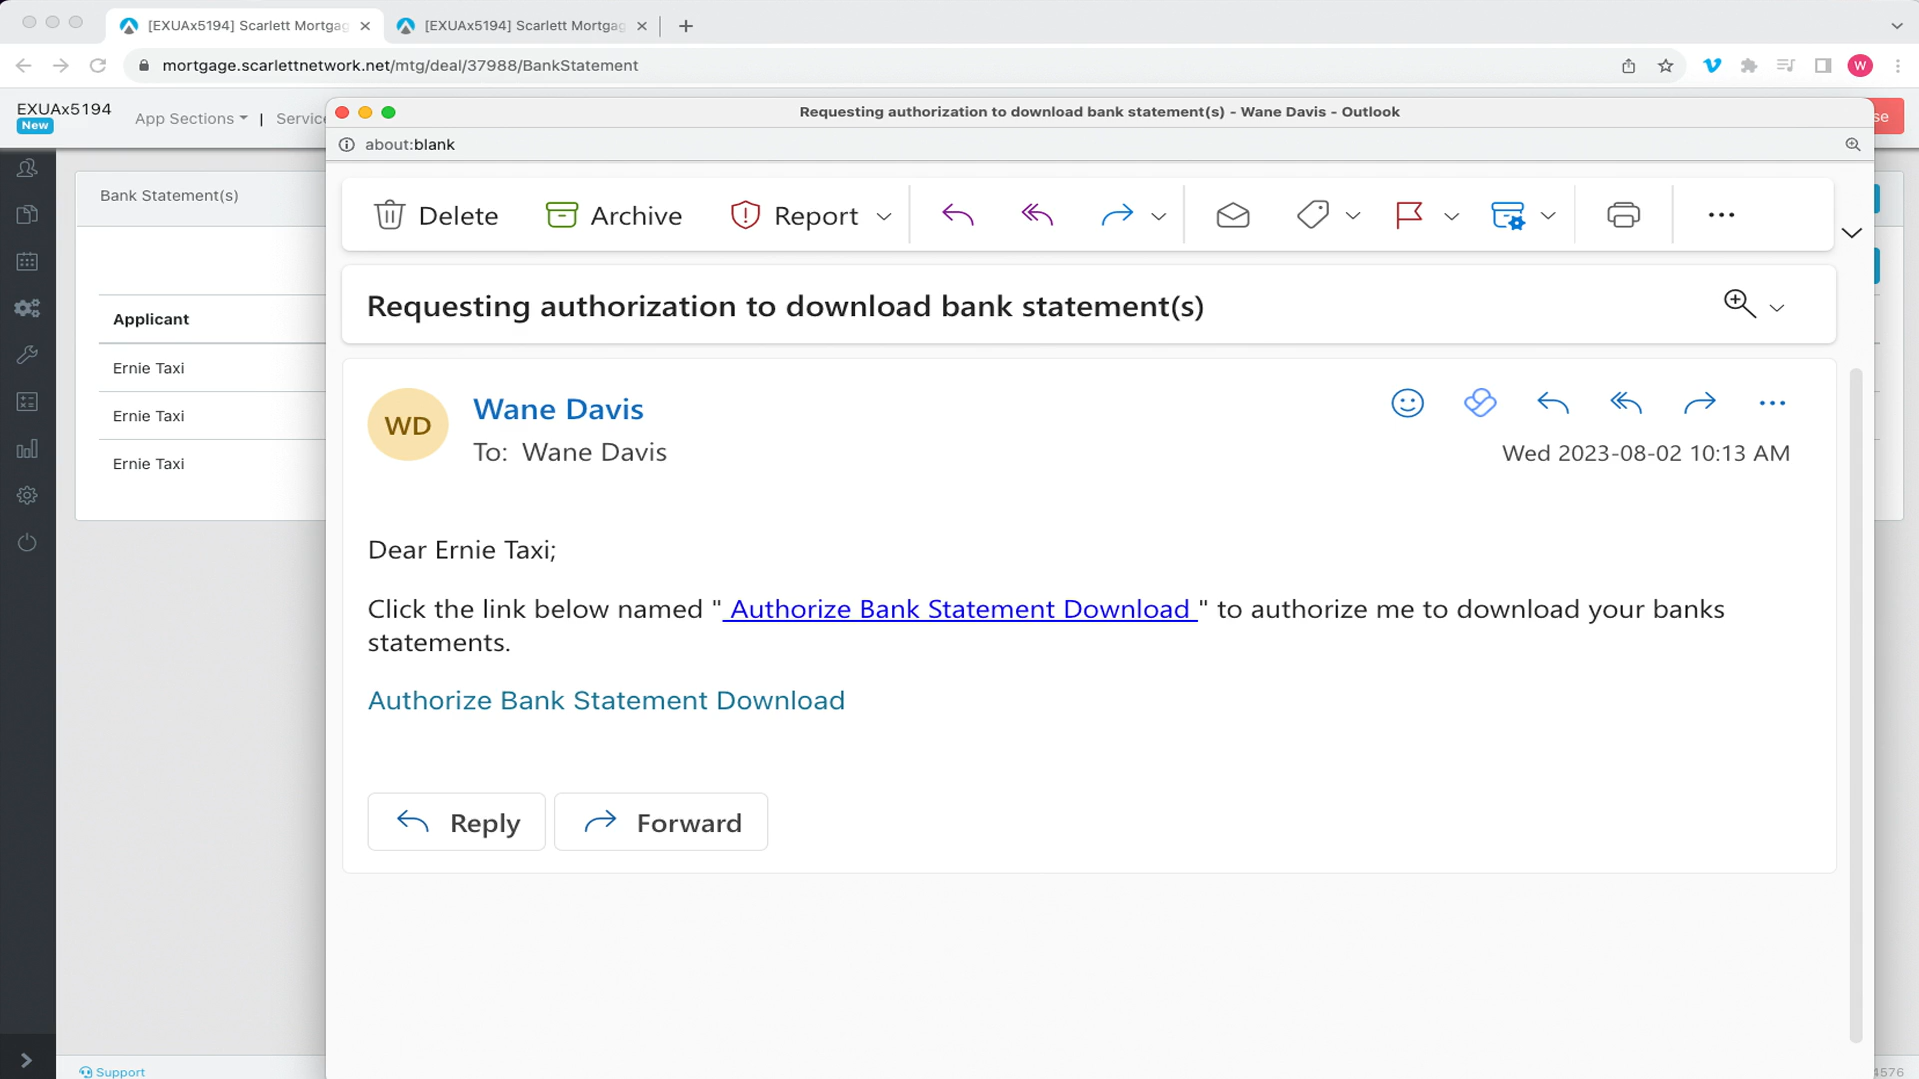
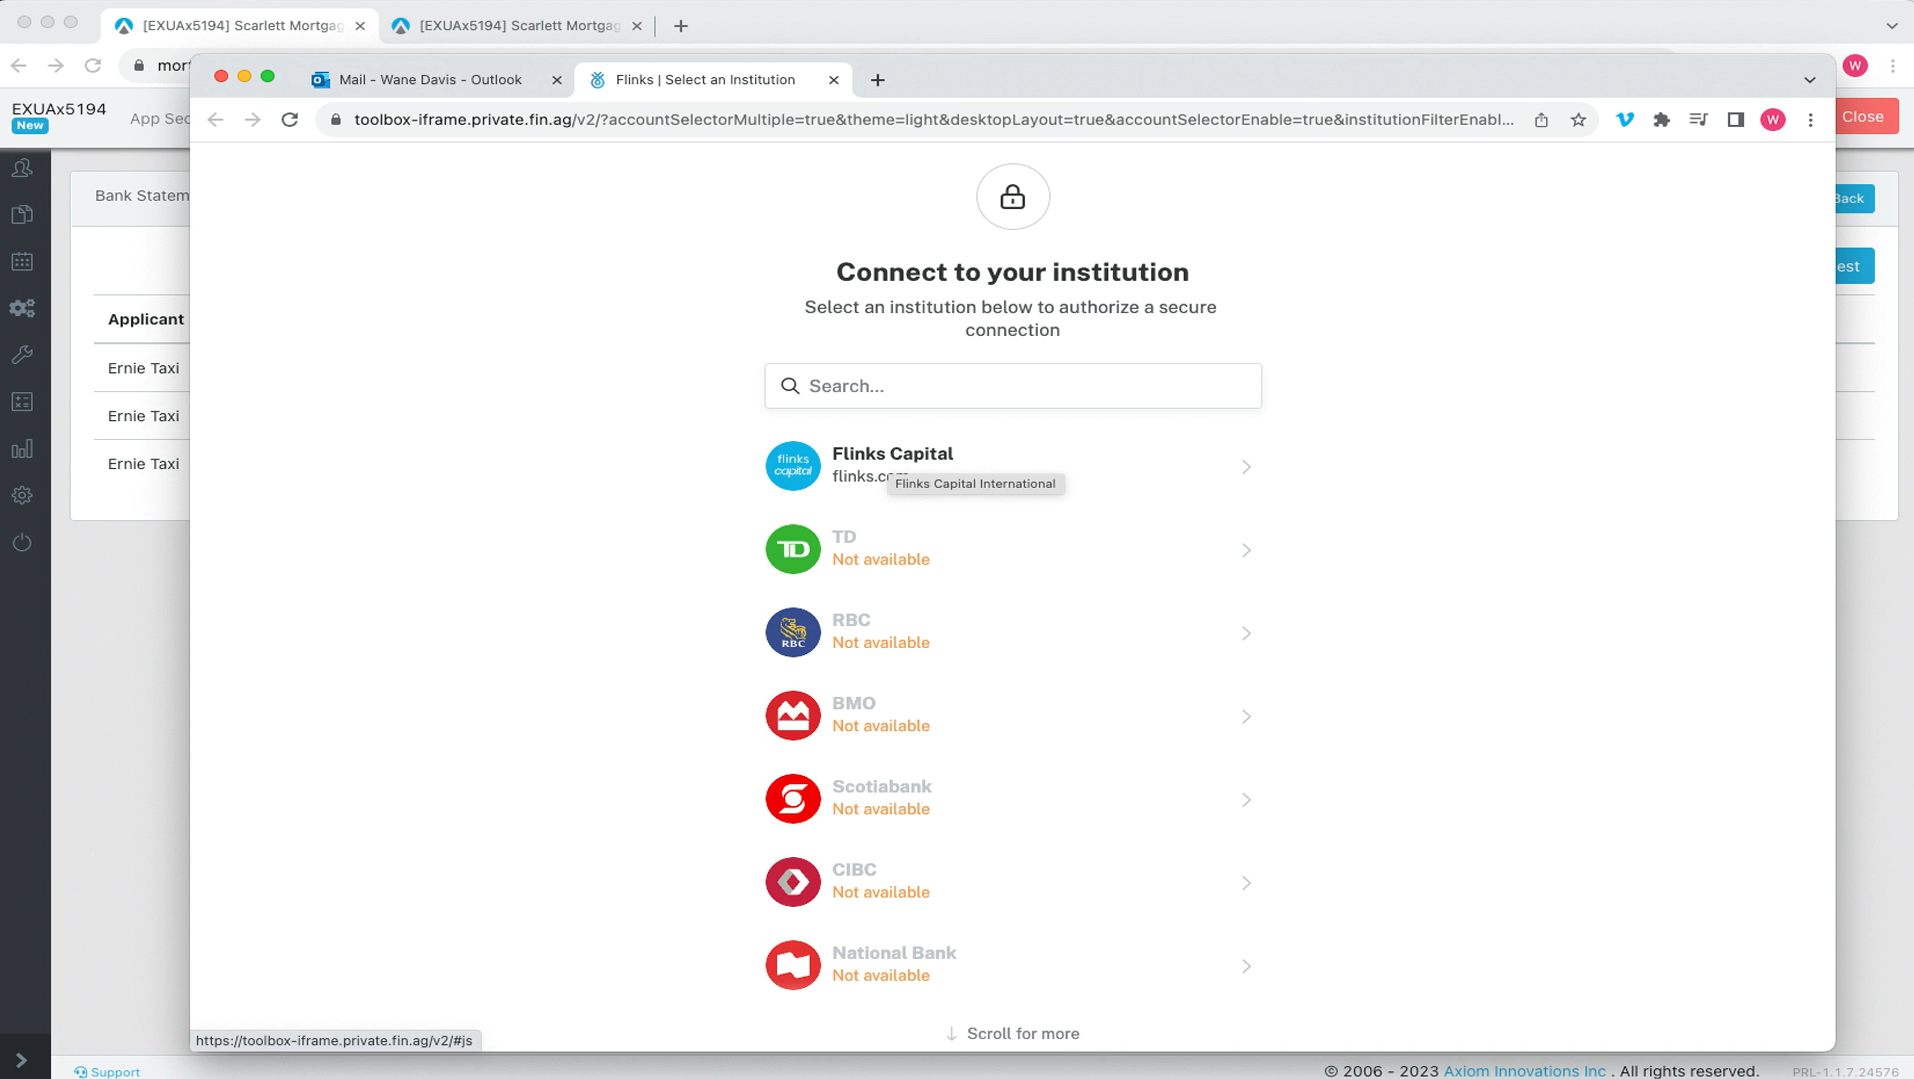
6) This will generate an e-mail requesting client authorization to access their bank statements. They need to click on the link within the email which will open a banking page where the select a financial institution.
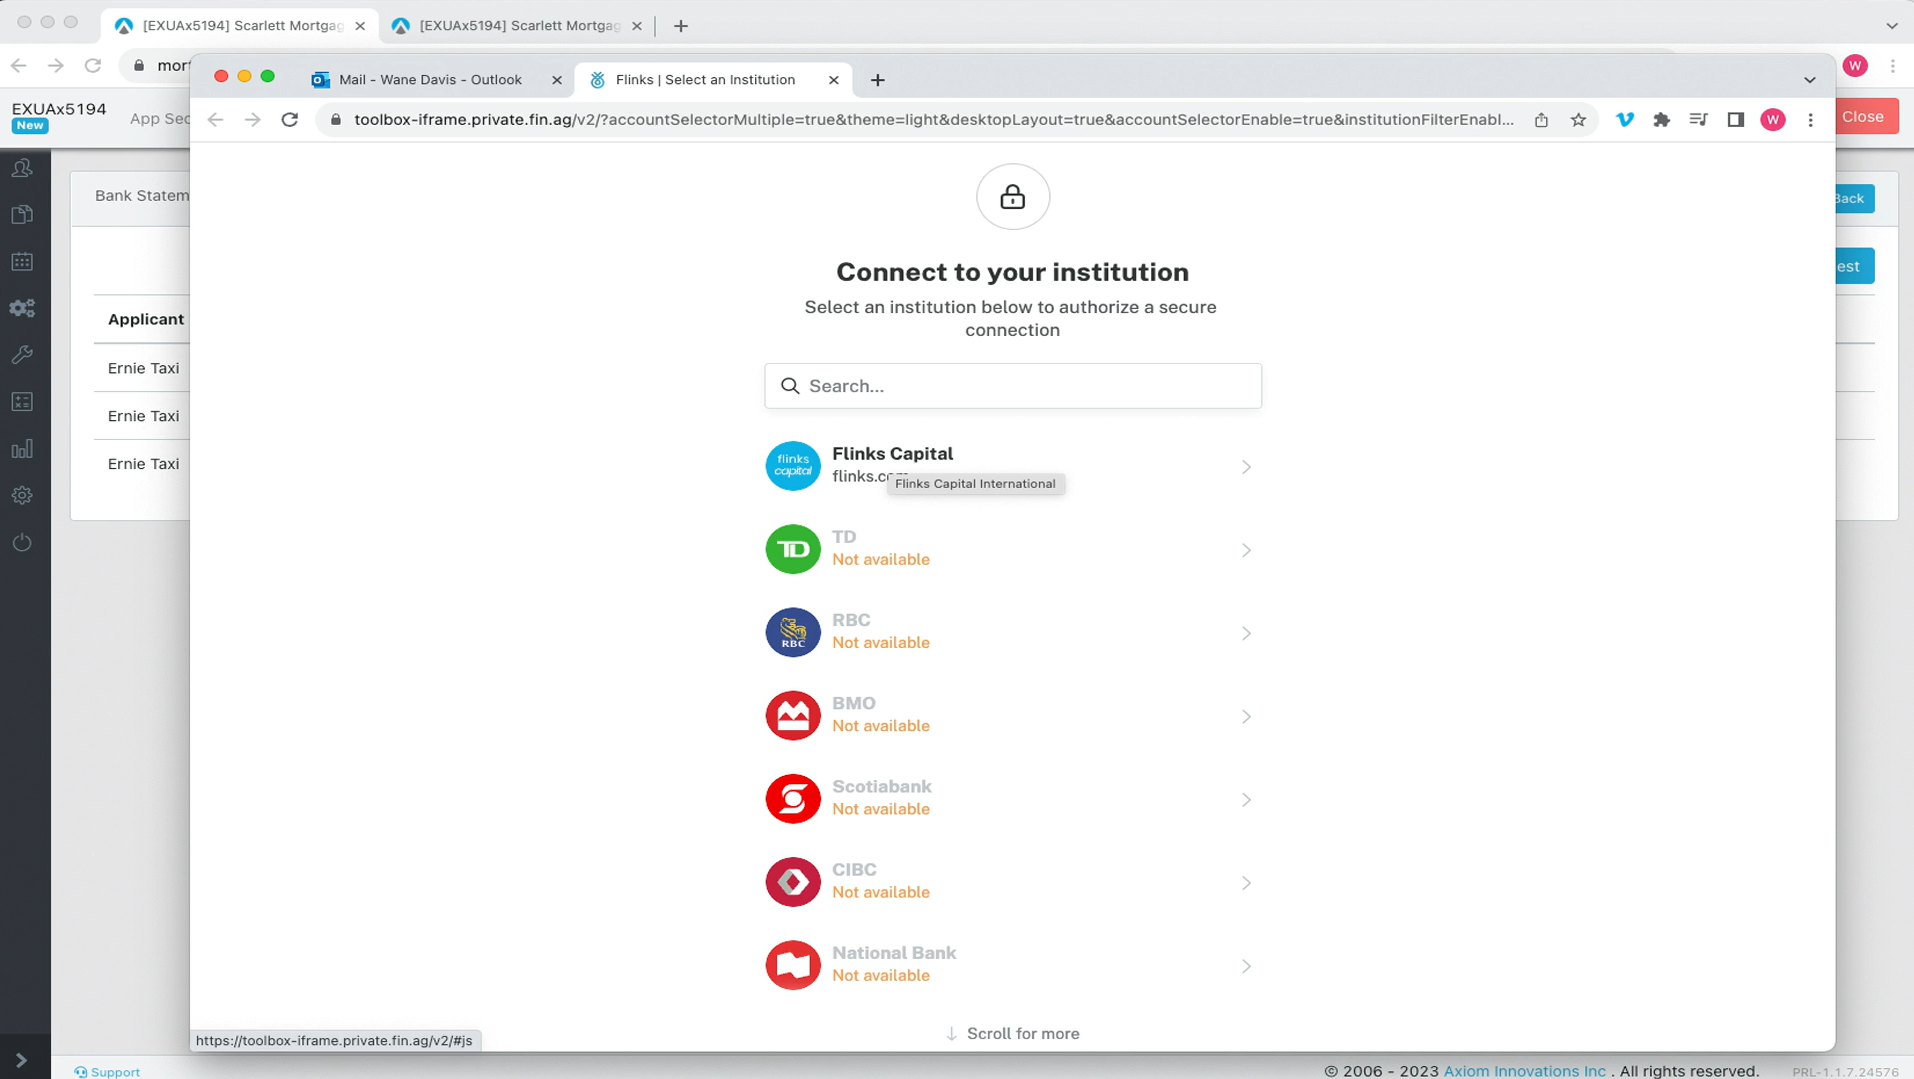
7) This opens a banking page where they select a financial institution. For the purpose of this demonstration, we're going to select Flinks Capital, which is a fake banking institution made for demo purposes.
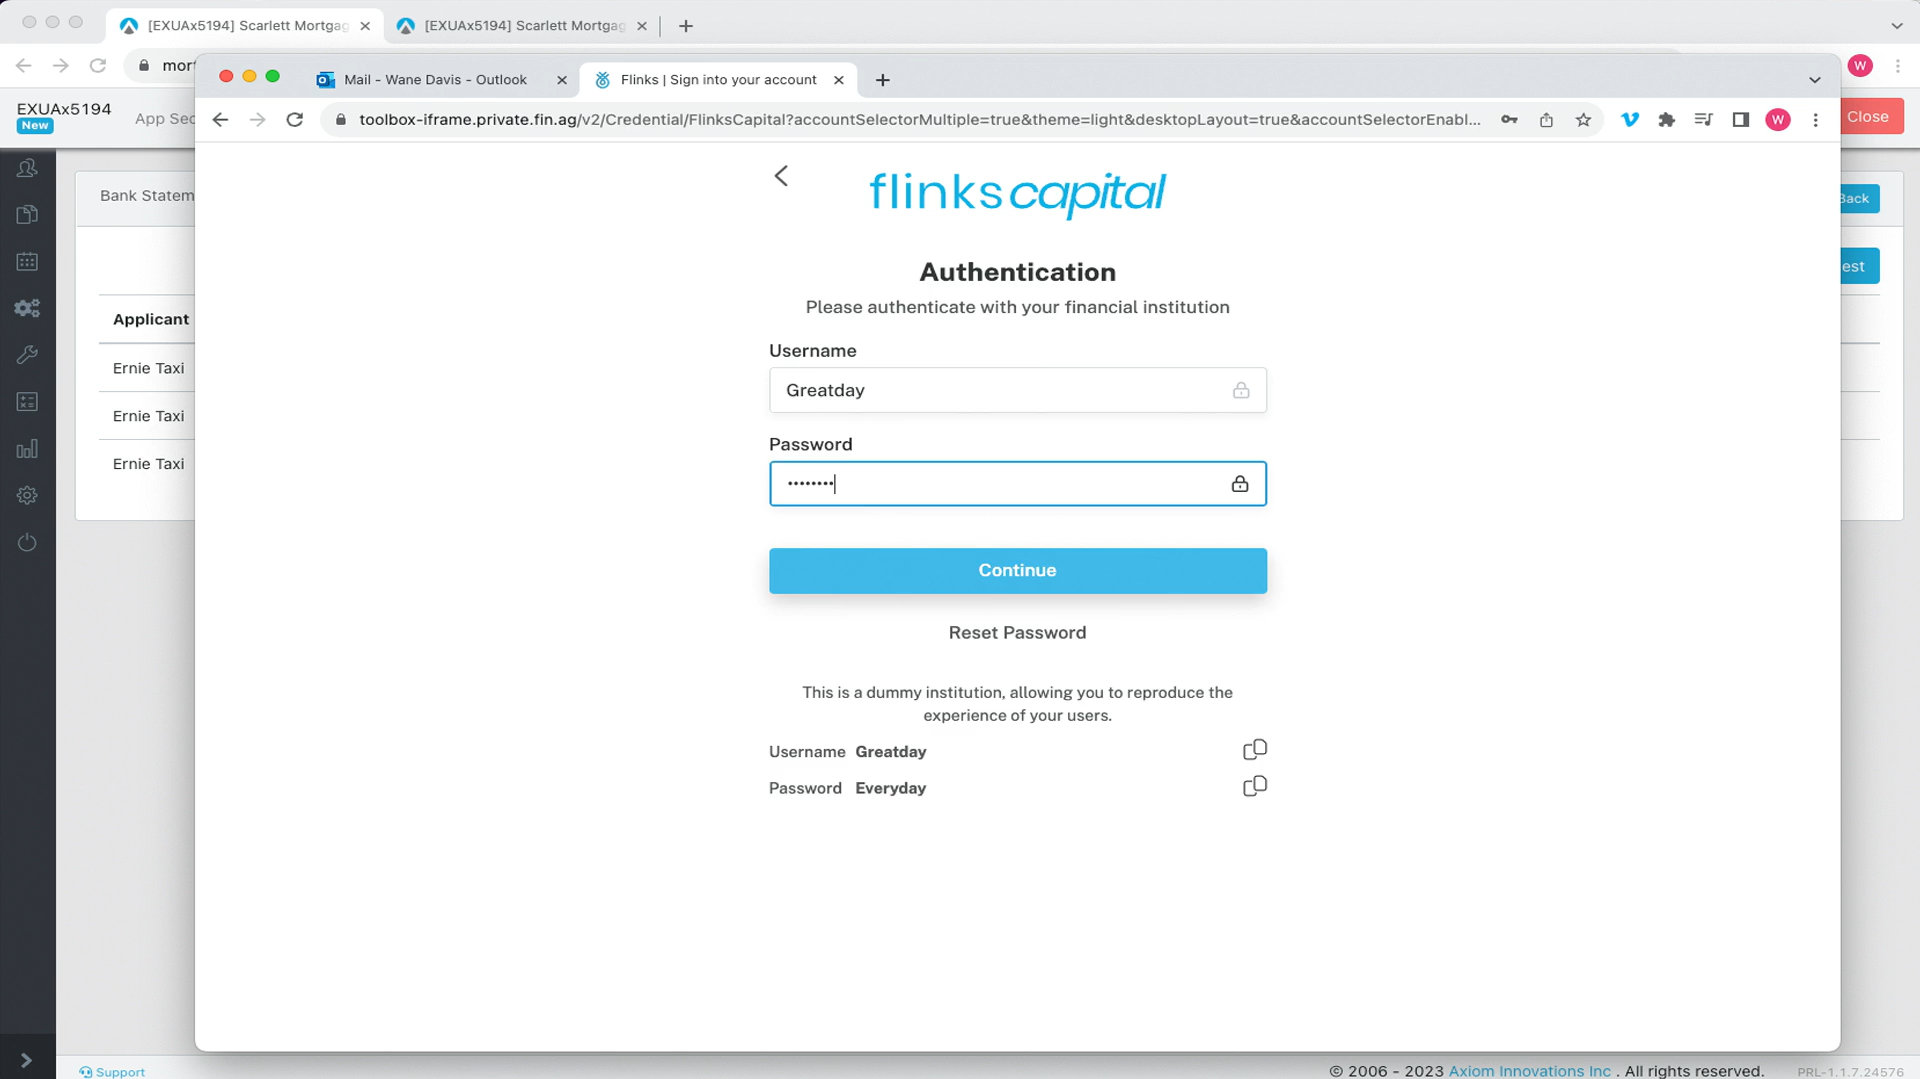
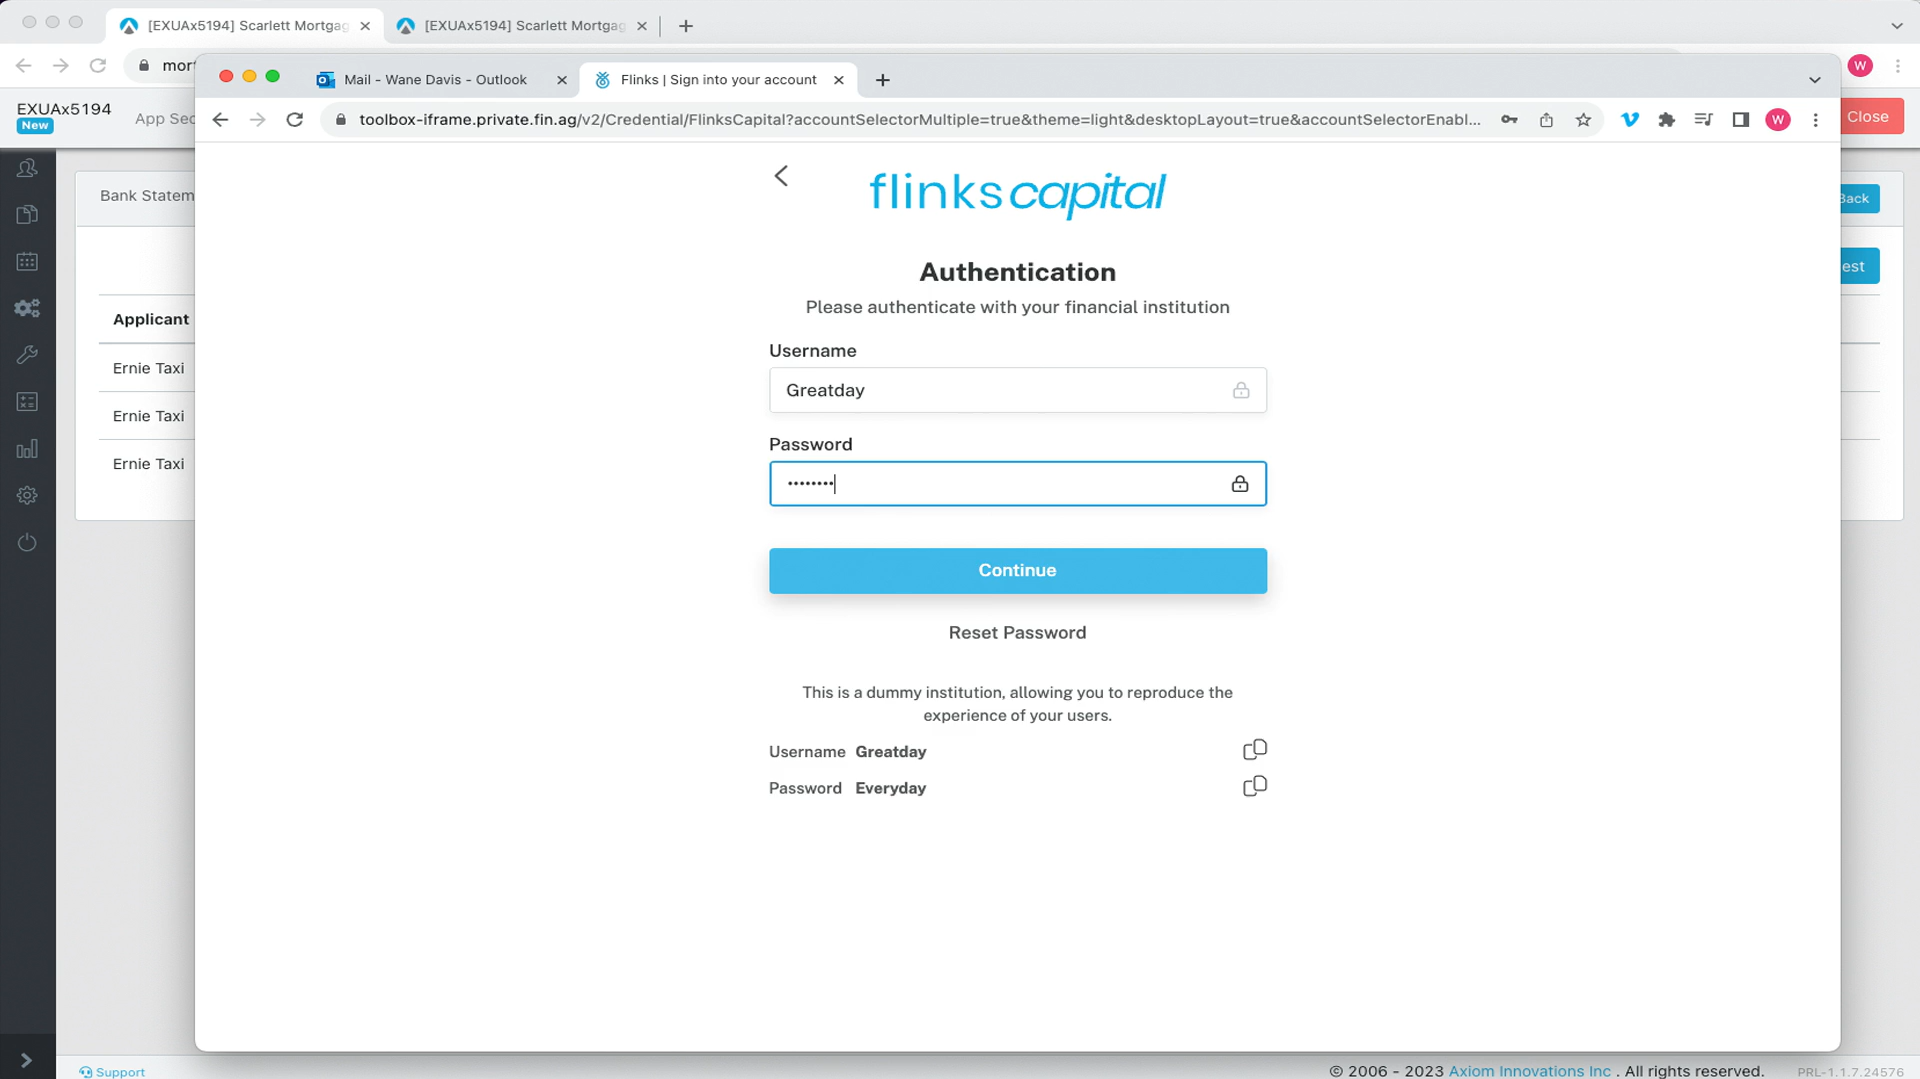
8) The client would agree to provide access to the account information and then go through the normal login process for their accounts
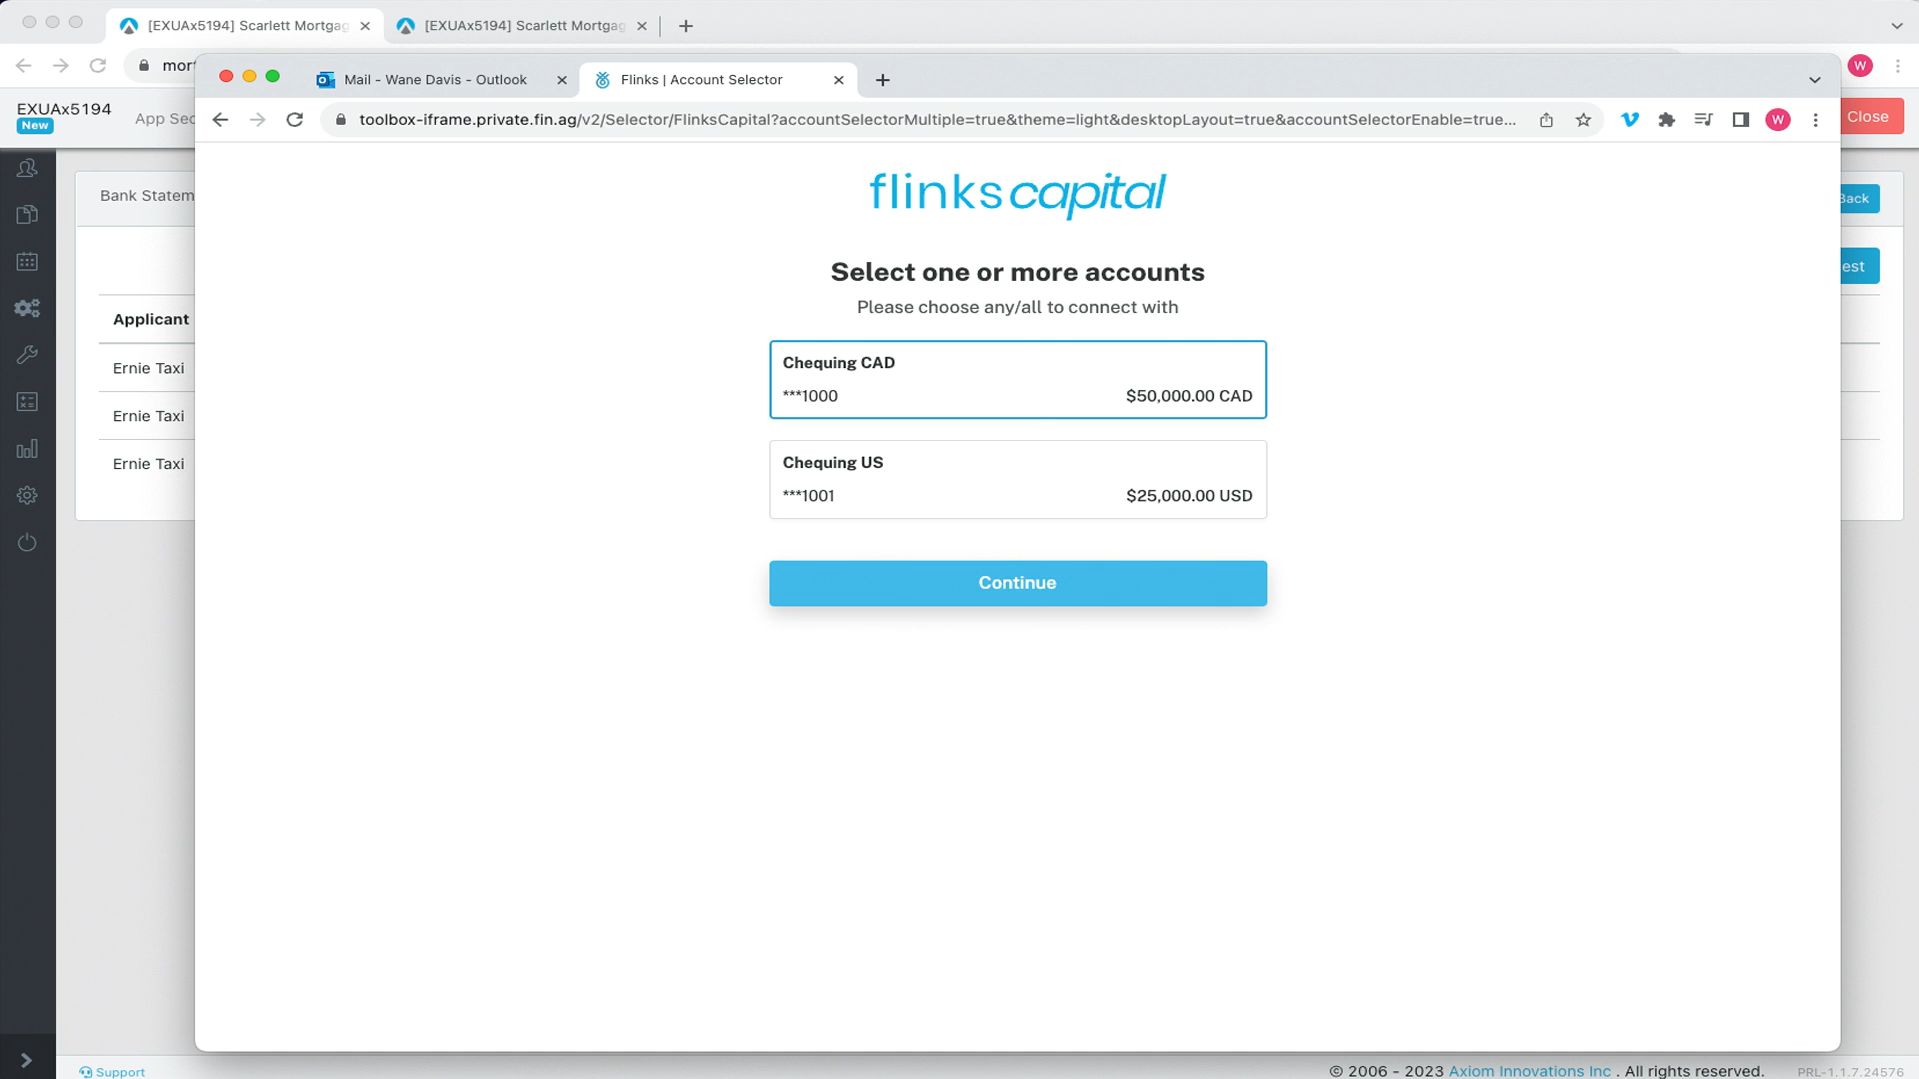
9) Once logged in, the client selects the accounts they're providing access to and then selects continue
10) Here the client connects to any other accounts that may be required
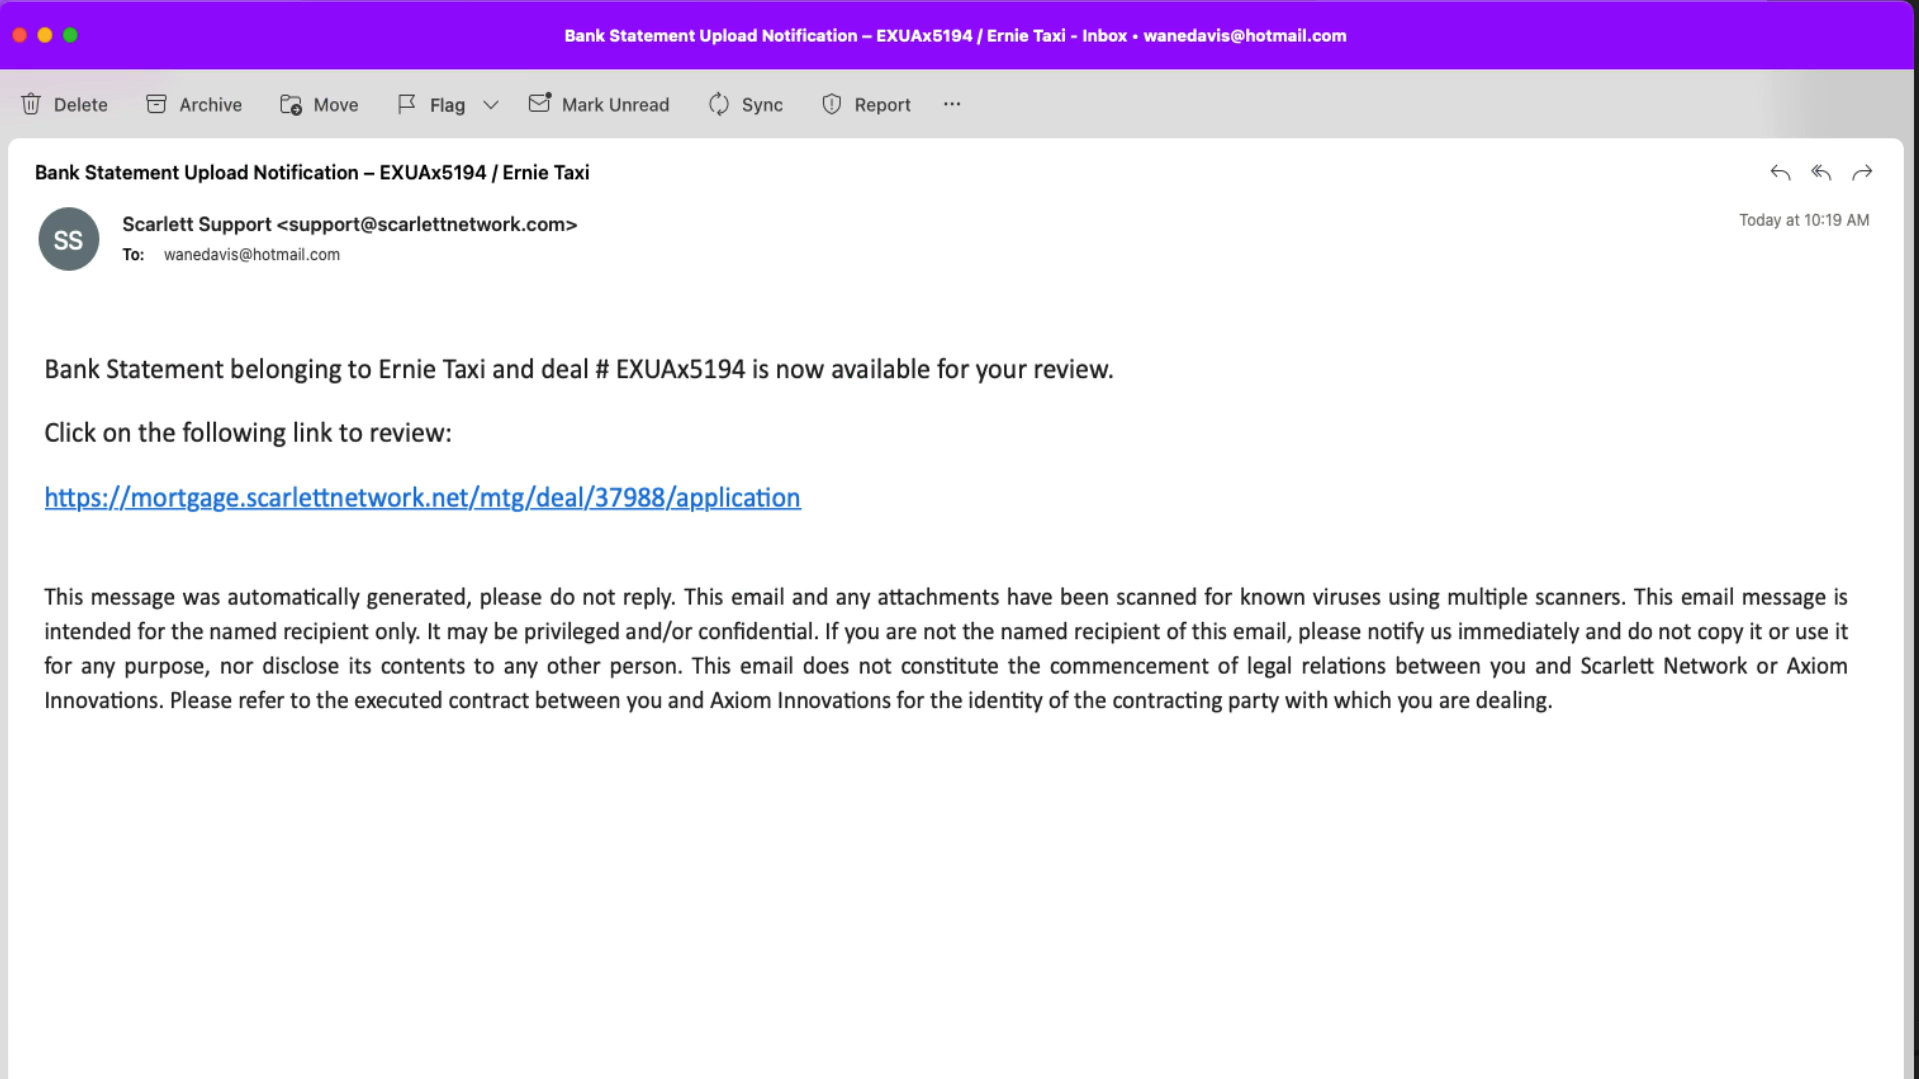
11) Once the client is done connecting their account, they'll receive an automated bank statement notification
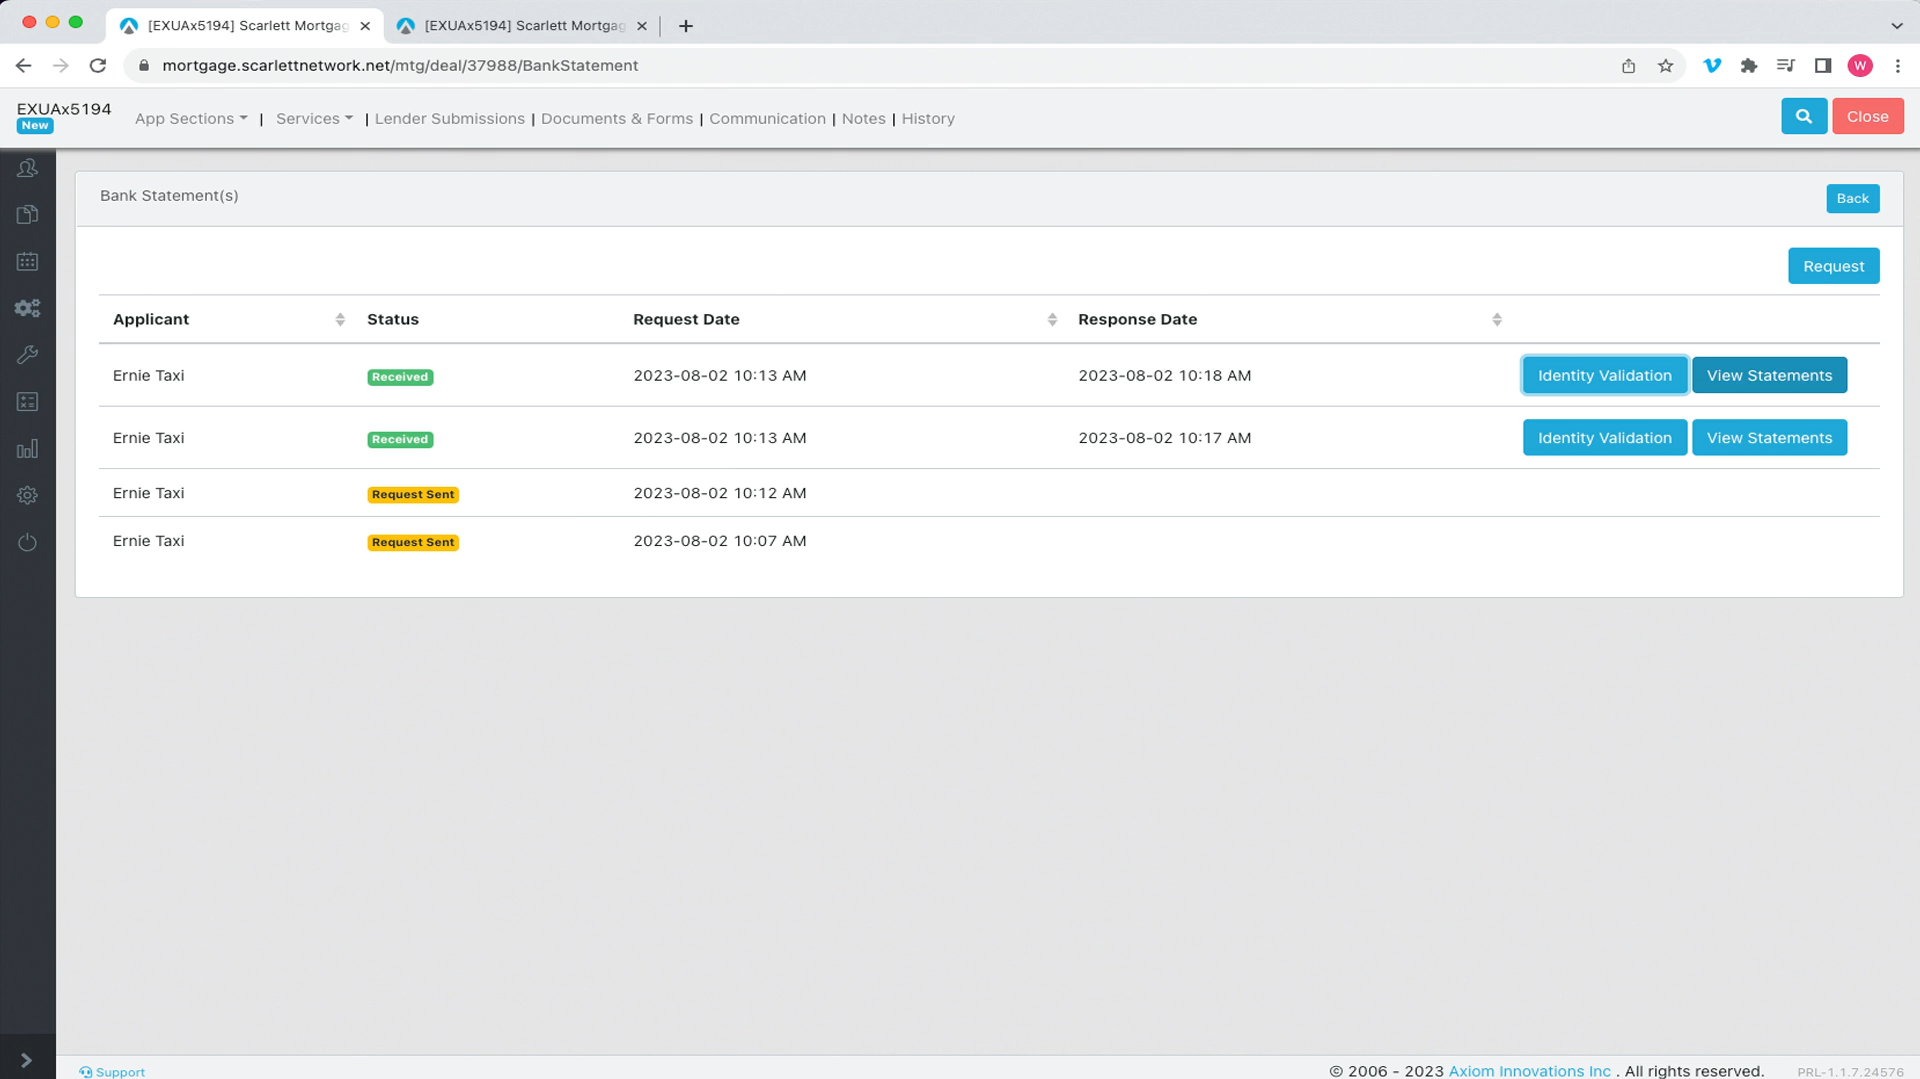
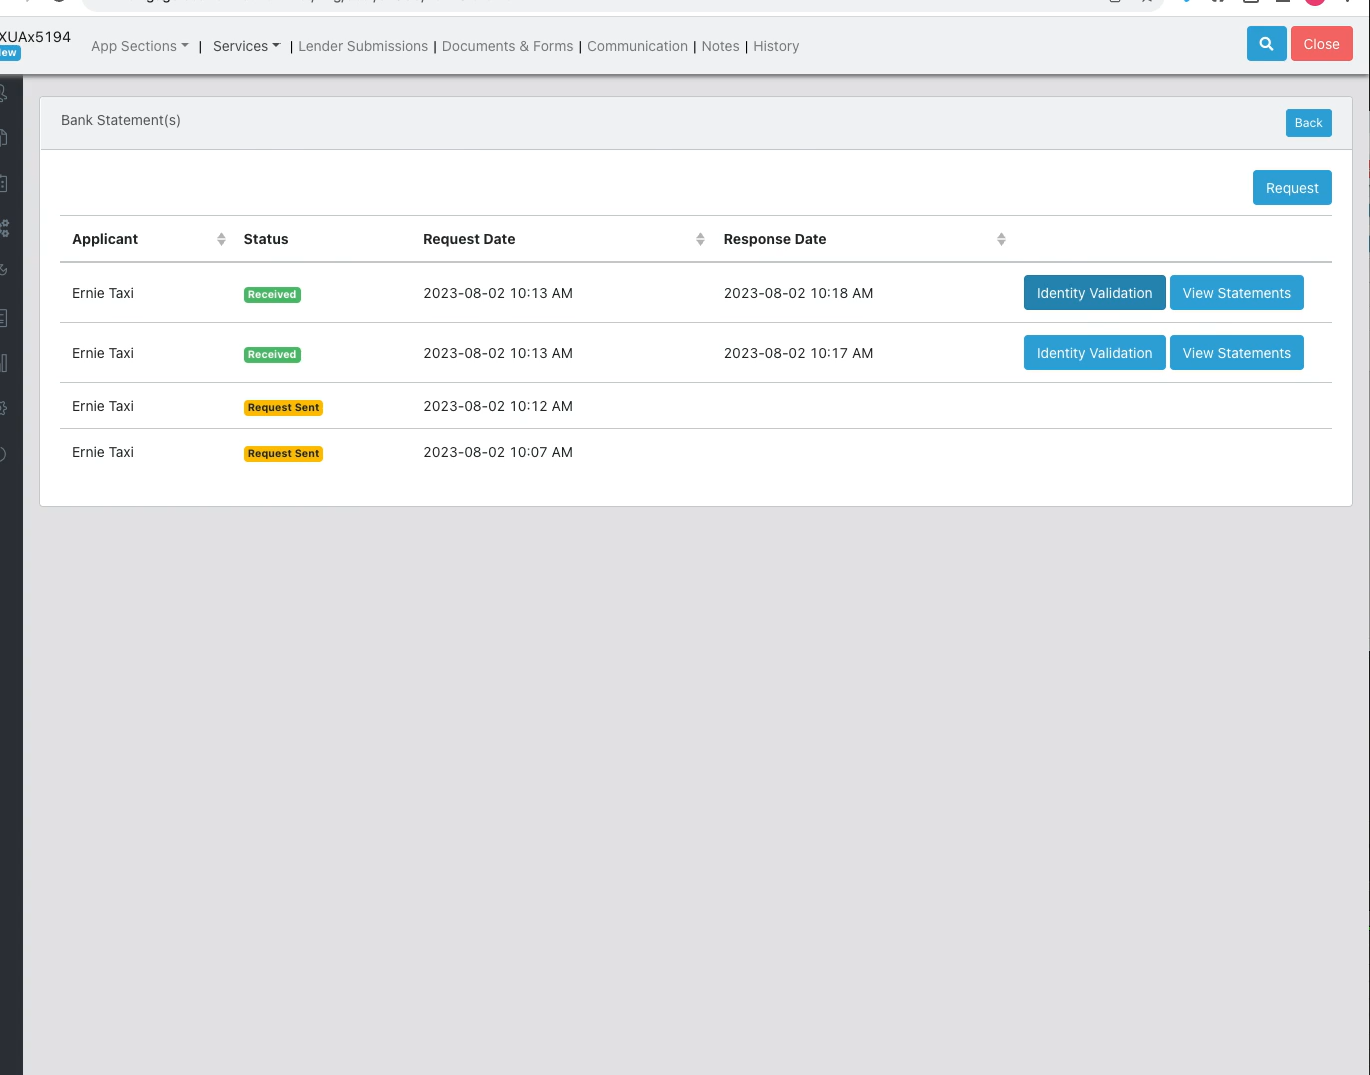
12) To review the statement information, you can click the link within the email. This will change the status of the bank statement to "Received".
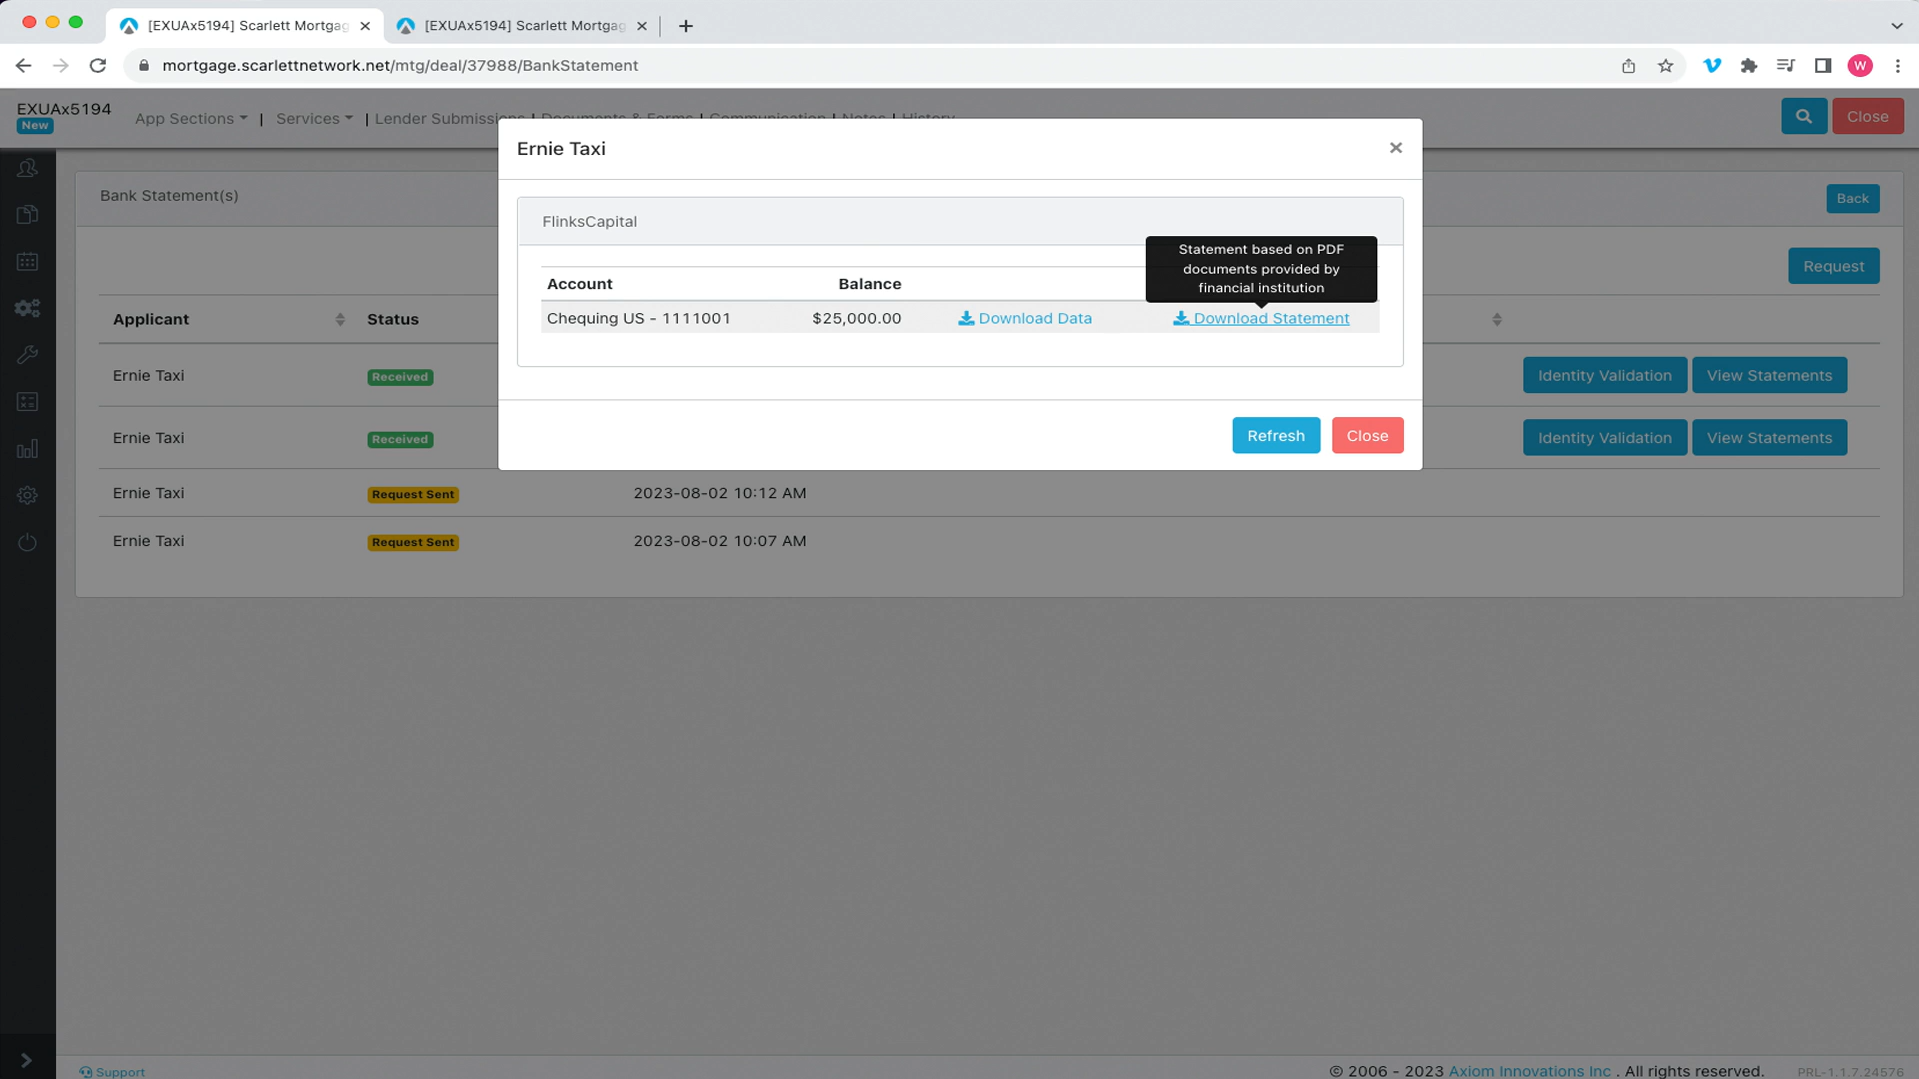
13) Next, click on the "View Statements" button, which opens up a window with two options for viewing statements. You can either "Download Statement" or "Download Data". "Download Statement" will provide you with the traditional 3-month statement from each of the two accounts. By clicking on "Download Data" you are given more flexibility on date ranges.
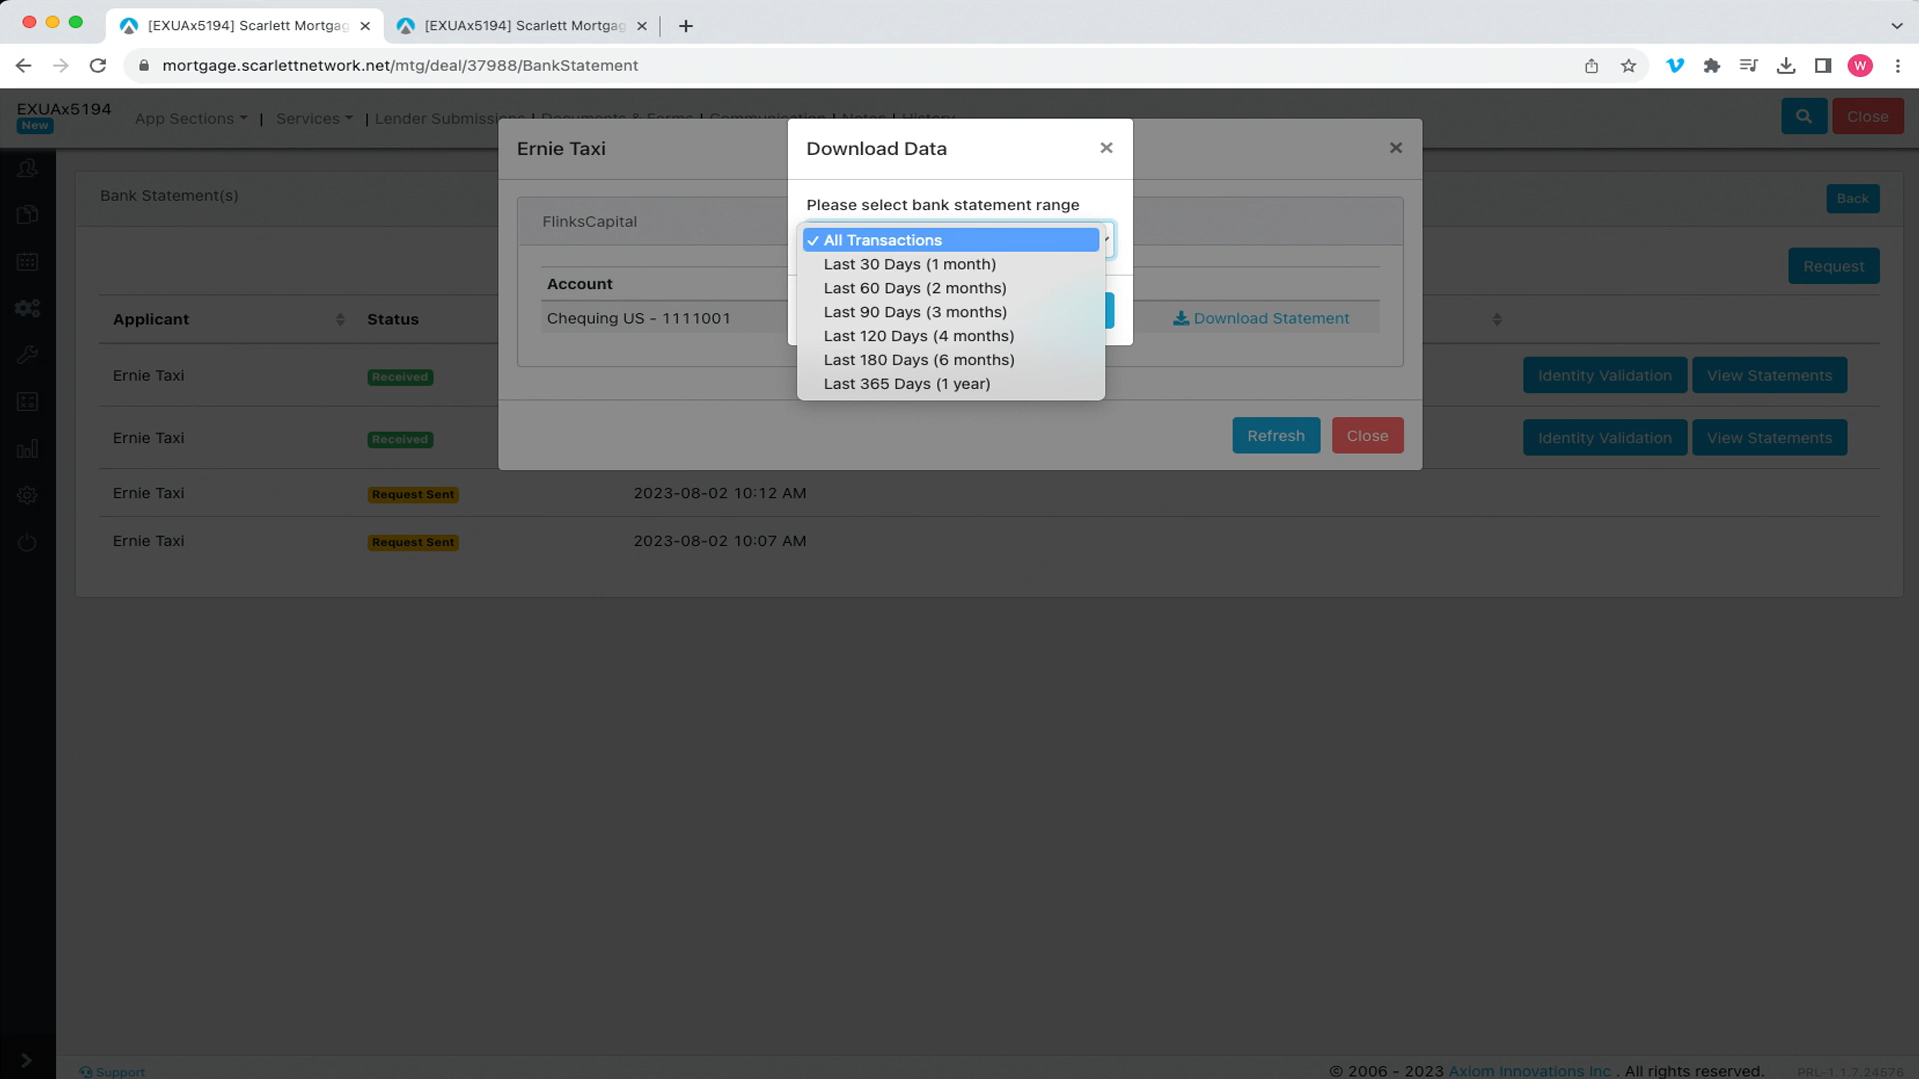
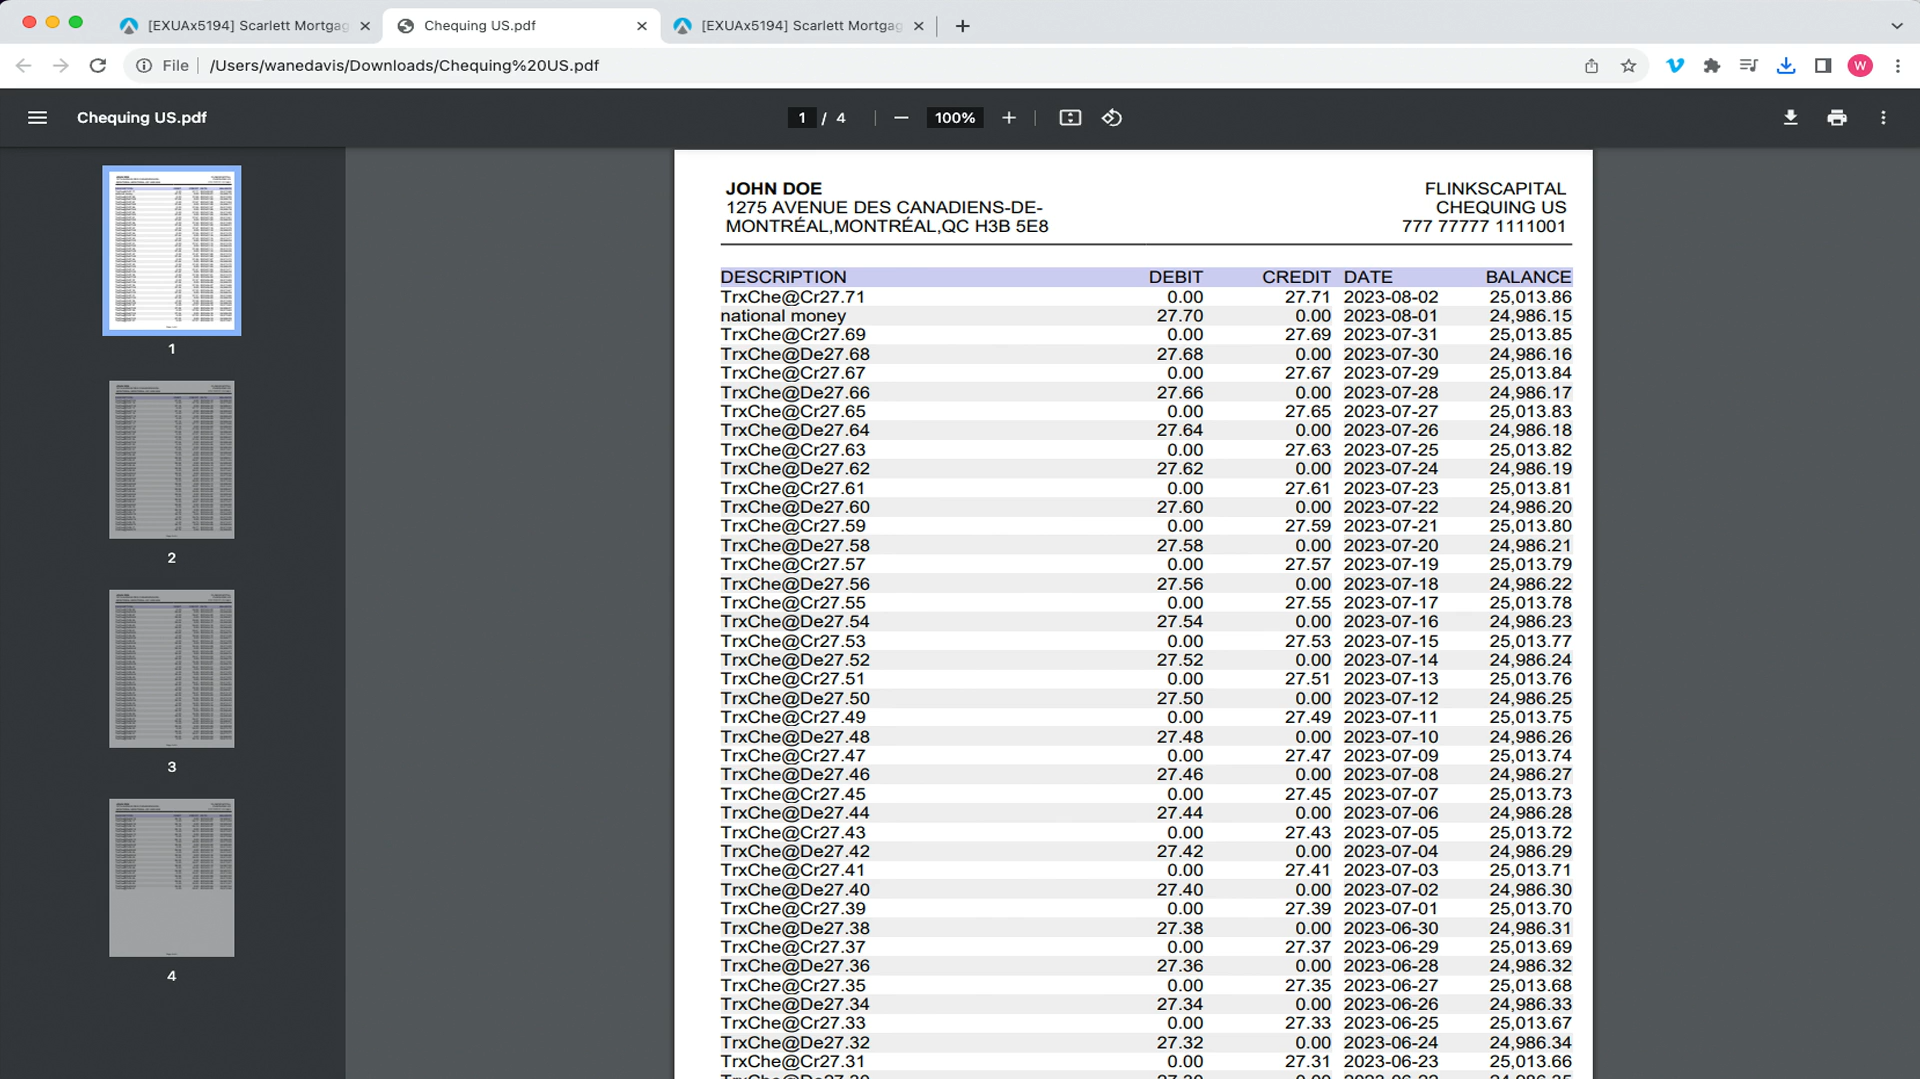
14) Here is what shows up when you press "Download Data". This data pull will be accurate from the day you actually submit the request. Here we will select 180 days and look at the PDF.
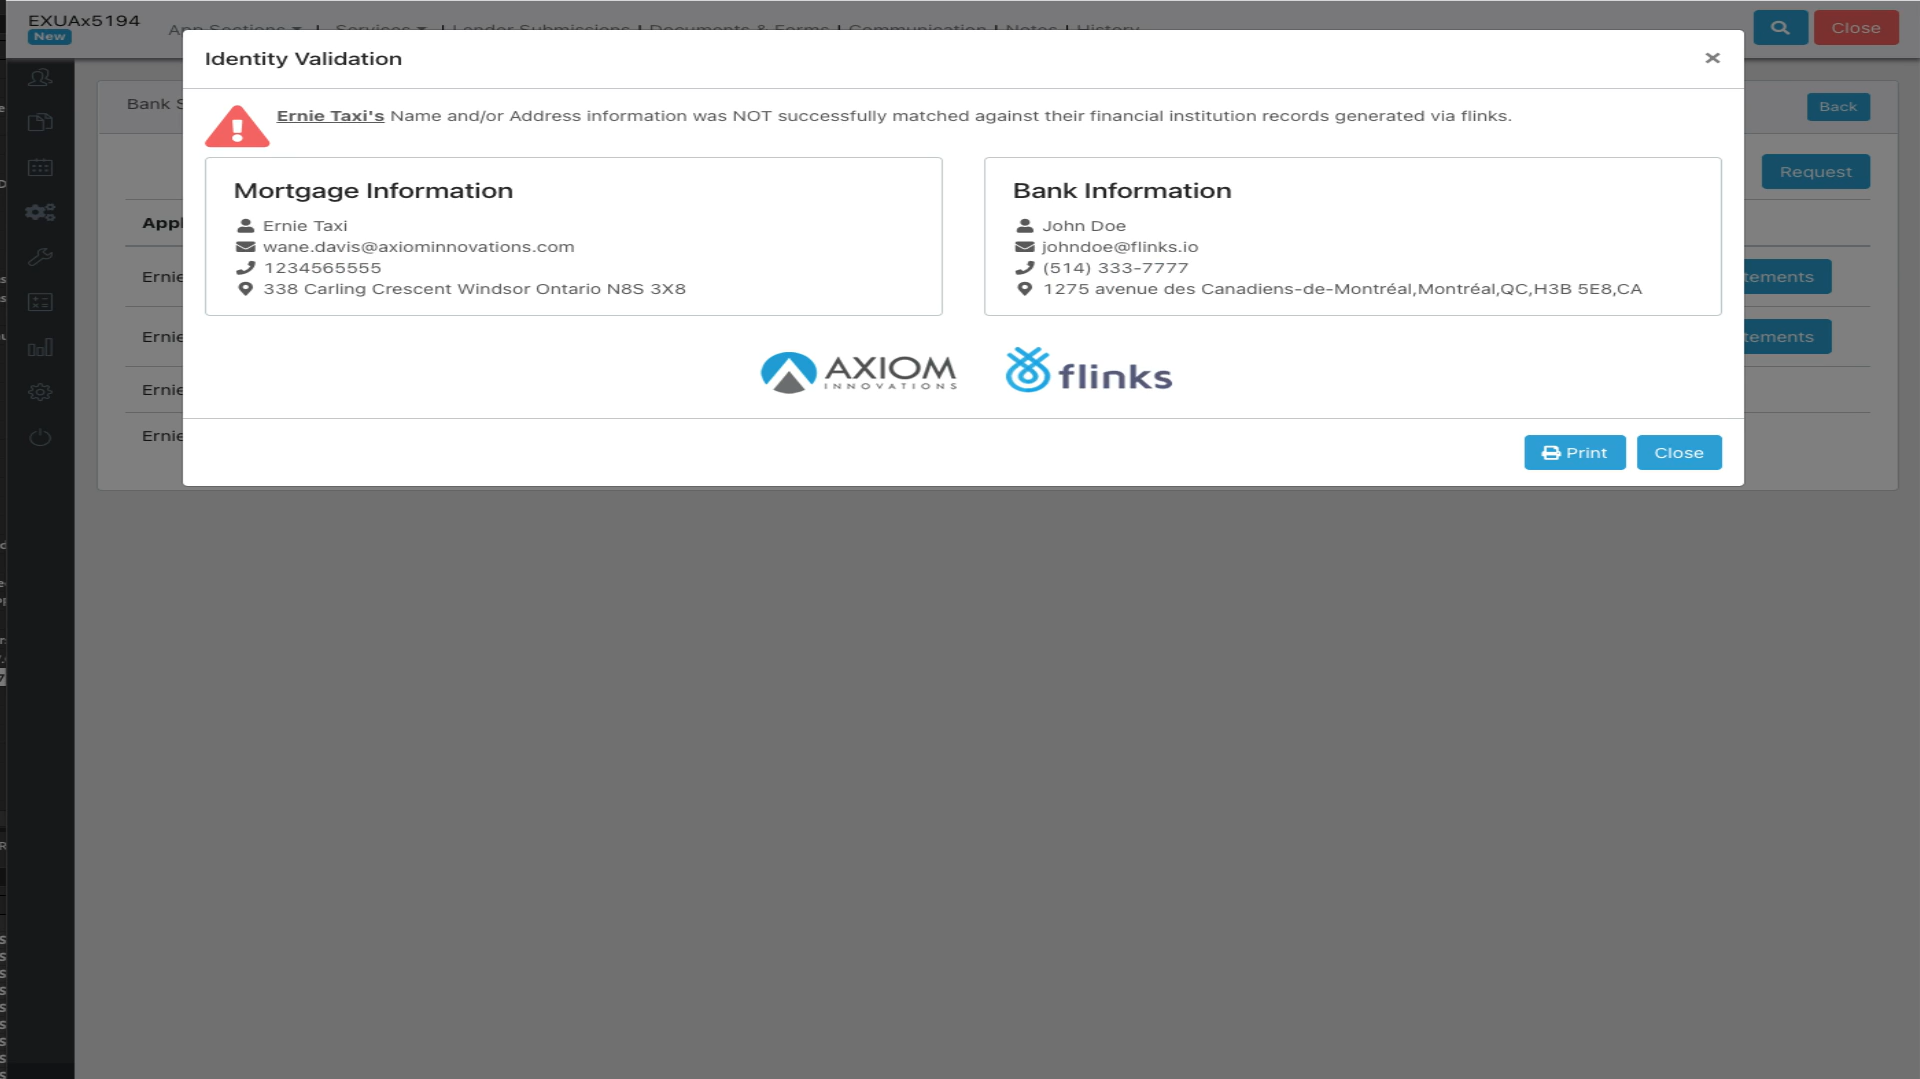
16) By clicking on the identity validation button, the system will check that the mortgage applicant and banking information are correct
17) Here, the Bank Information and the Applicant Information do not match. This would flag a concern as there is a possibility of fraud going on.
18) If they did match, you could press print and save the document as a PDF as part of due diligence
