
Refinance
This guide is to provide the details on how to complete a refinance application in Scarlett Mortgage. This guide goes over how to add applicant information, add addresses, add downpayment information, and many more feature within the Scarlett system.
Video Walkthrough
Step-by-Step Guide
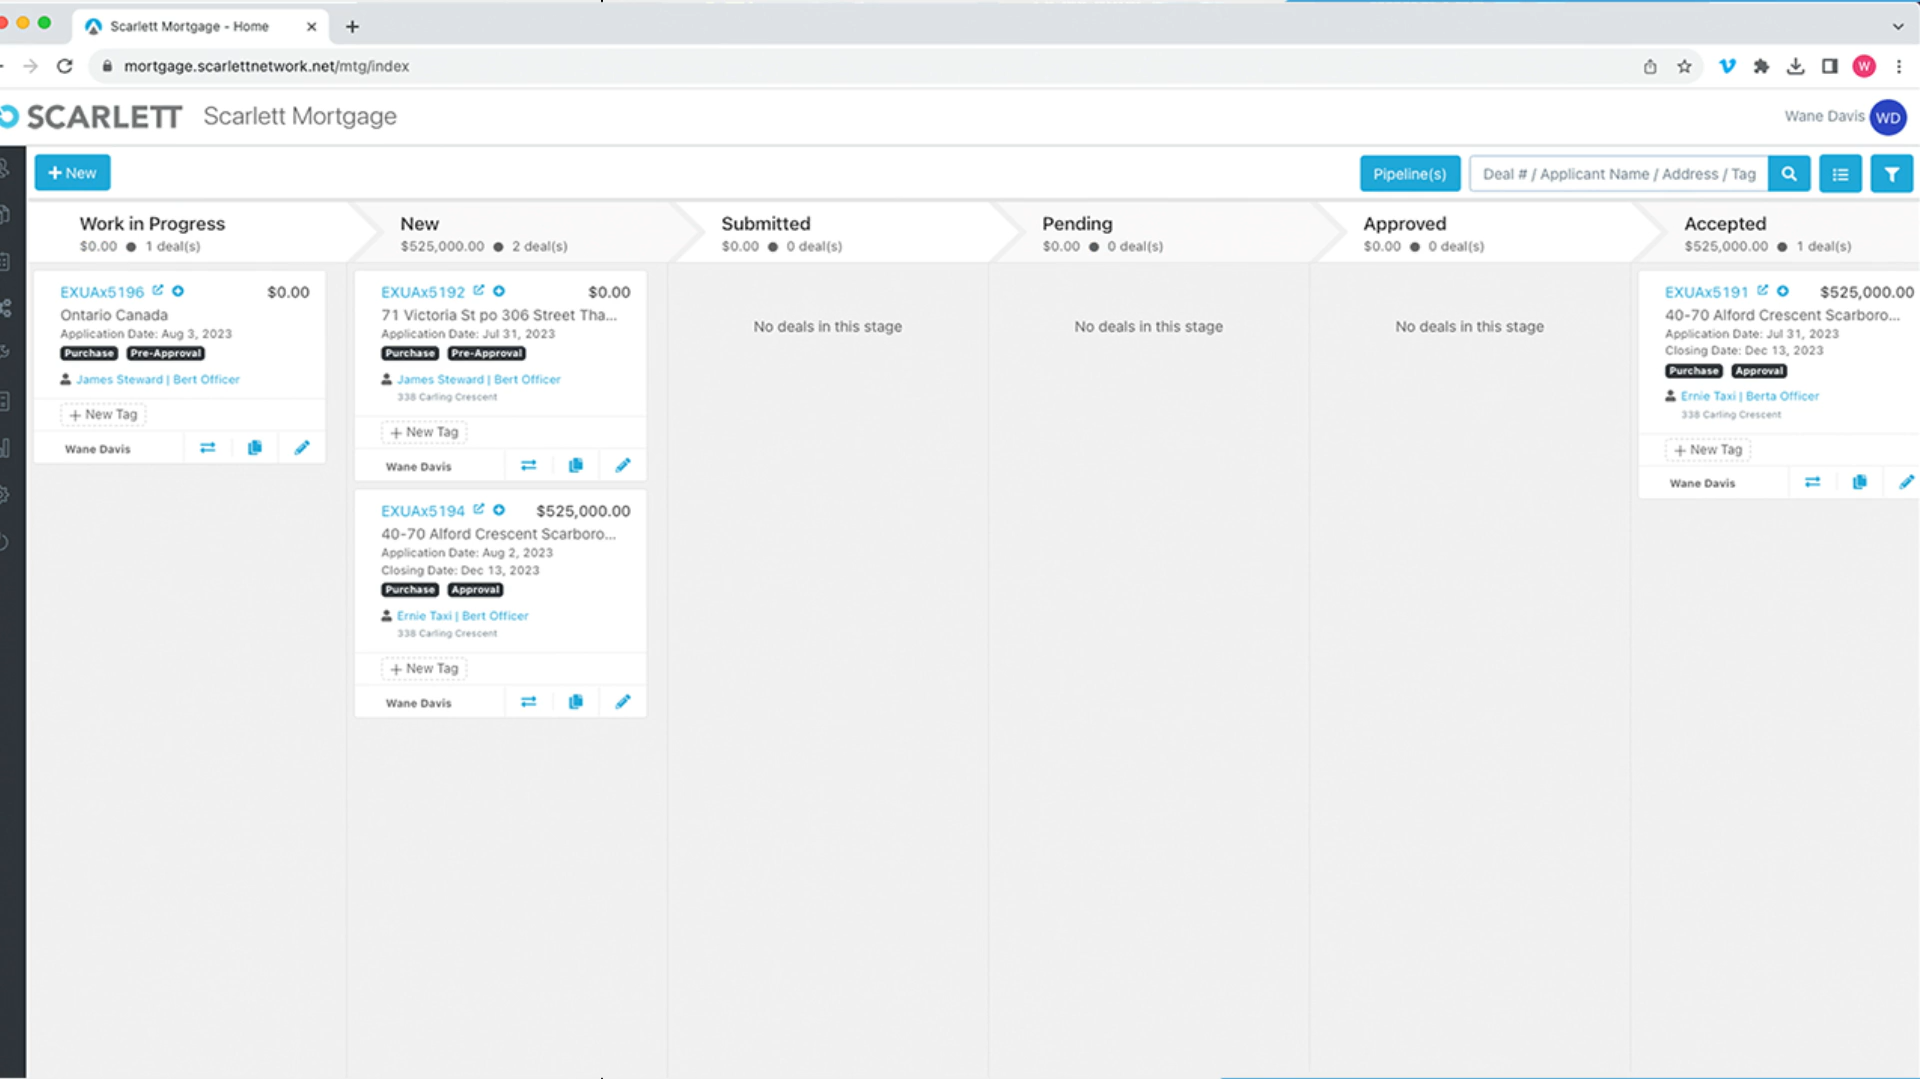
1) In the Deal Dashboard, go to the top right menu and click create New Deal
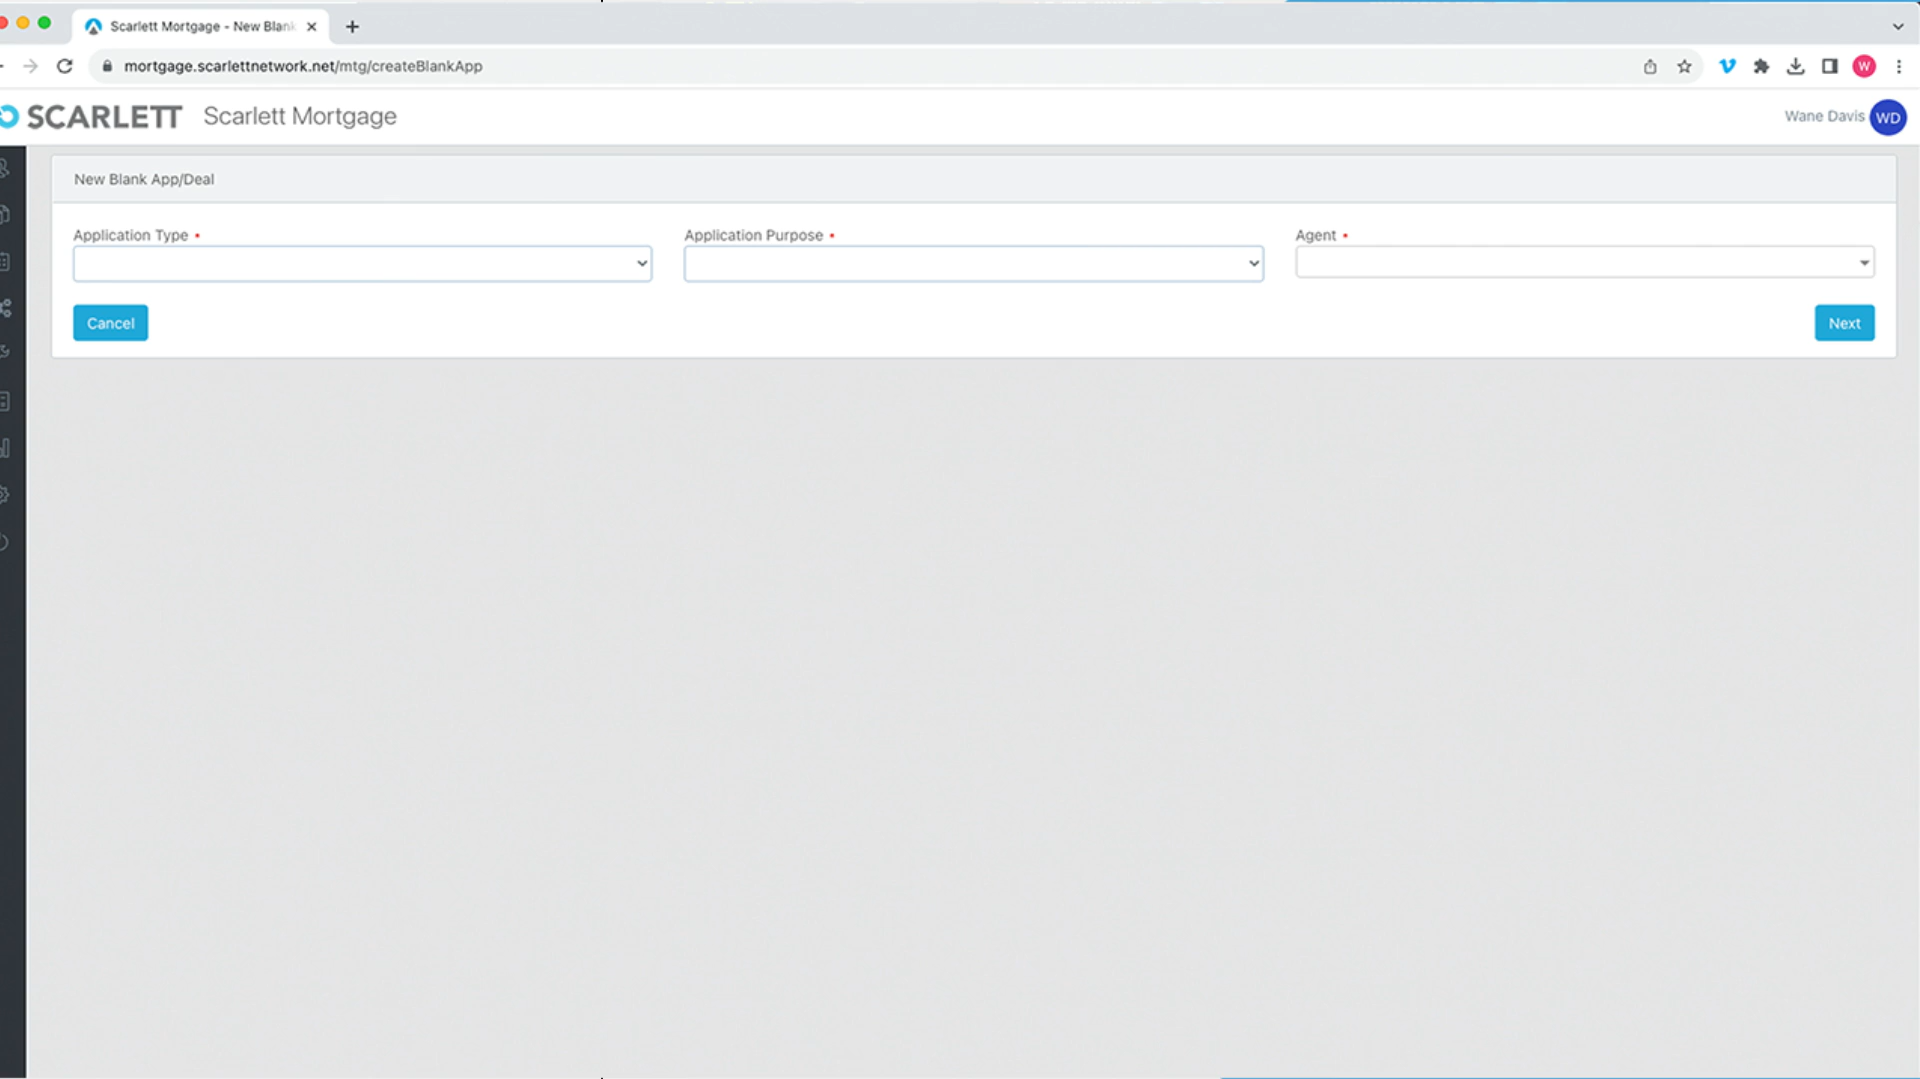
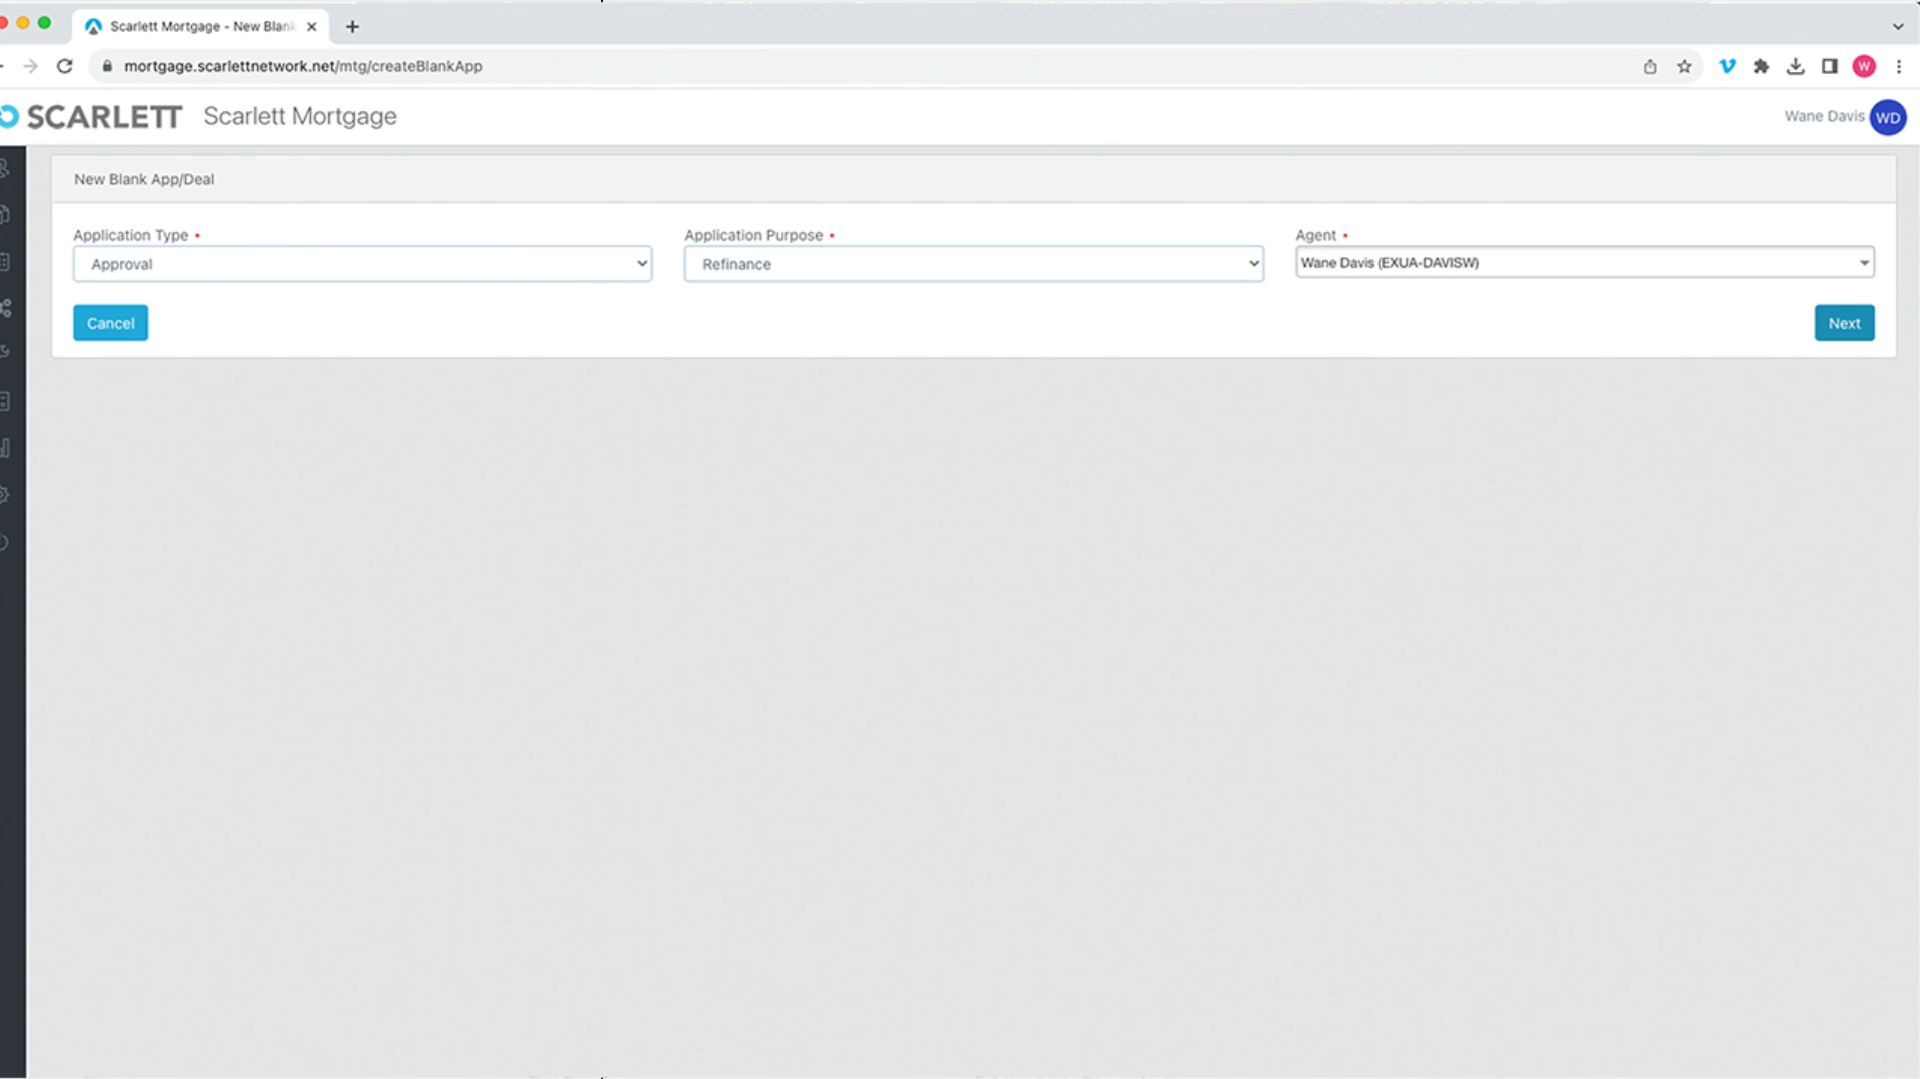
2) In this new window we will go to application type and select approval from the dropdown menu. Under Application Type we will select "Approval", under Application purpose we will select Refinance, and under Agent we will select the appropriate agent.
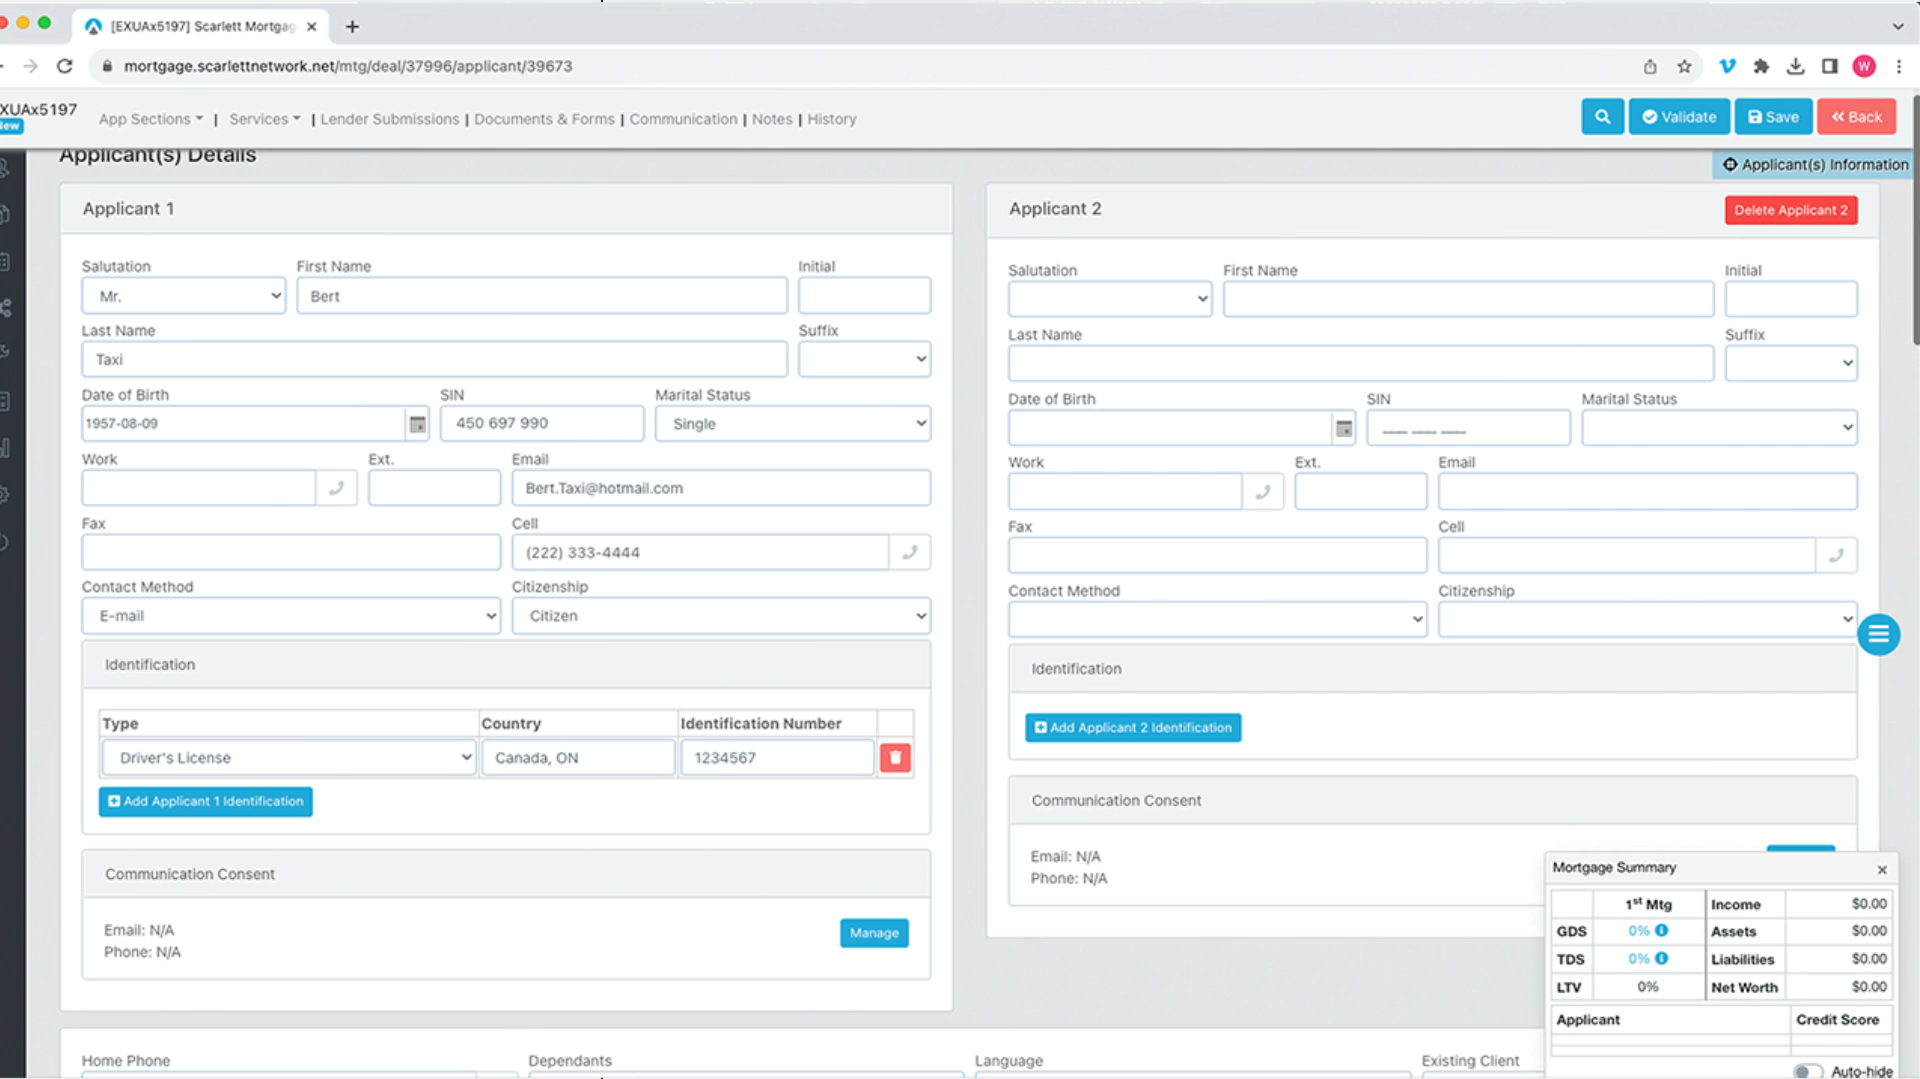
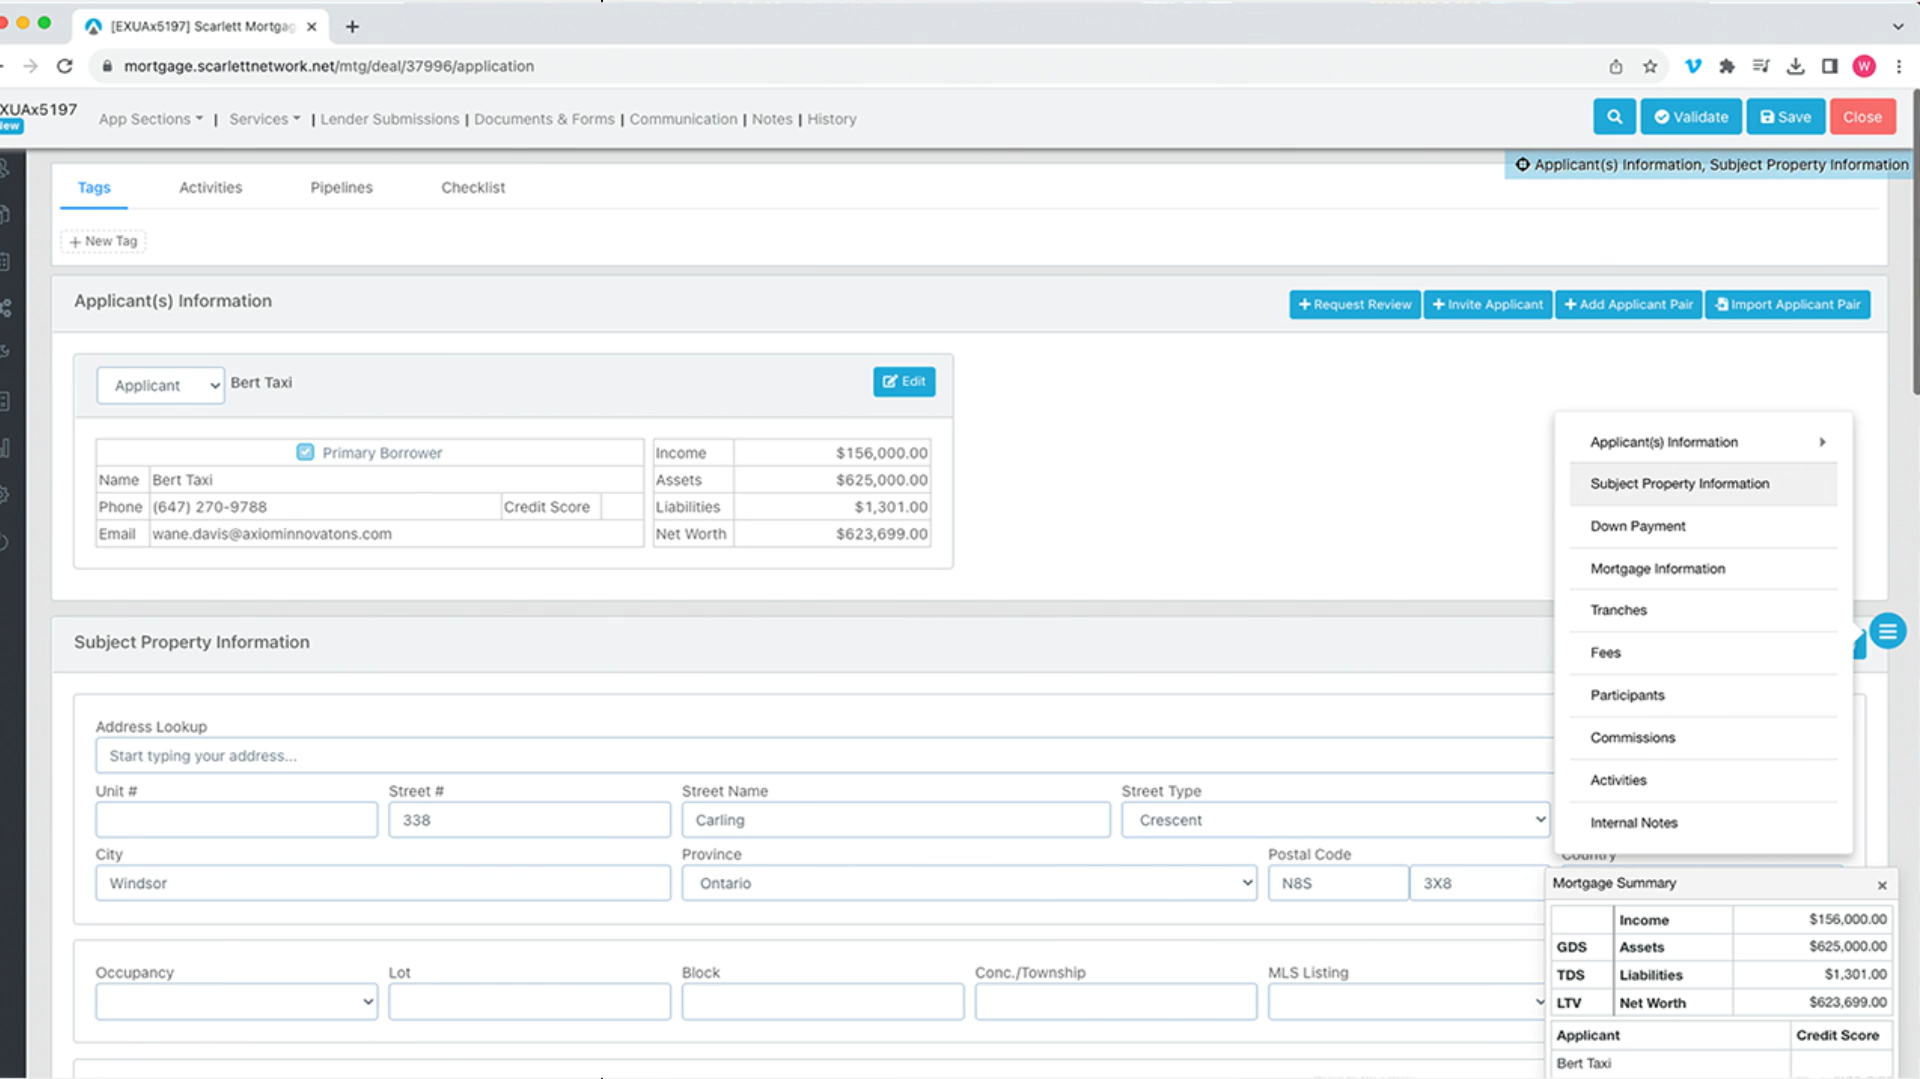
3) Here you can fill out the Applicant Details for your client
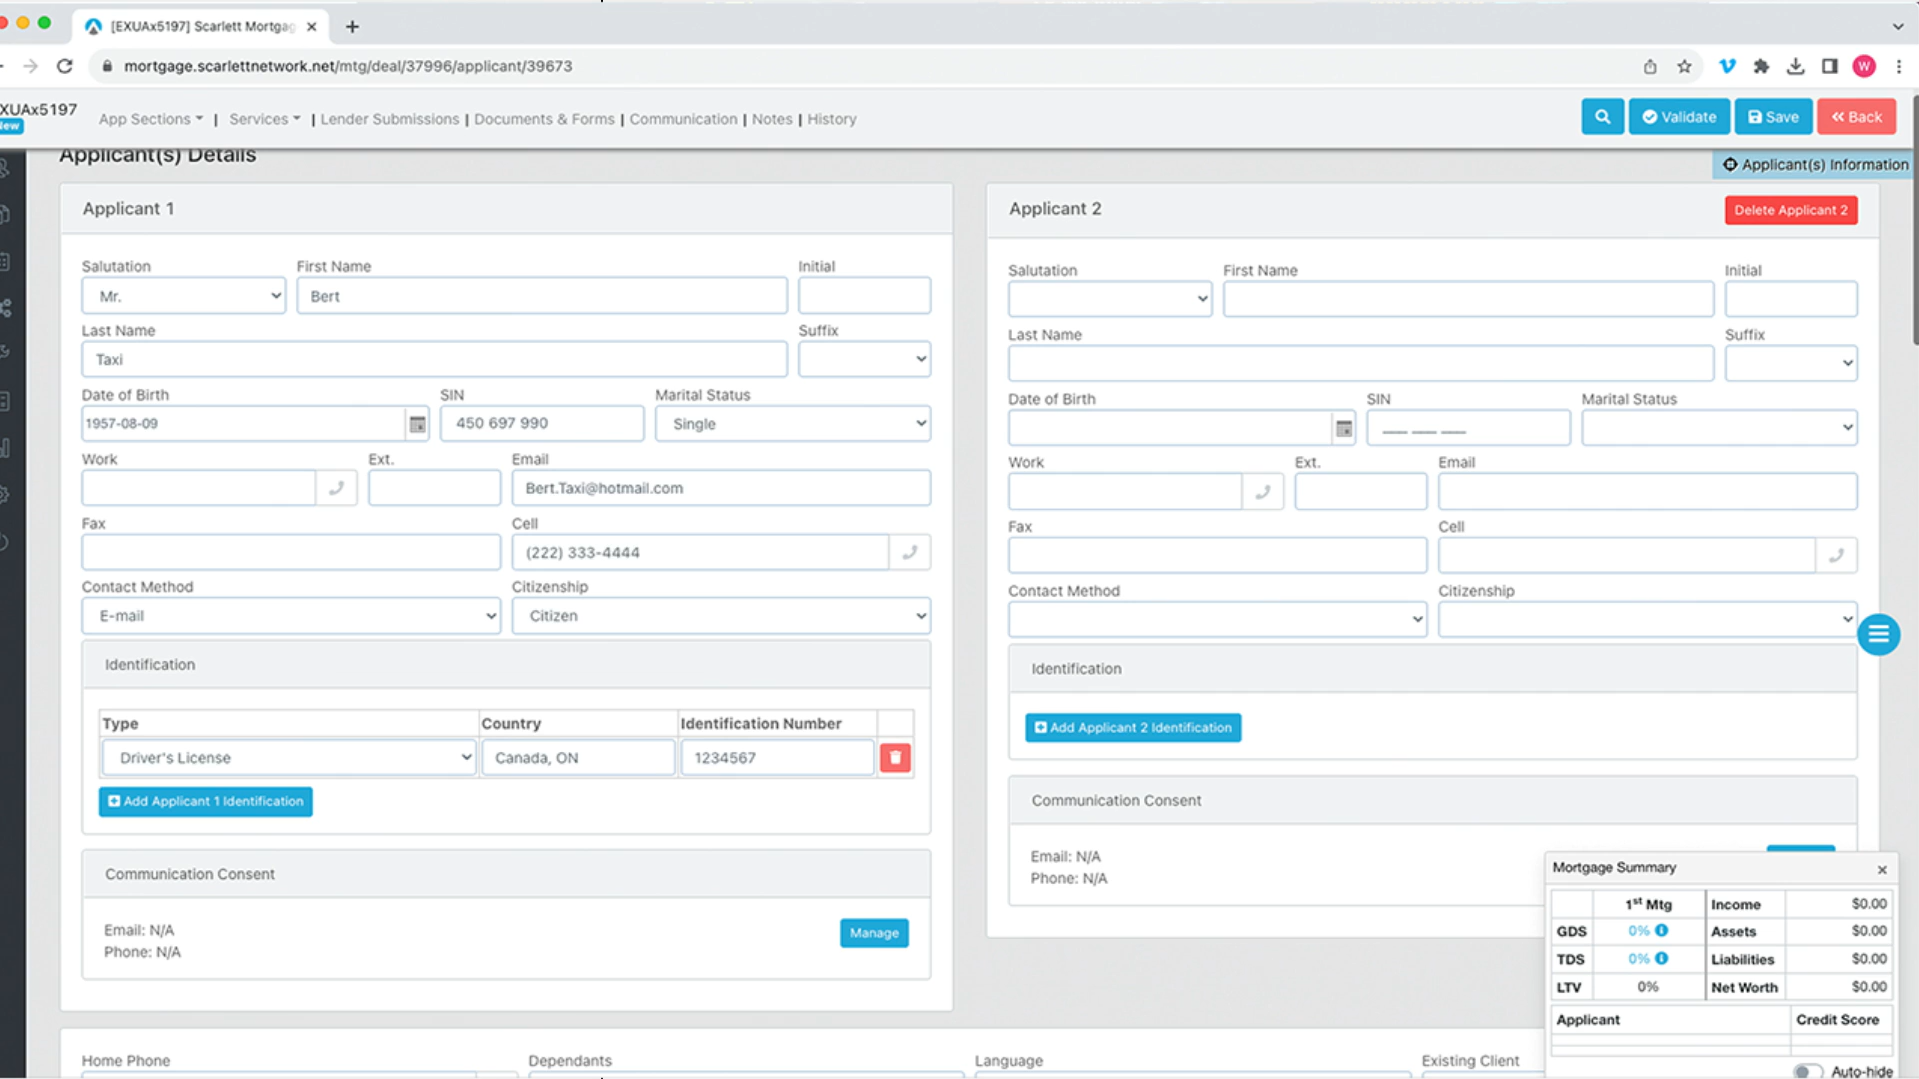
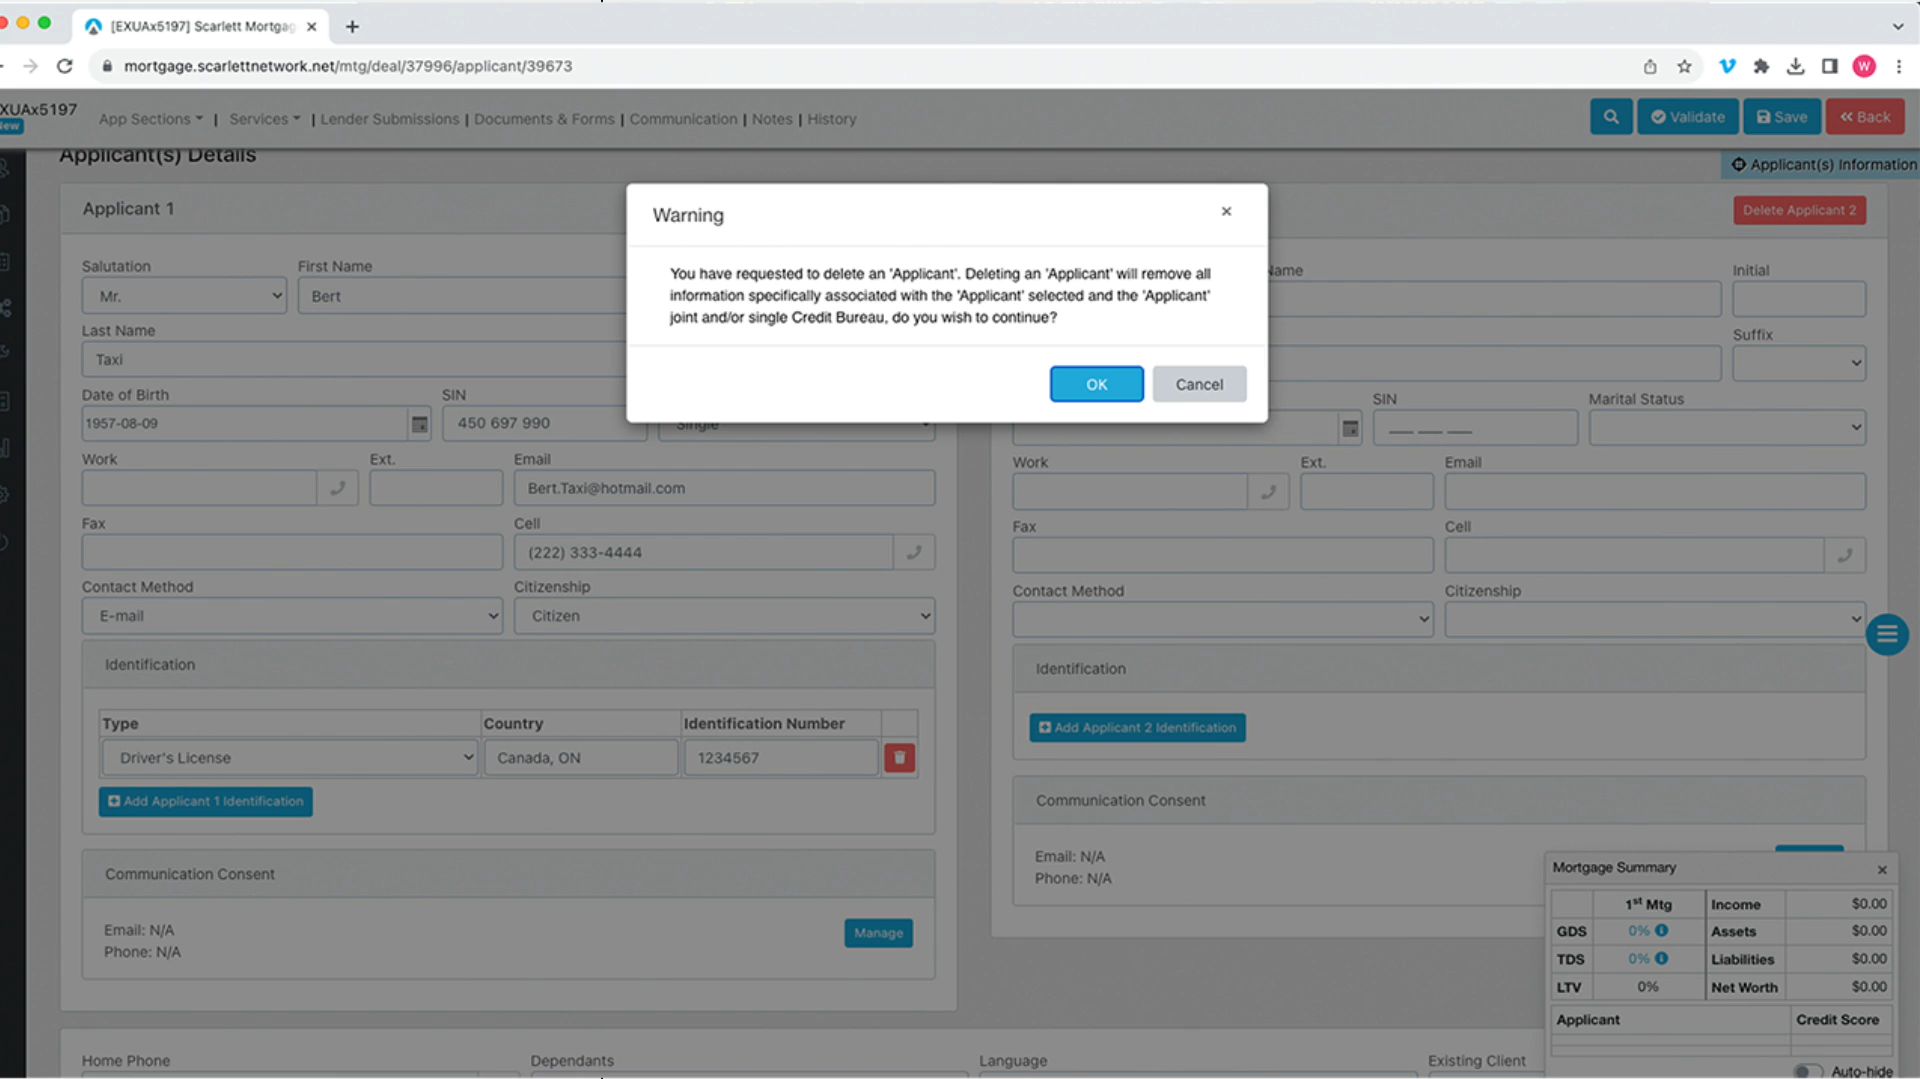
4) If you do not have a second applicant, delete the second application section
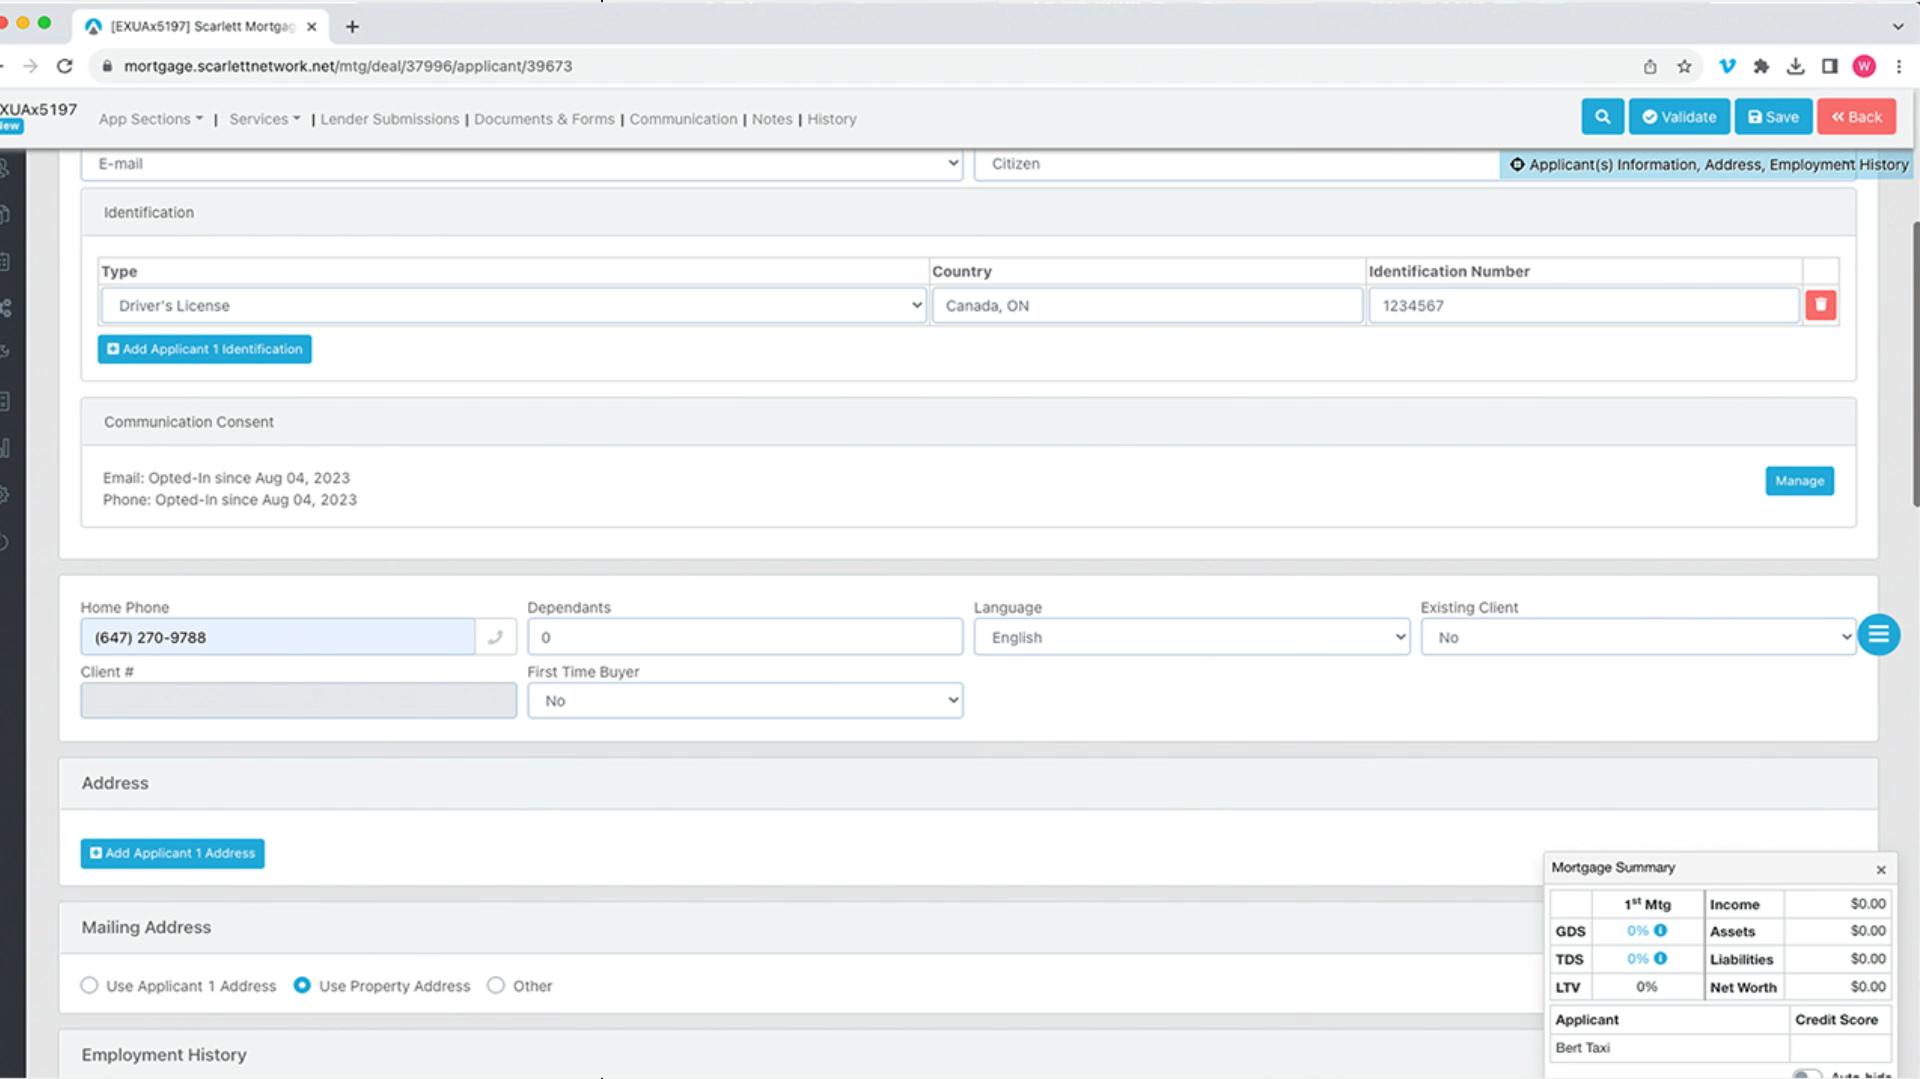
5) Next, fill out the phone number information for your client
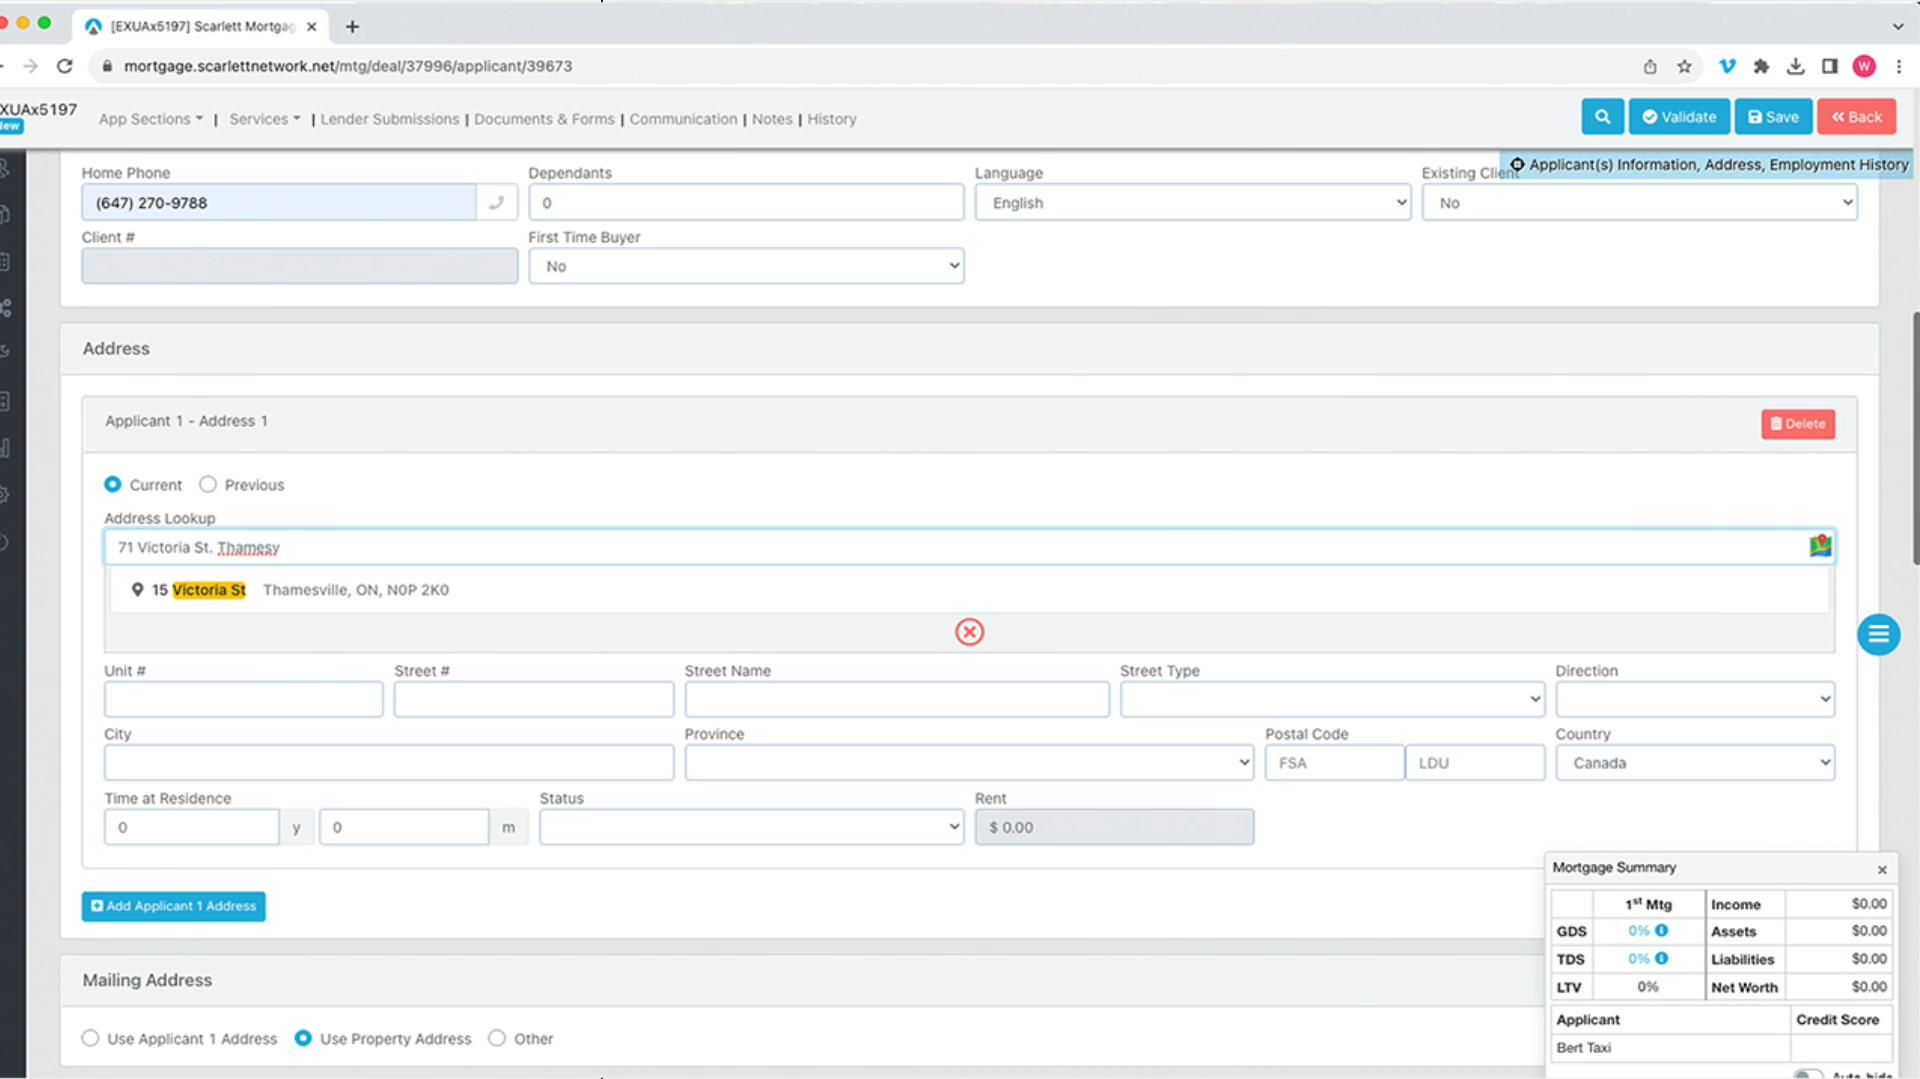
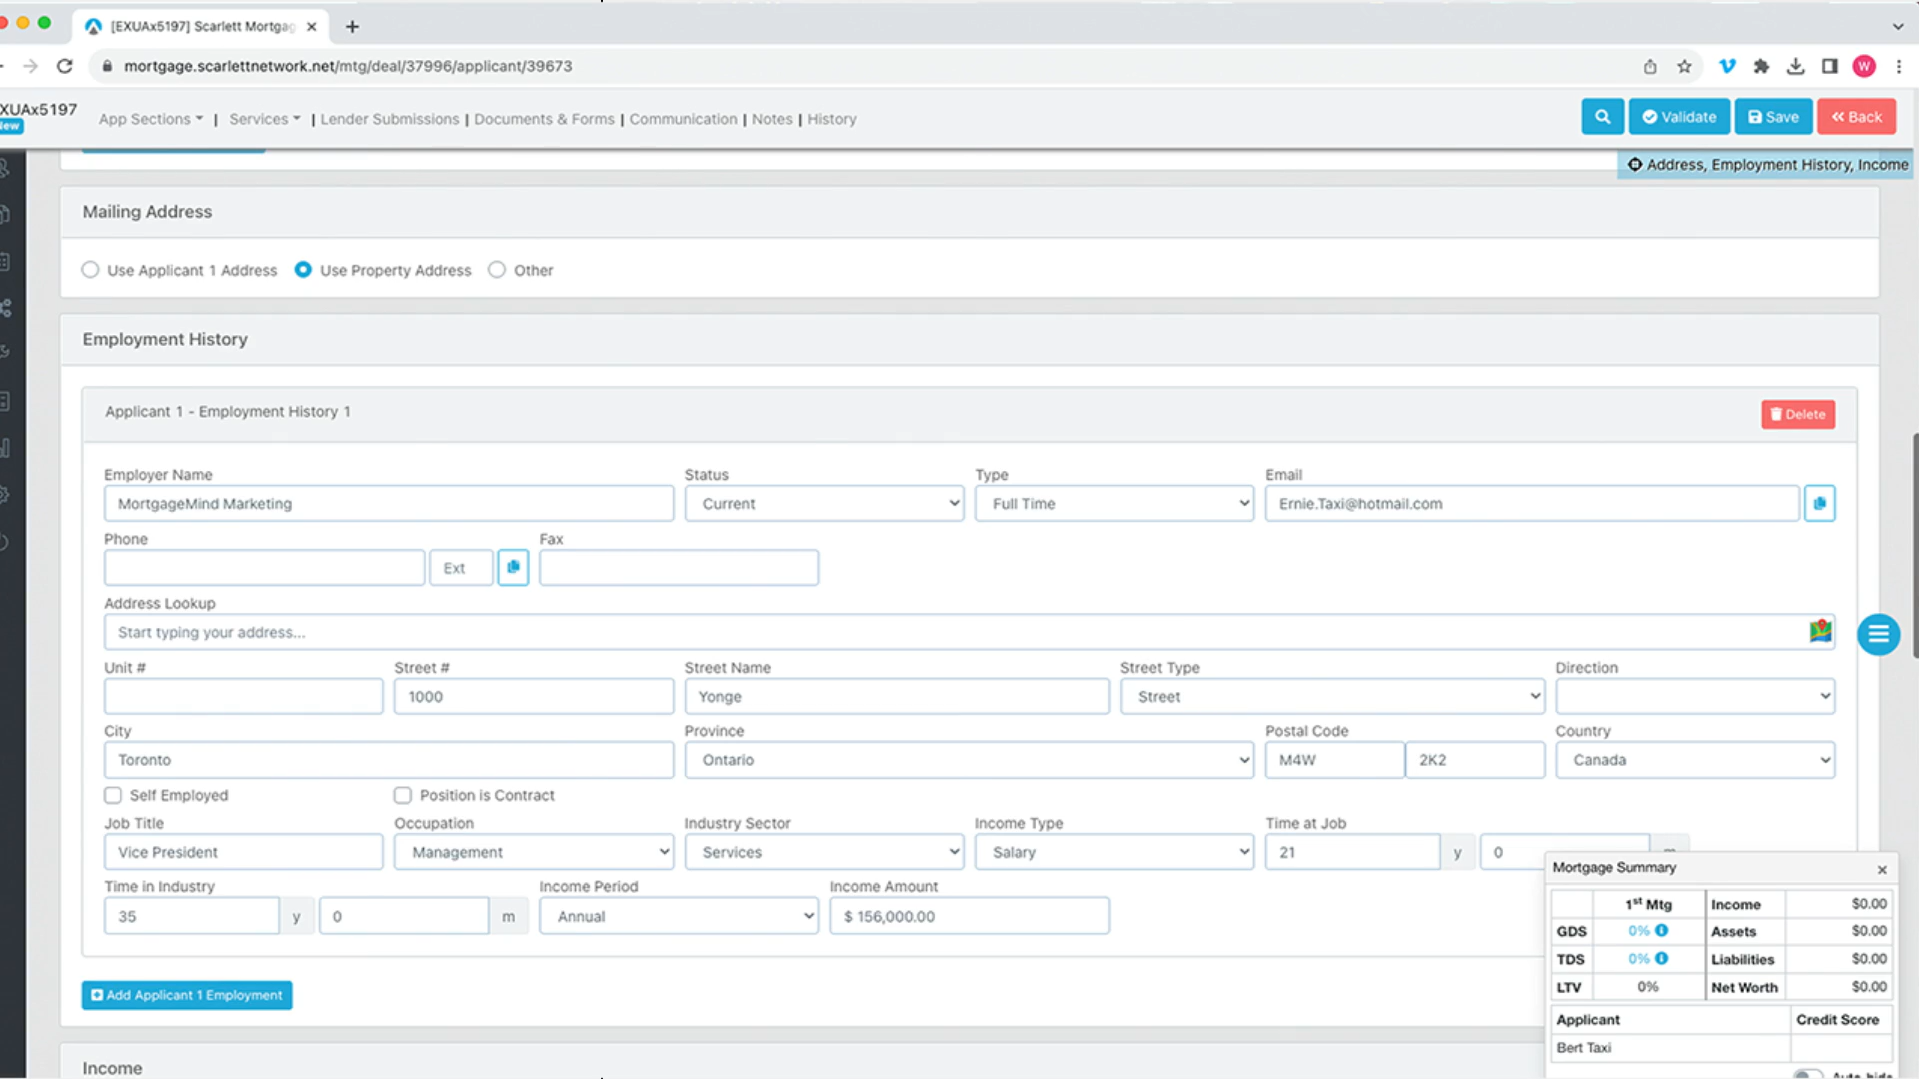
6) Next, add address information for applicant 1. The easiest way to fill out this section of the form is by using the address lookup feature. You can look up the address, and by selecting the correct one, sections of the application will fill out for you, with you being given the option to manually fix any of these sections.
7) Now let's begin completing the "Employment History" section. In this section you must fill out the Employer Name, Employment Status, Type of employment, etc.
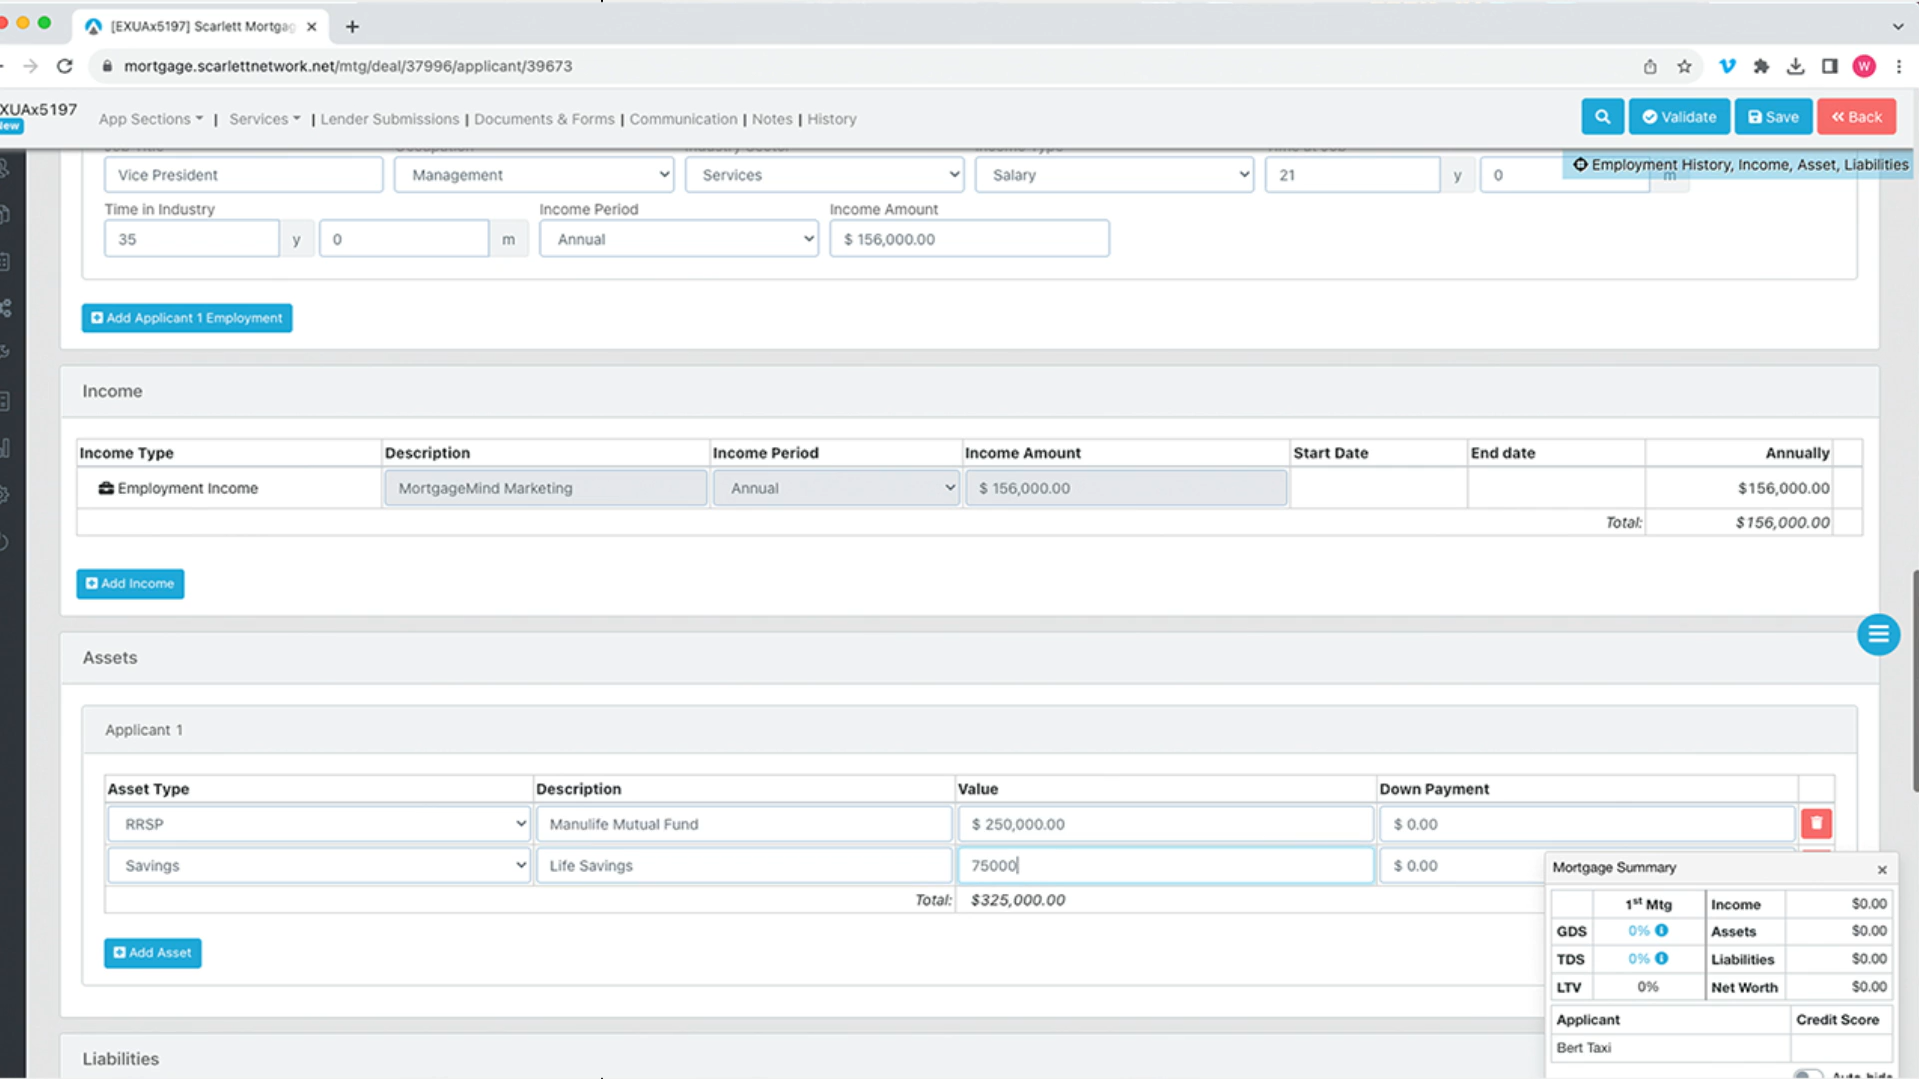
8) To complete the assets portion of the application. To add assets, click on the blue "Add Assets" button and fill put "Asset Type, Description, Value, Down Payment" for all of your assets
9) To input liabilities, add the "Type", "Limit", "Balance", "Payment", "Maturity Date", "Description", and "Payoff". Here we'll add another liability and select unsecured line of credit for $20,000.
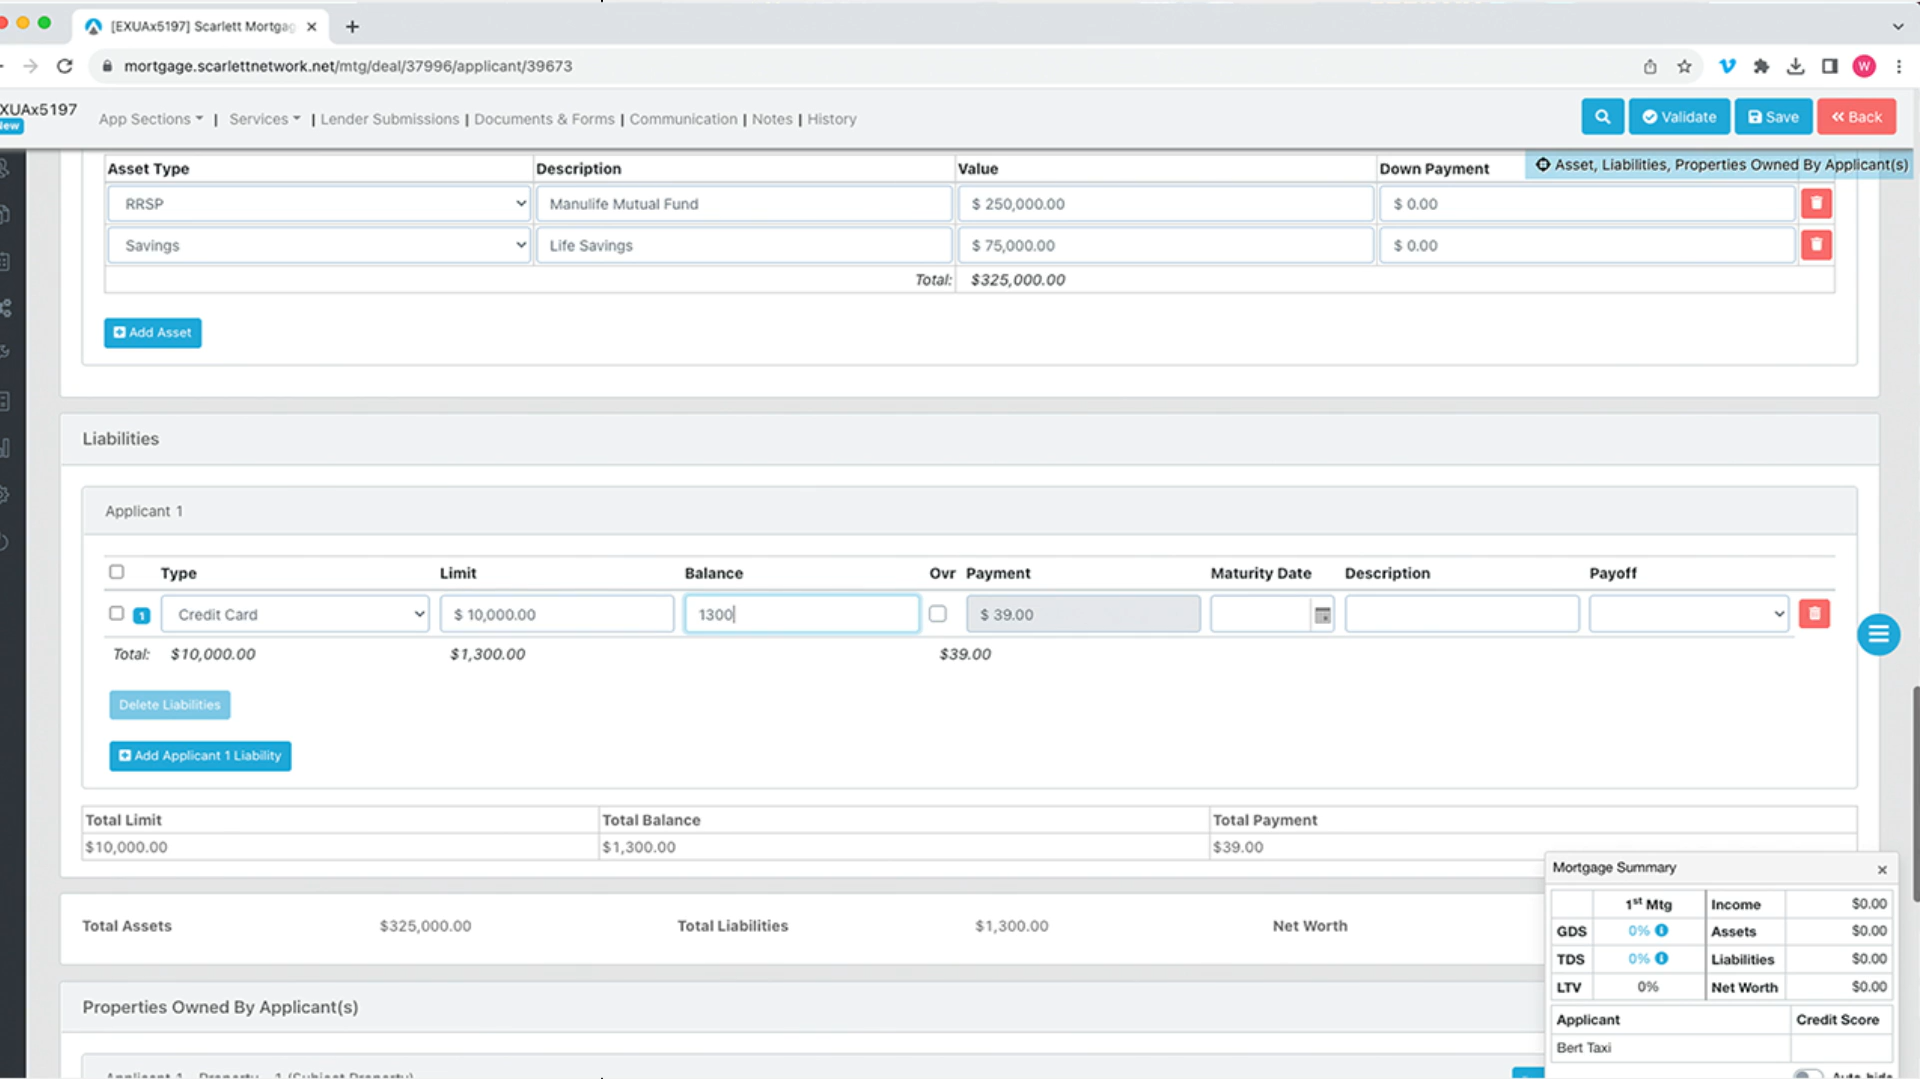
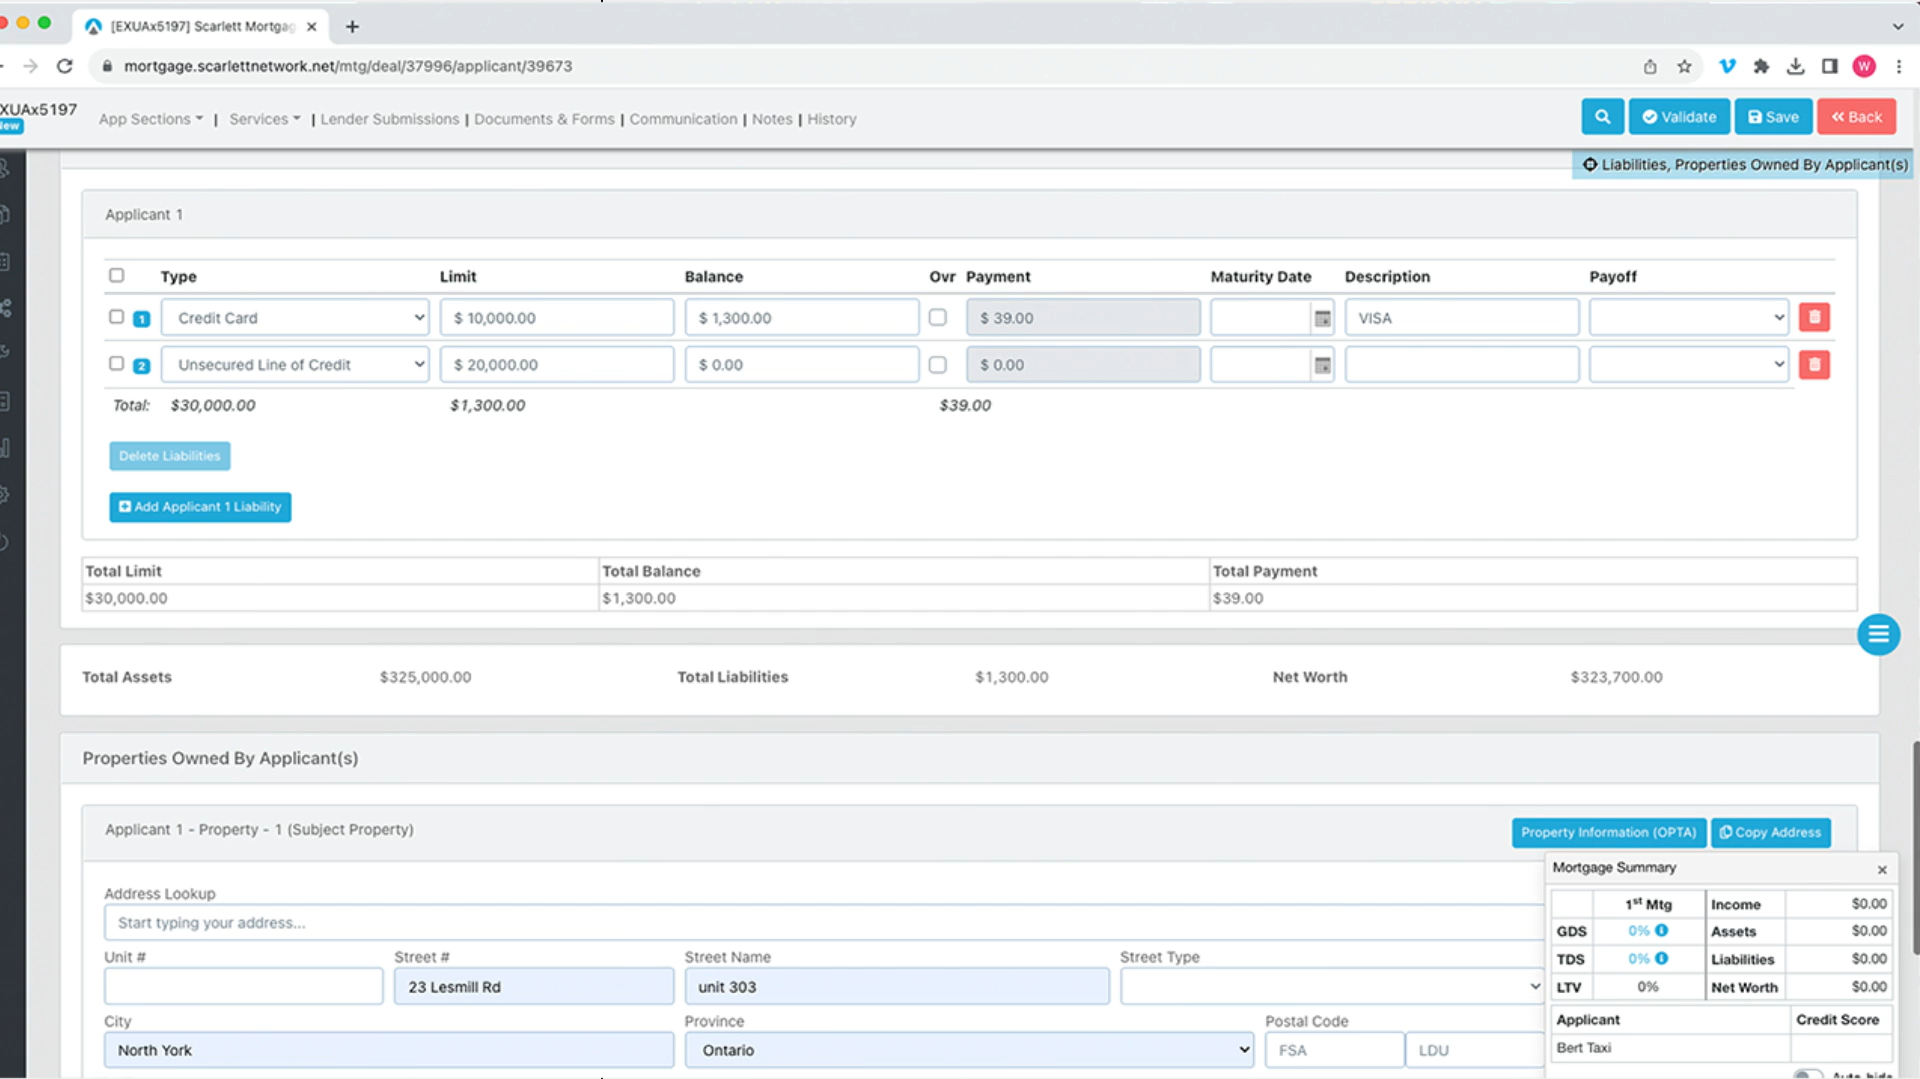
The system also adds up the Total Assets, Total Liabilities, and Total Net Worth
10) In the Properties Owned by Applicant(s) section, the system automatically populates some of the fields
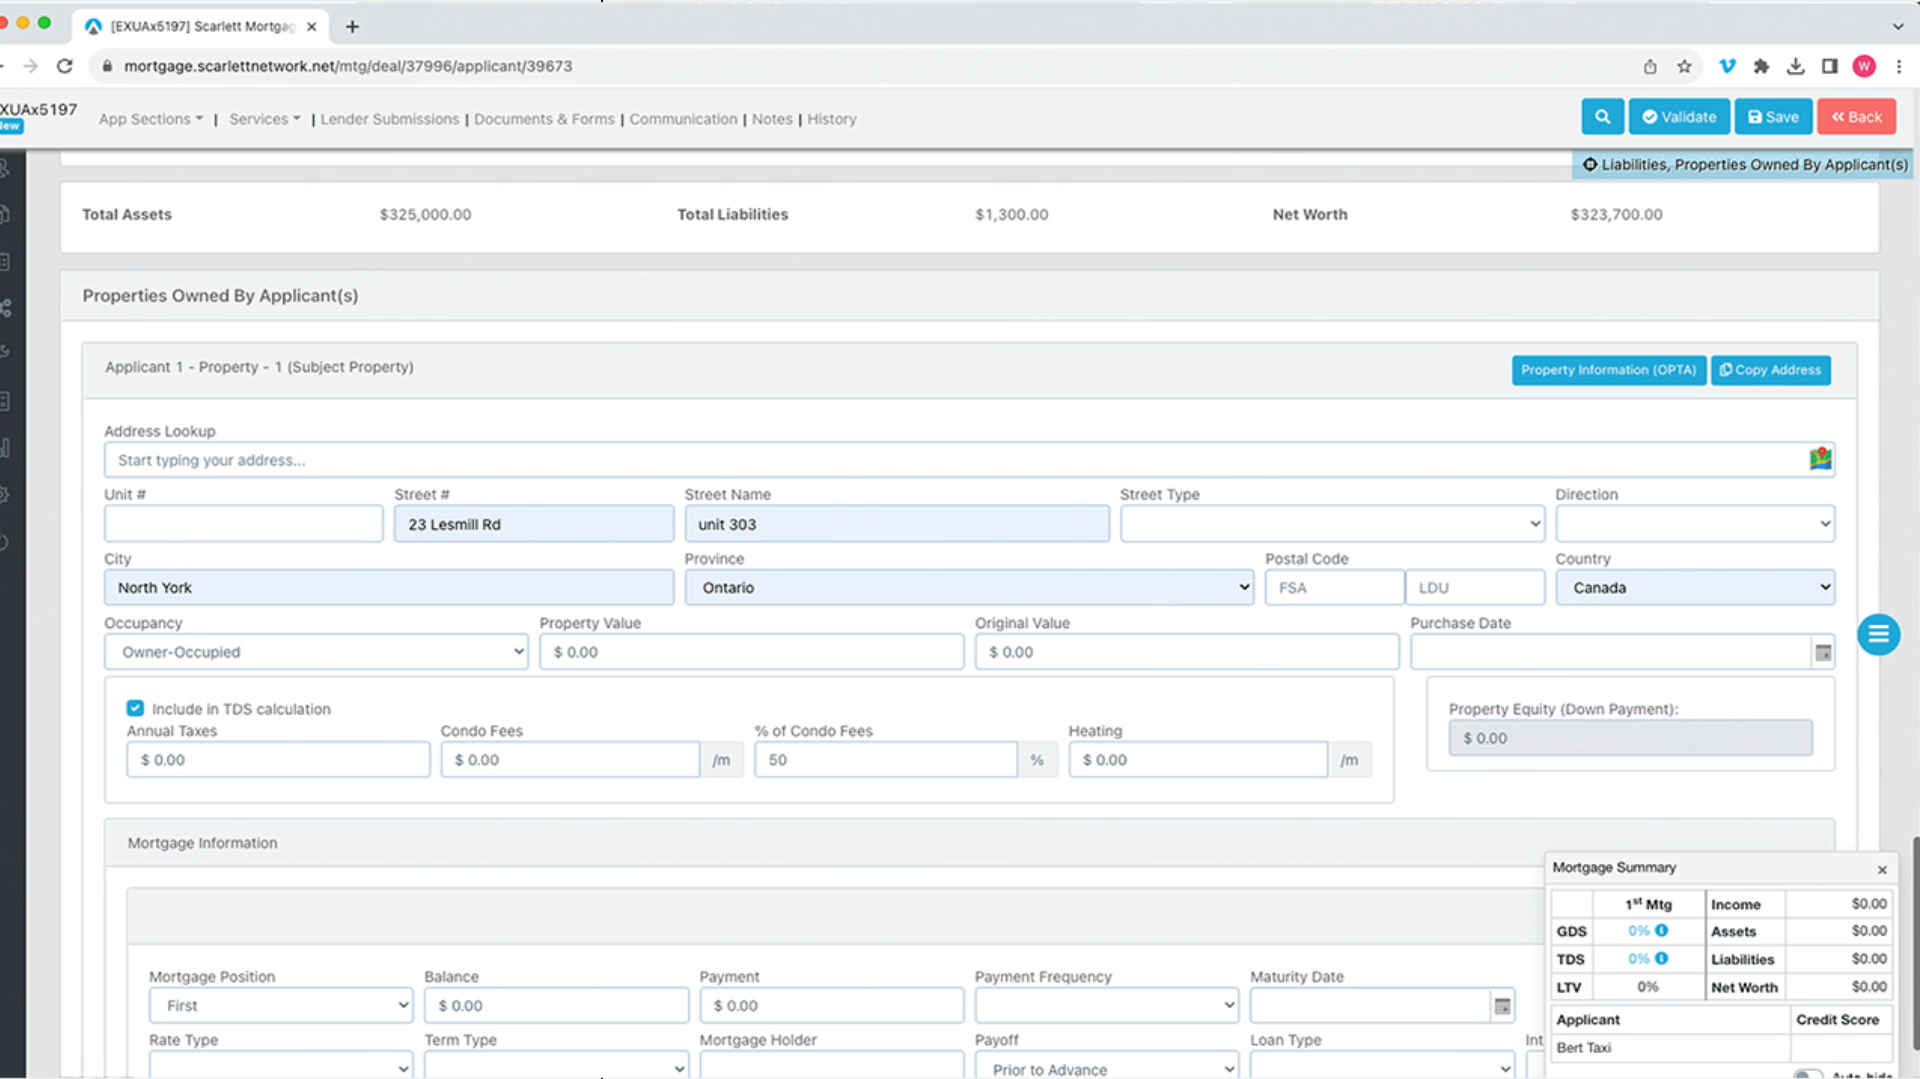
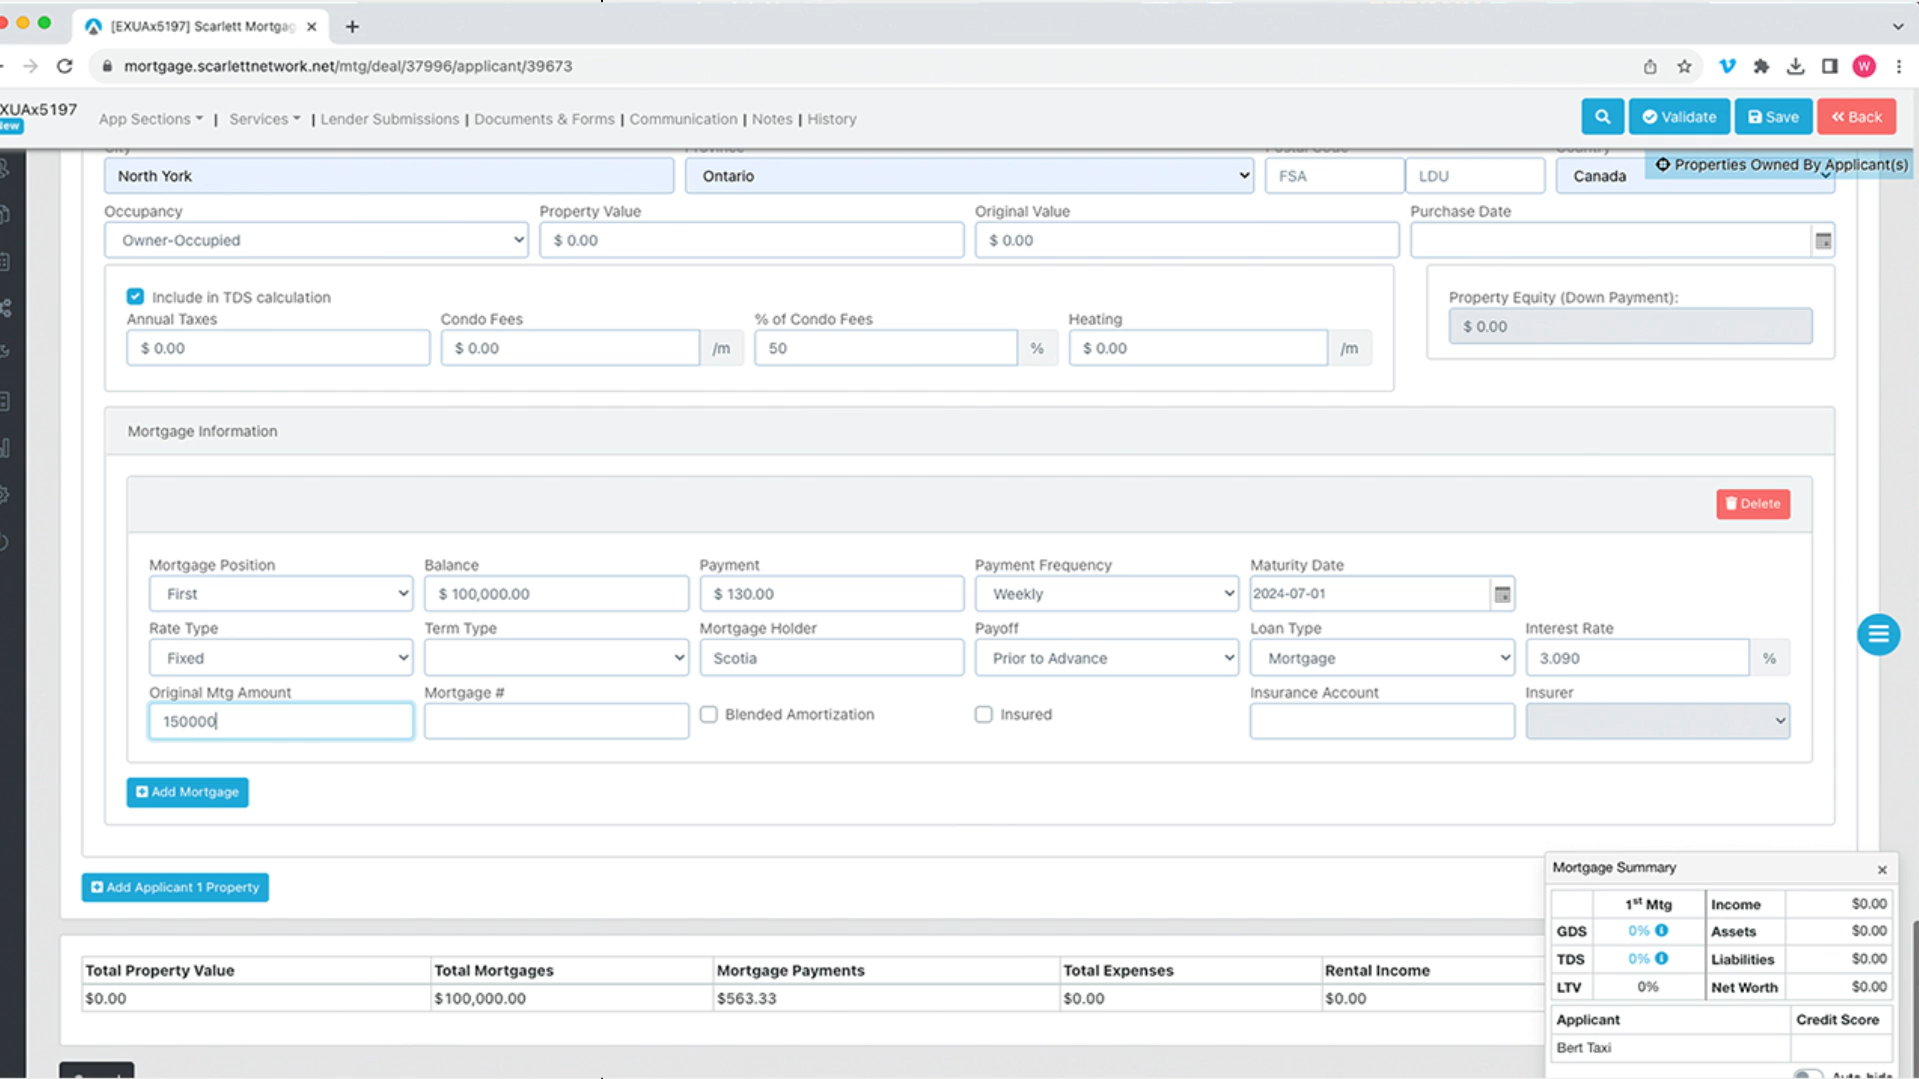
11) Let's skip down to Mortgage Information and fill it out
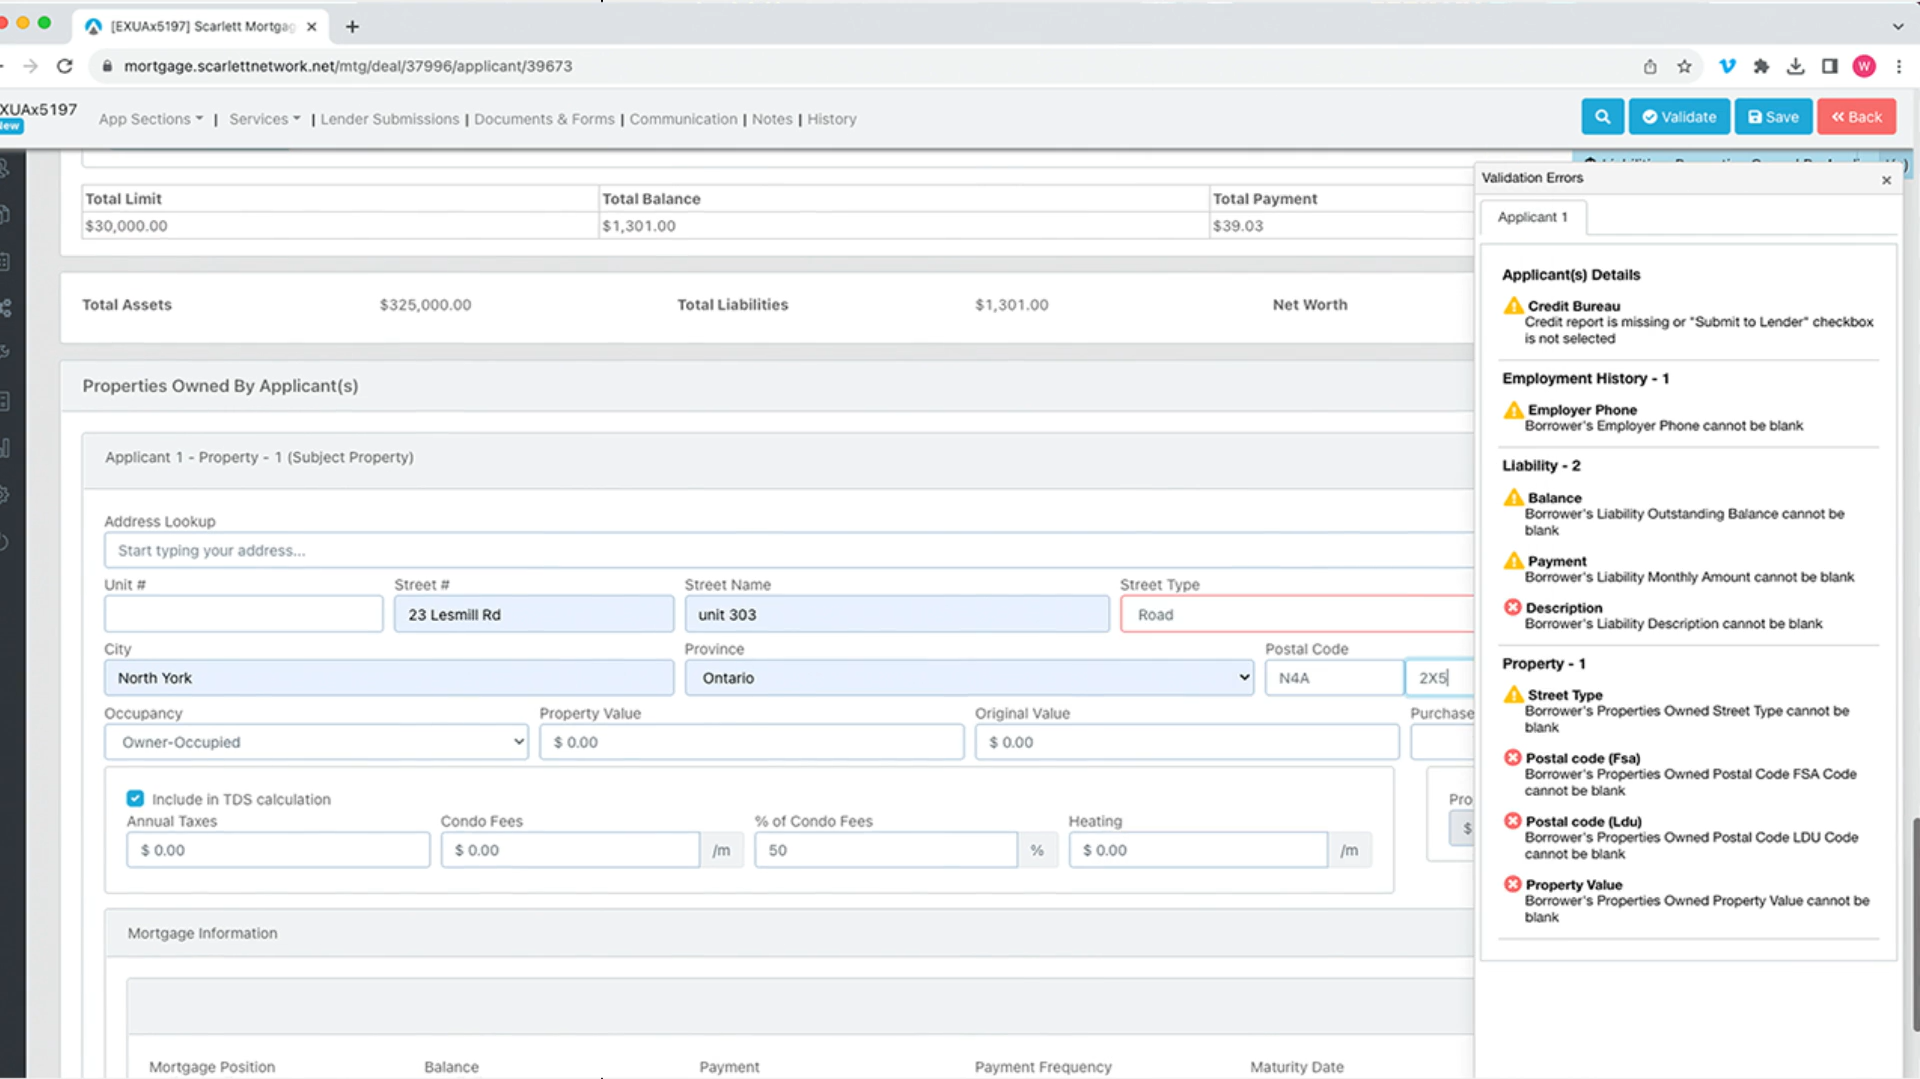
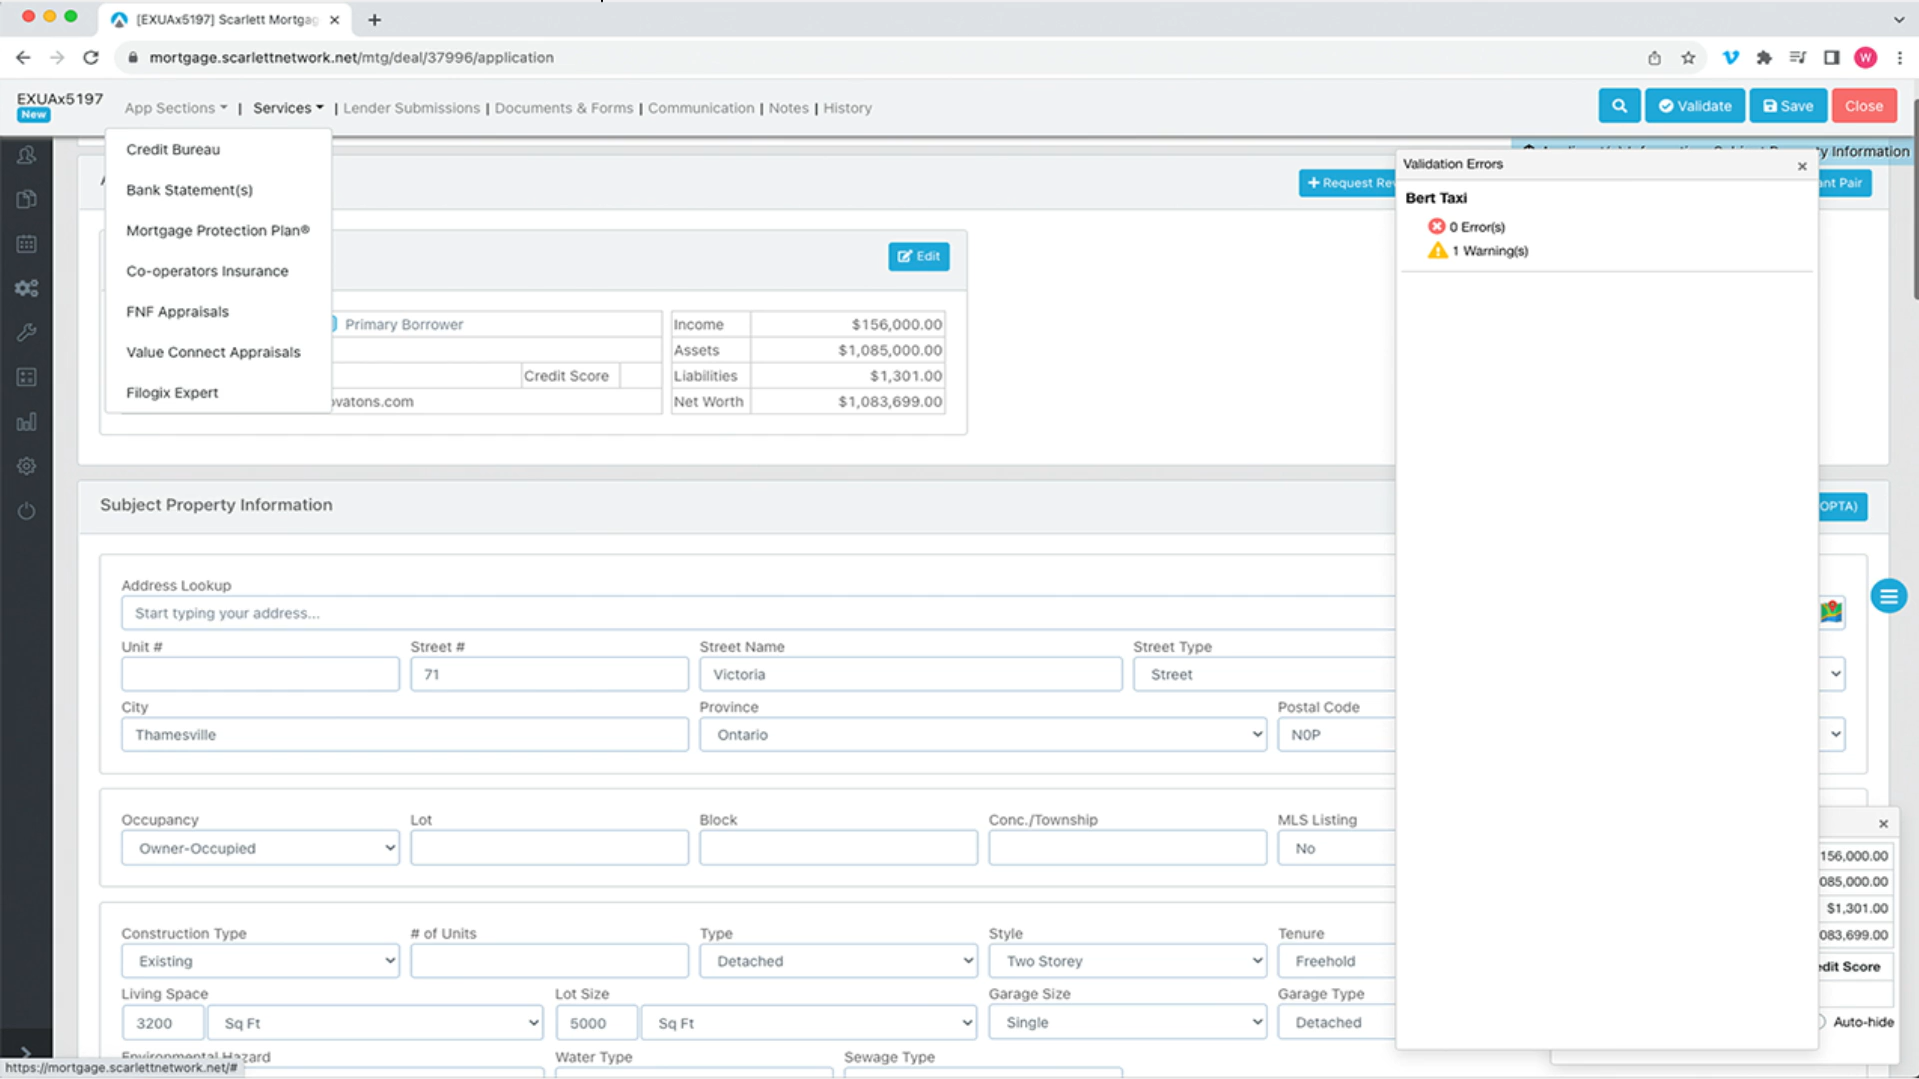
12) Press "Save" and then press "Validate" to see if there are any errors within the fields
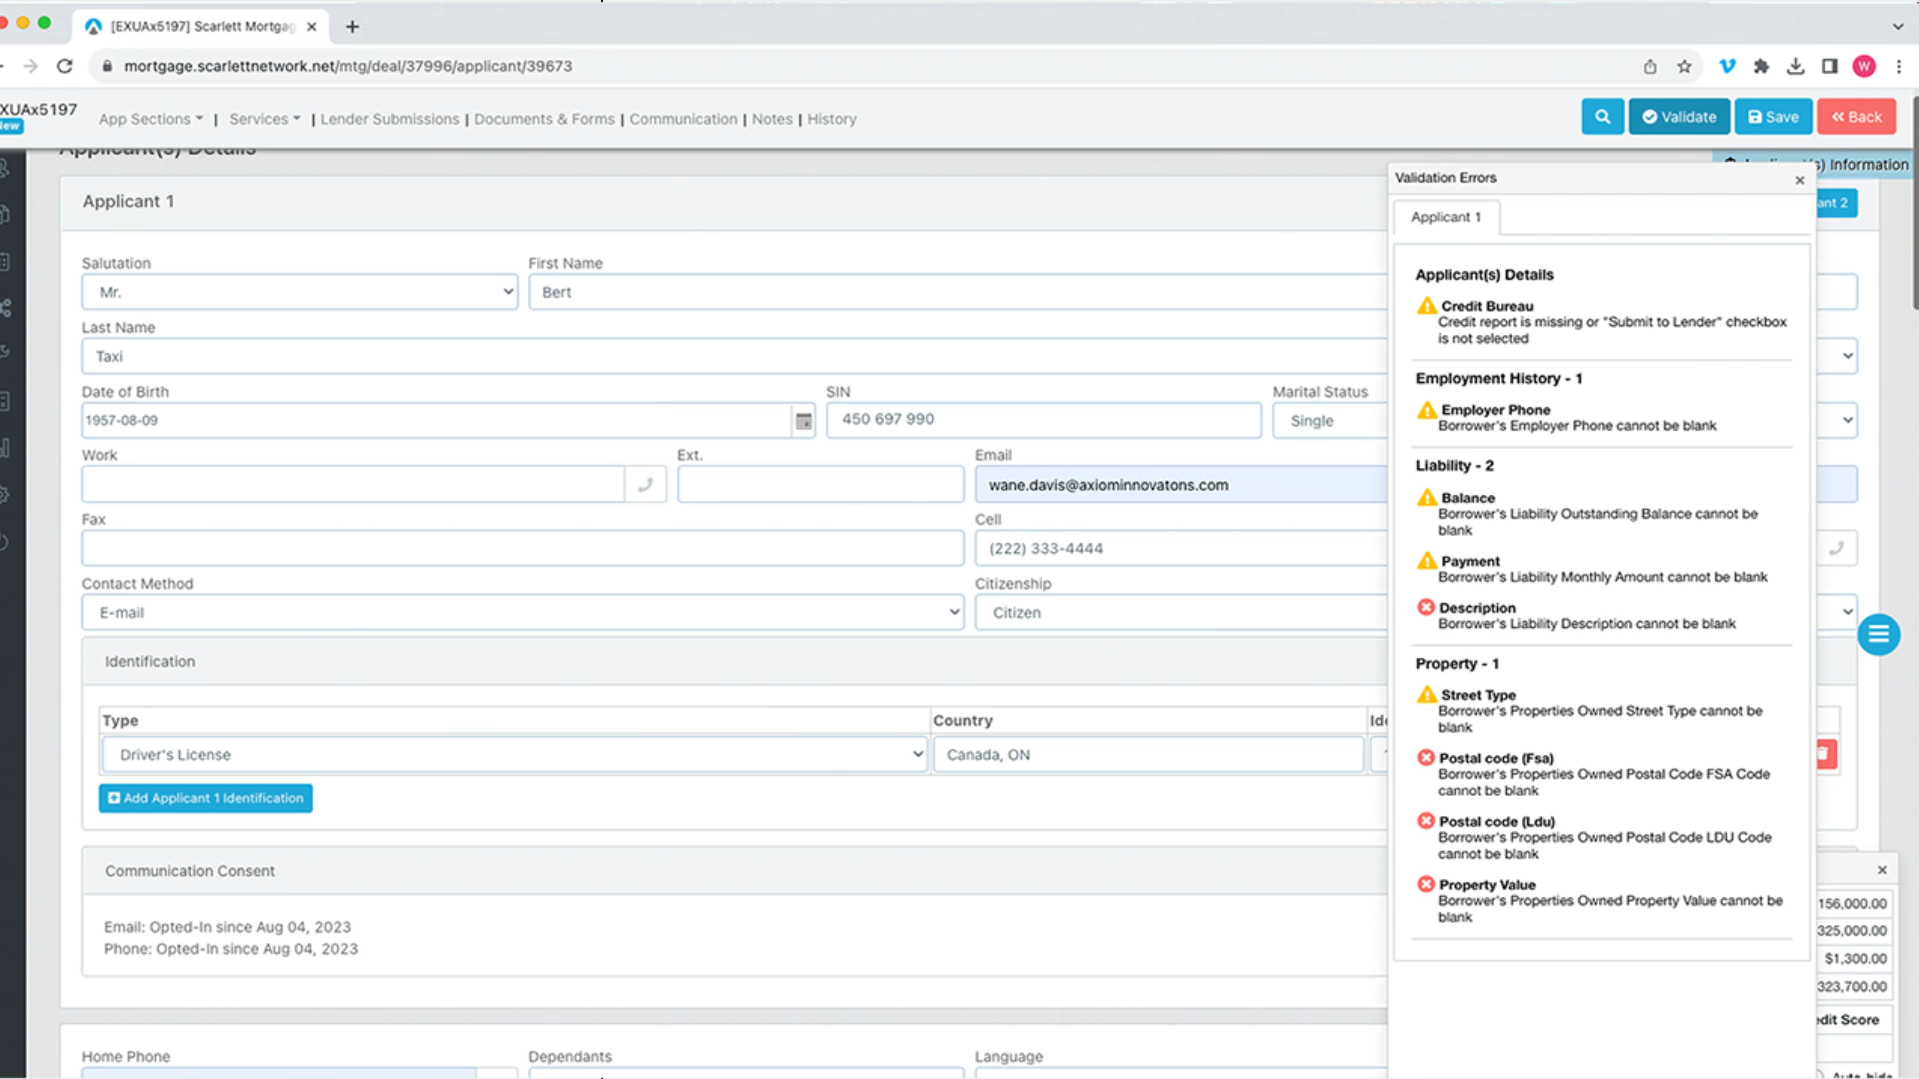
Here validation lists all of the mistakes within the application or errors we missed. You can click on errors one-by-one and the system takes you to the area where the errors are in the system.
13) Here we will click on "Employer Phone", and add the correct number to where the red border shows up

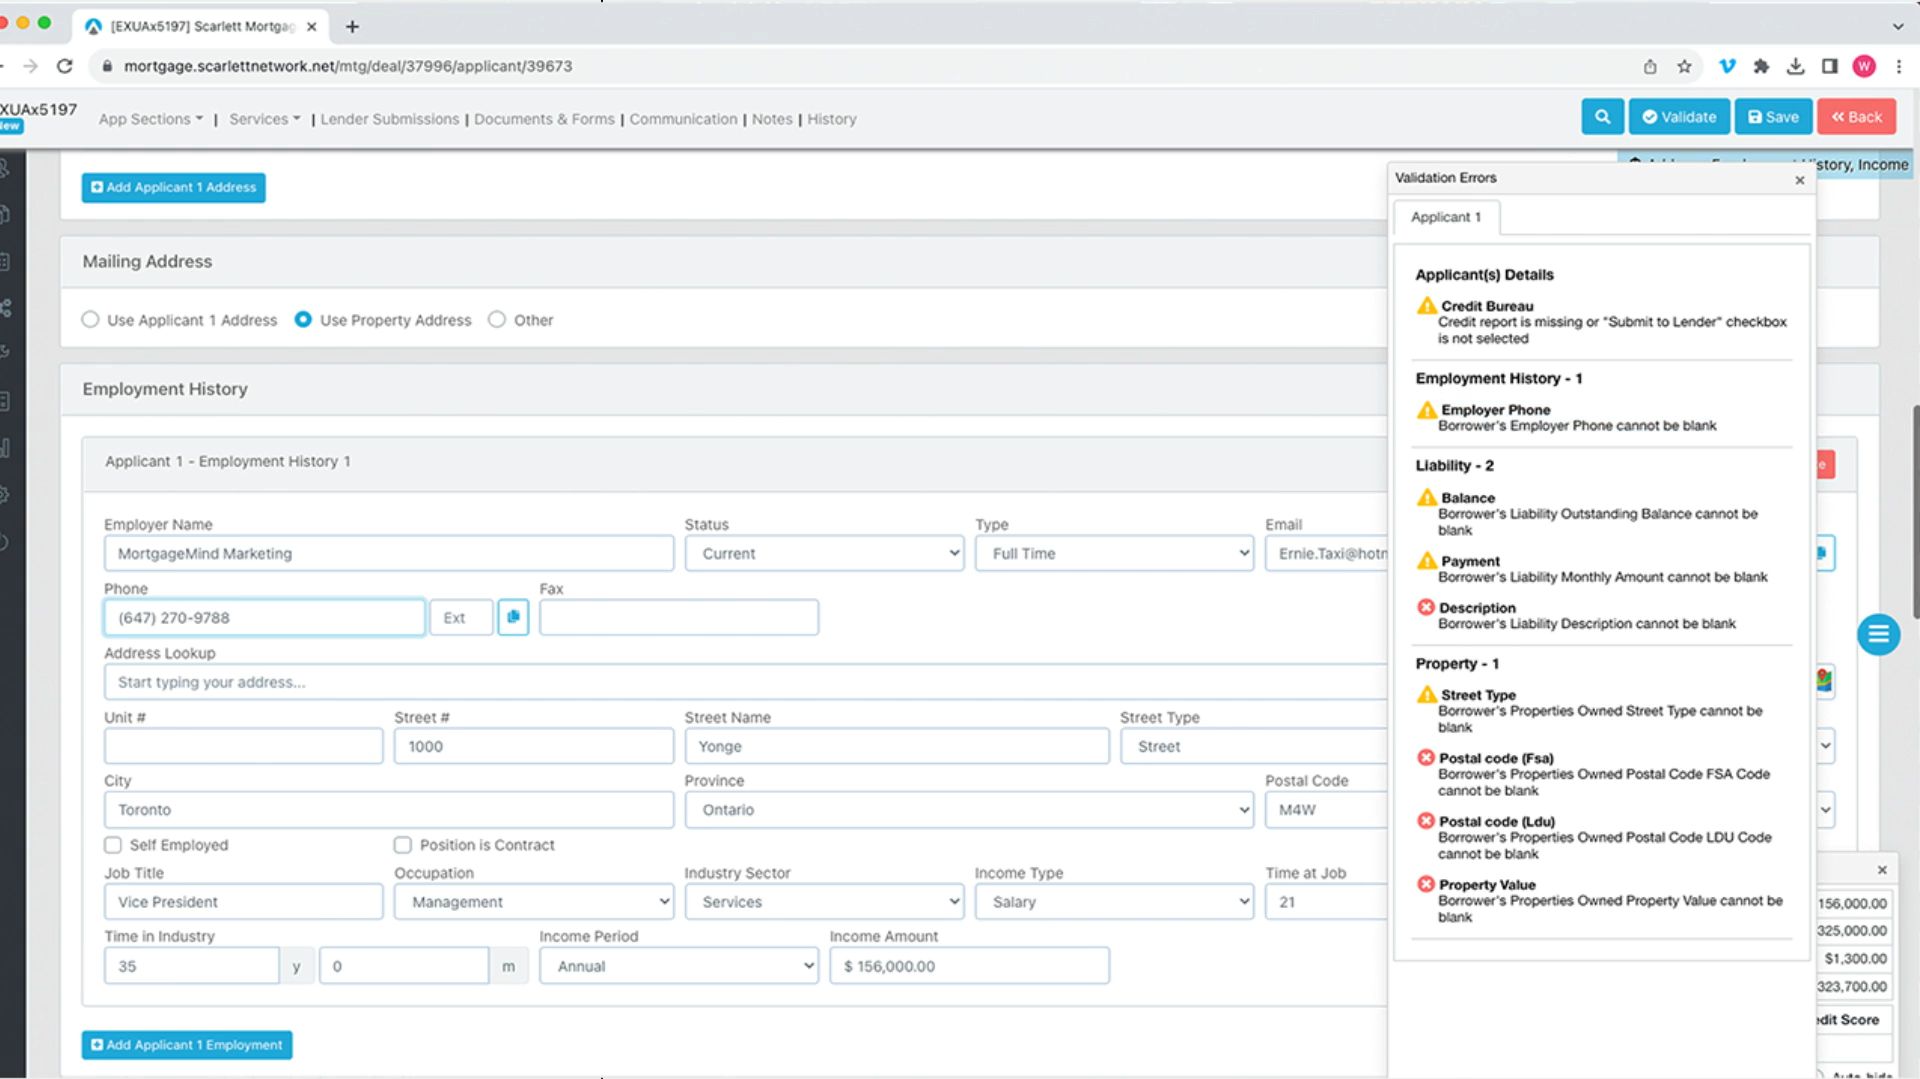
14) Here we will click through the errors quickly and address the issues within the application
15) Now let's go to the right of the blue hamburger menu and select "Subject Property Information" from the menu

16) For demonstration purposes, let's go in and add a second property in the "Applicant(s) Information" section
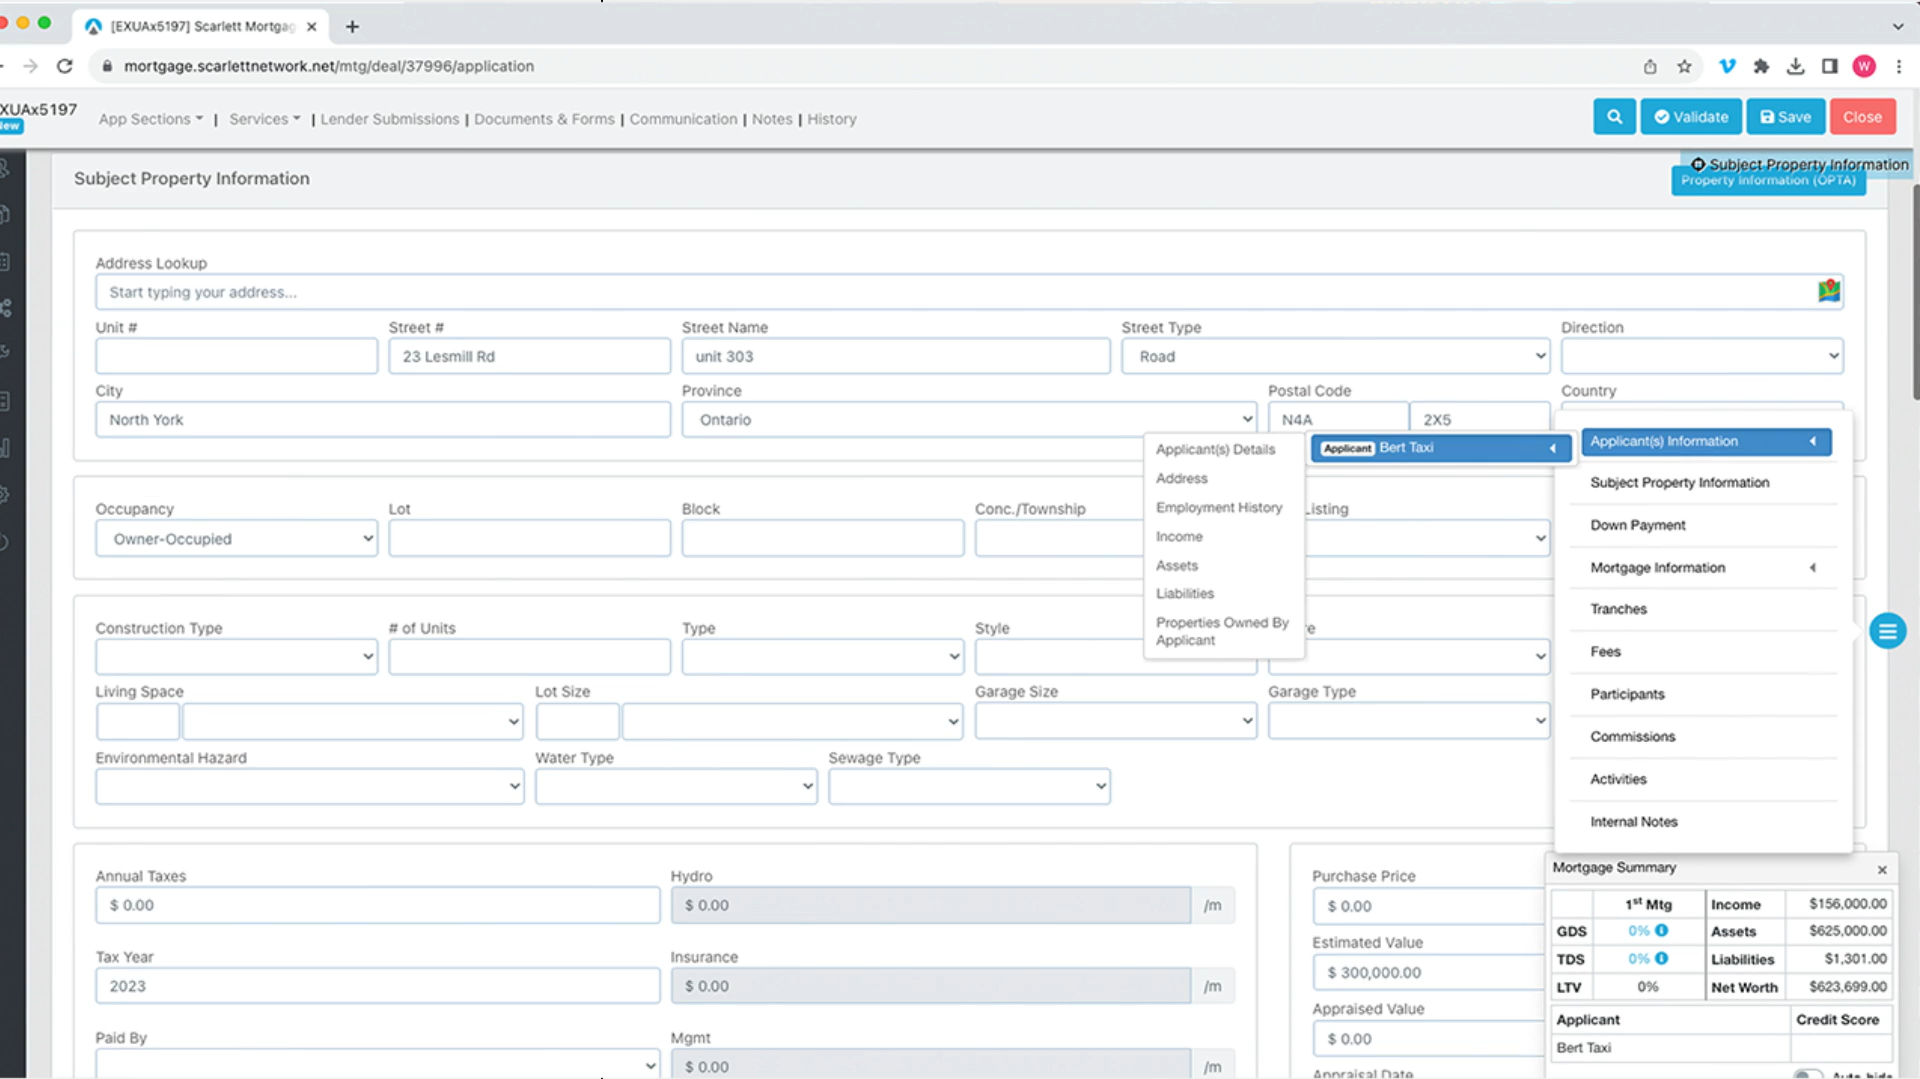
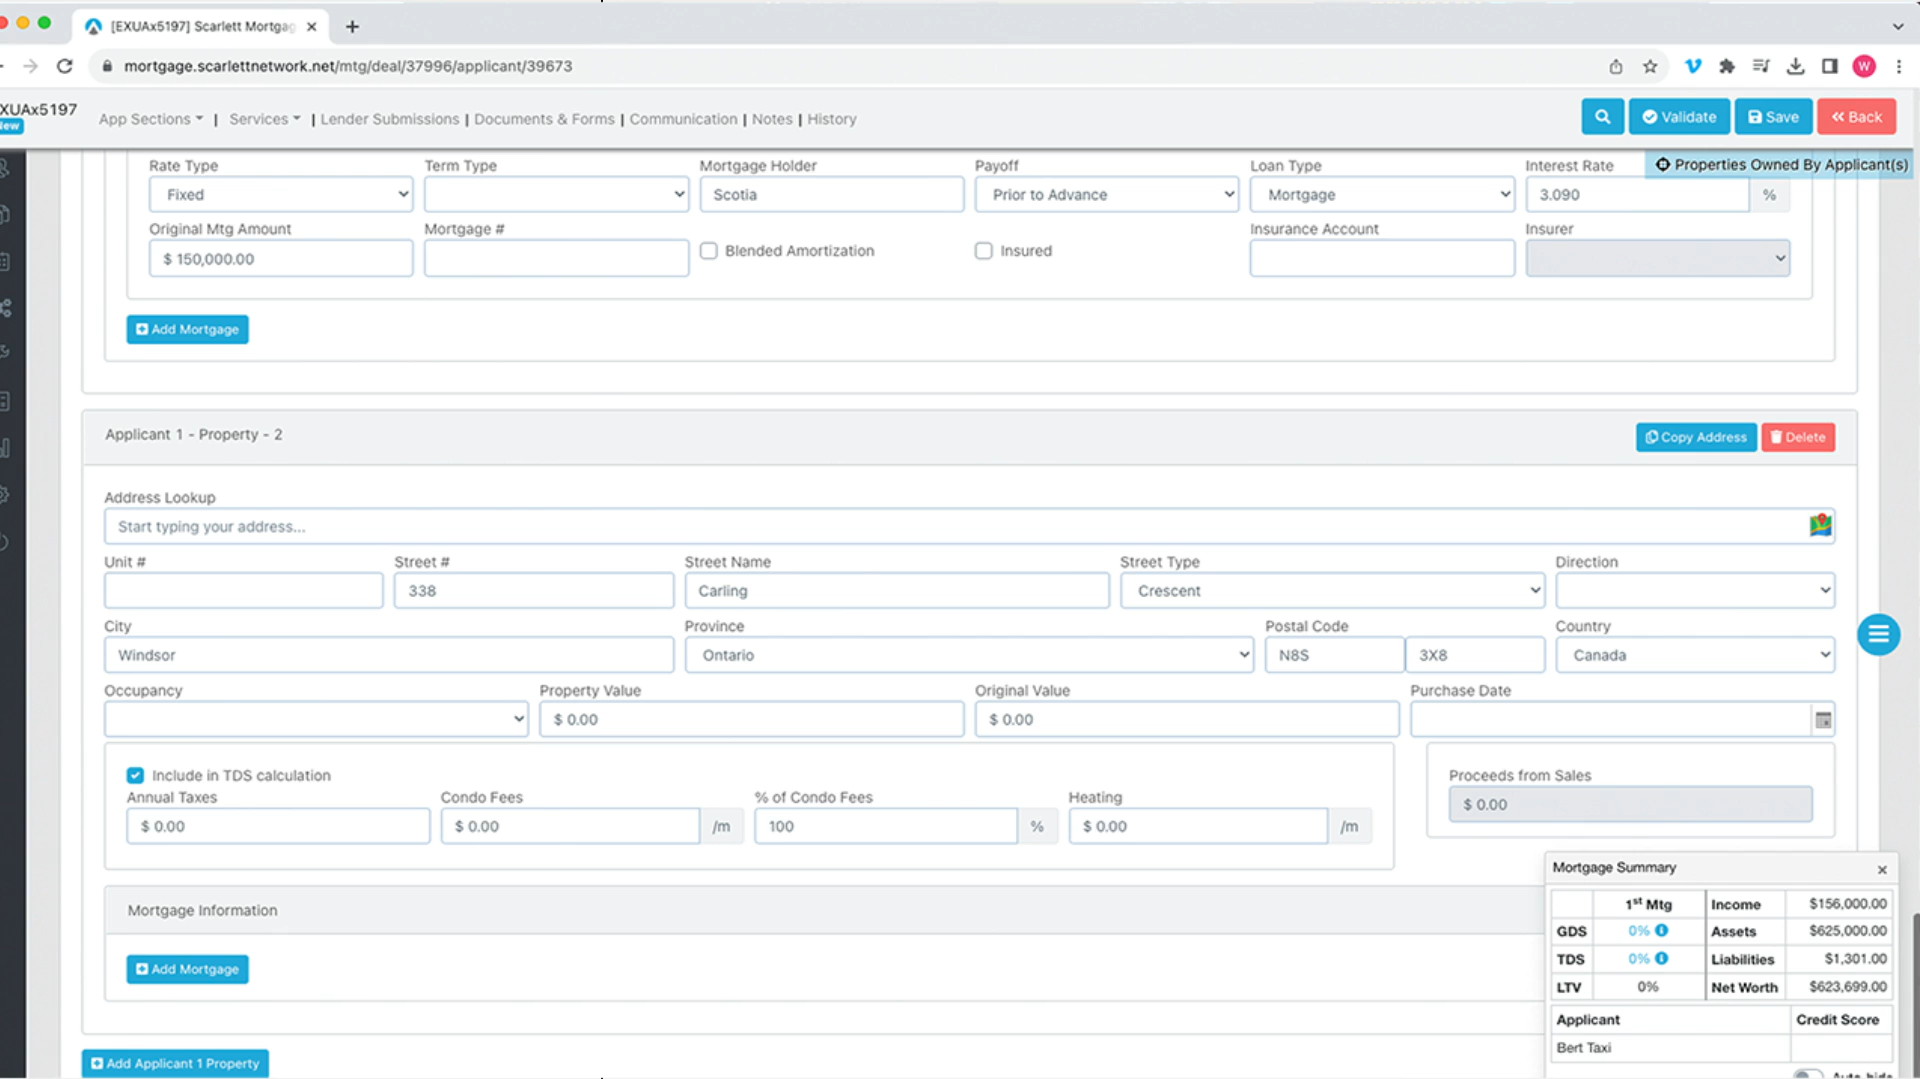
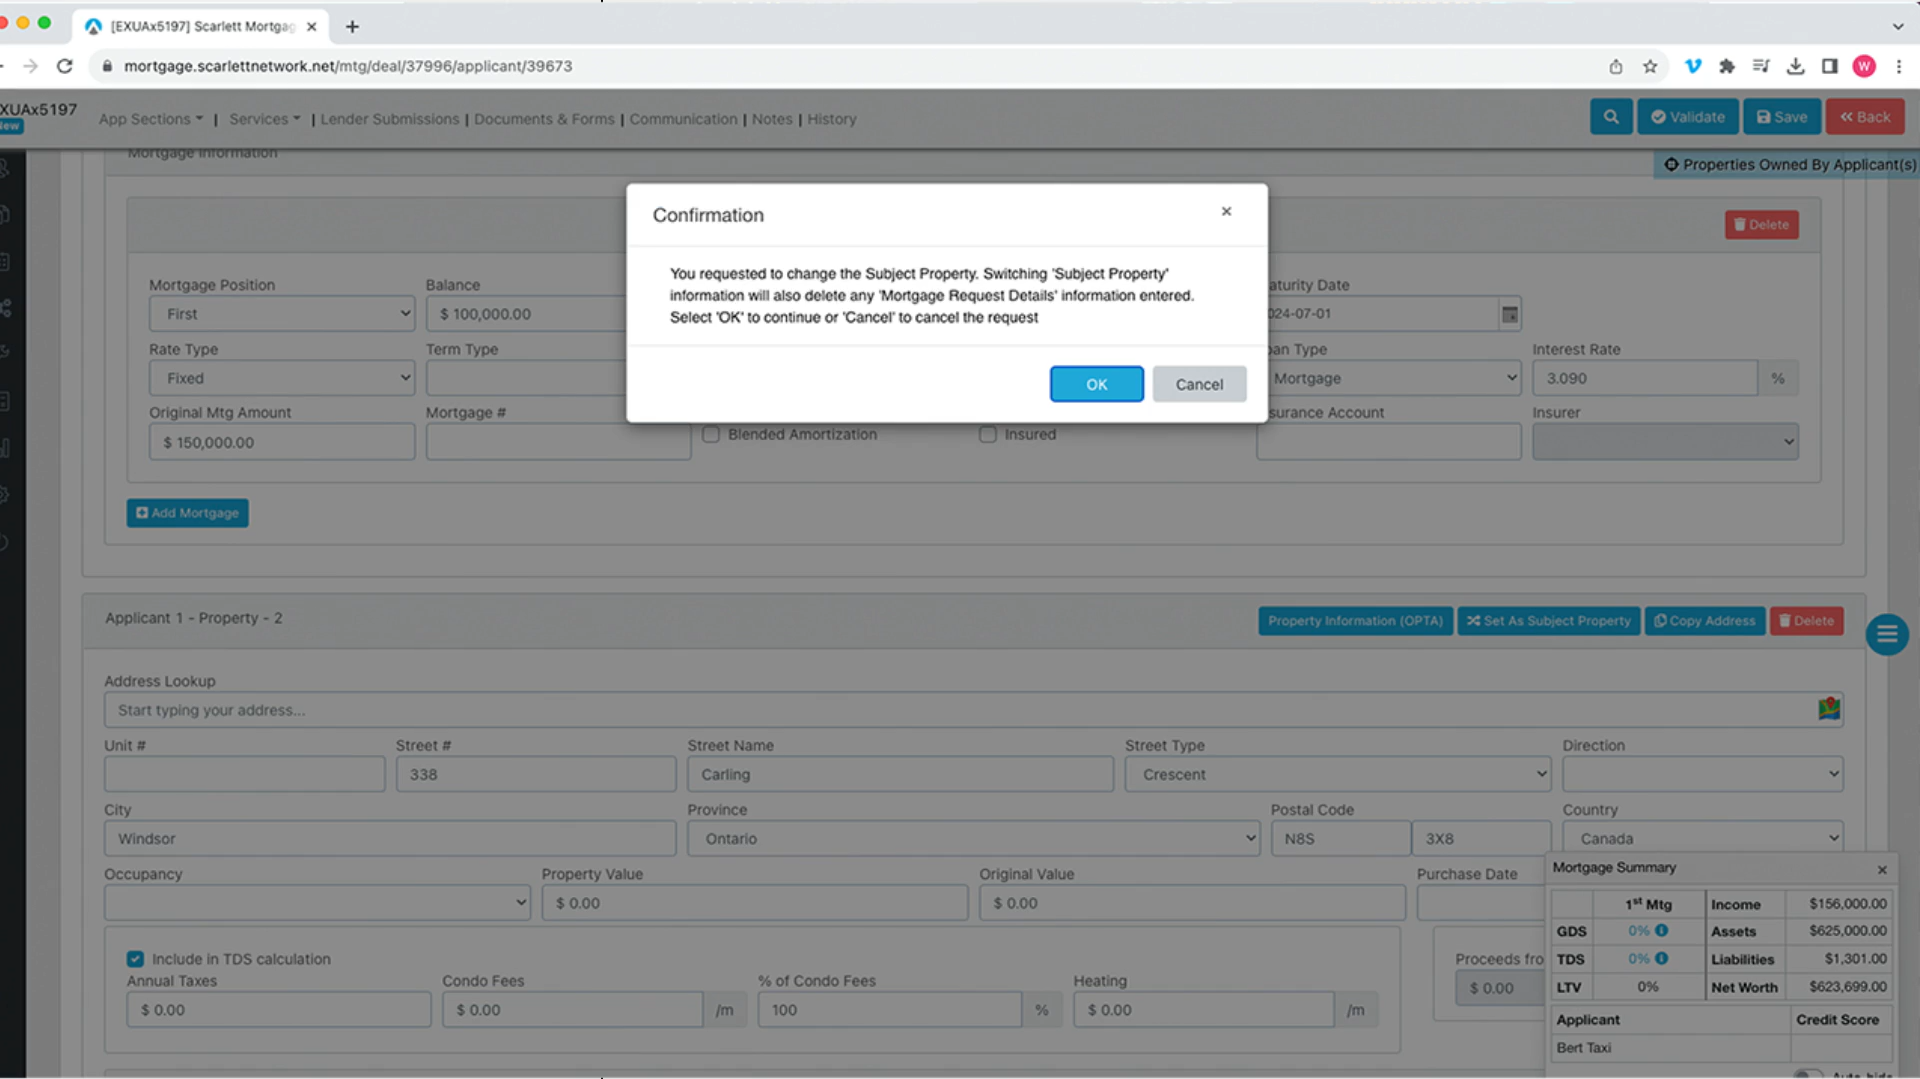
17) In the "Properties Owned by Applicant" section, you are able to go in and indicate which of the properties is the subject property

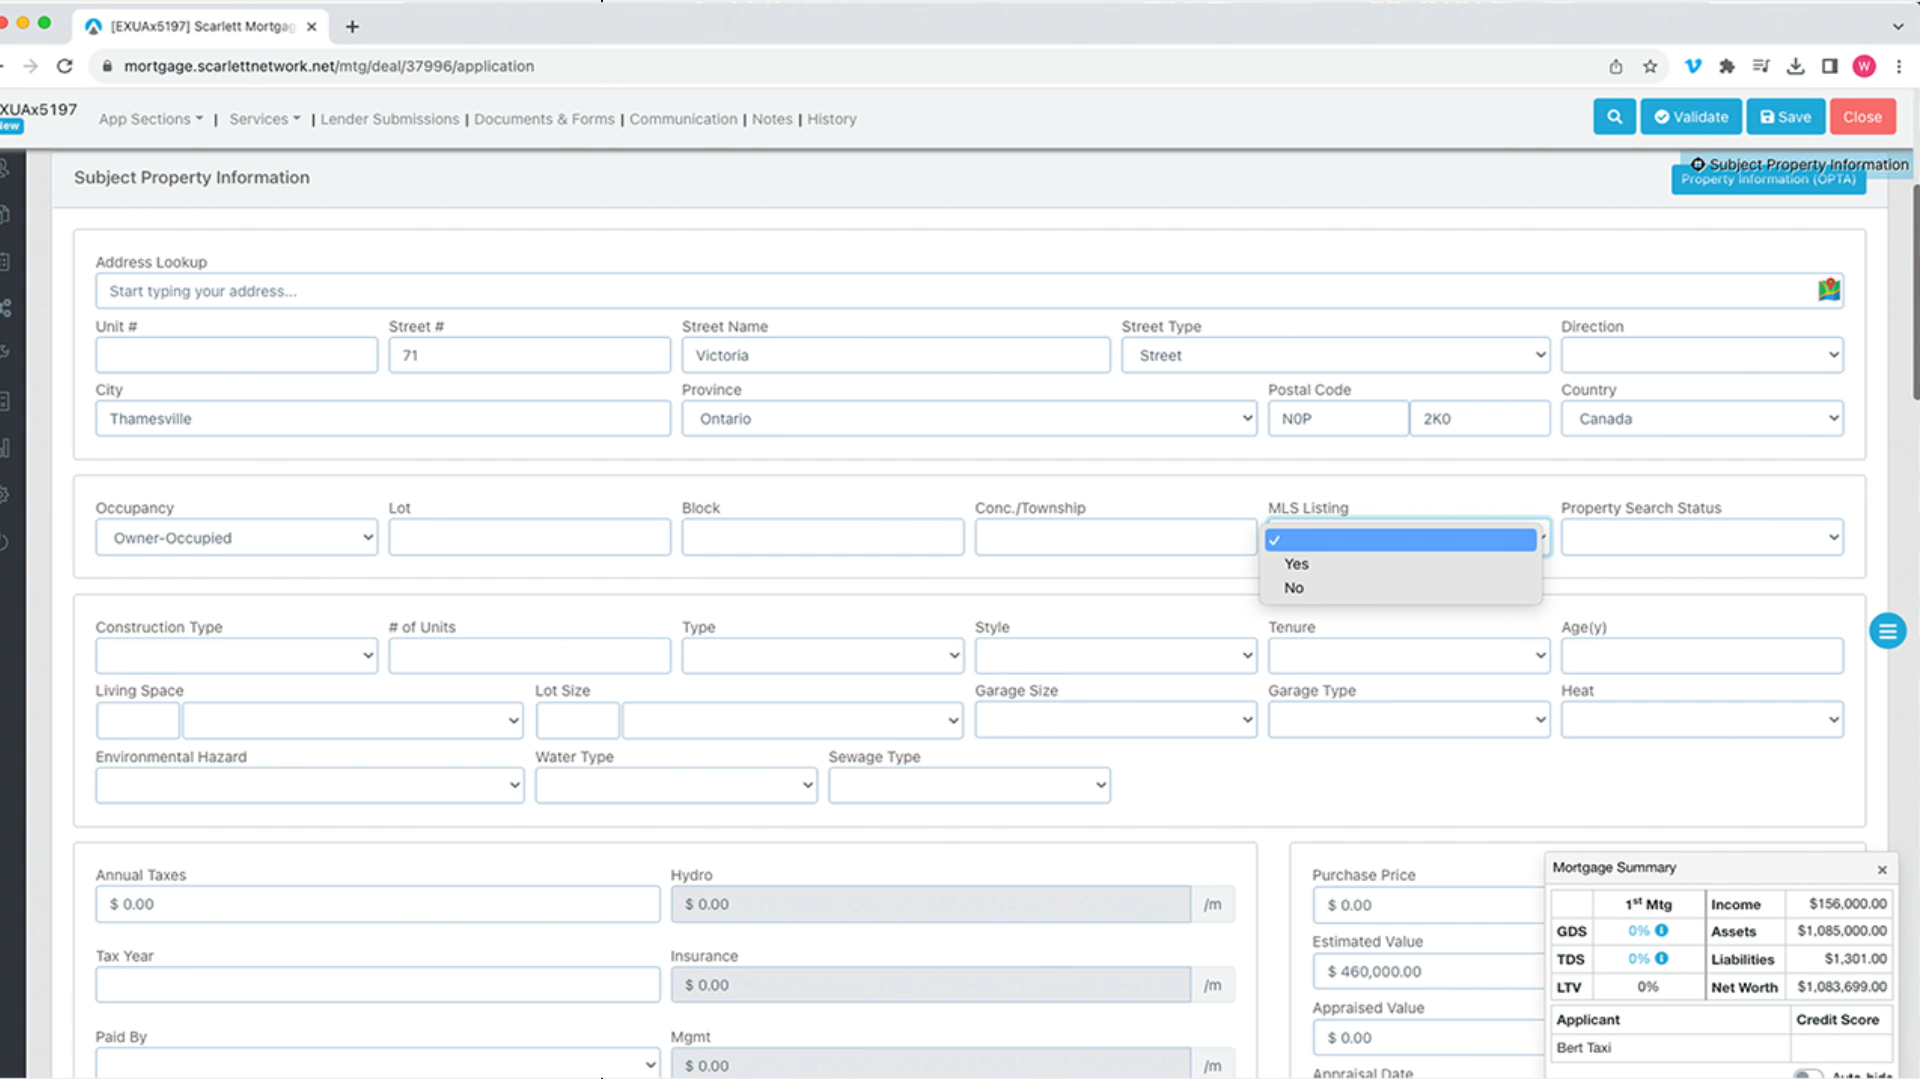
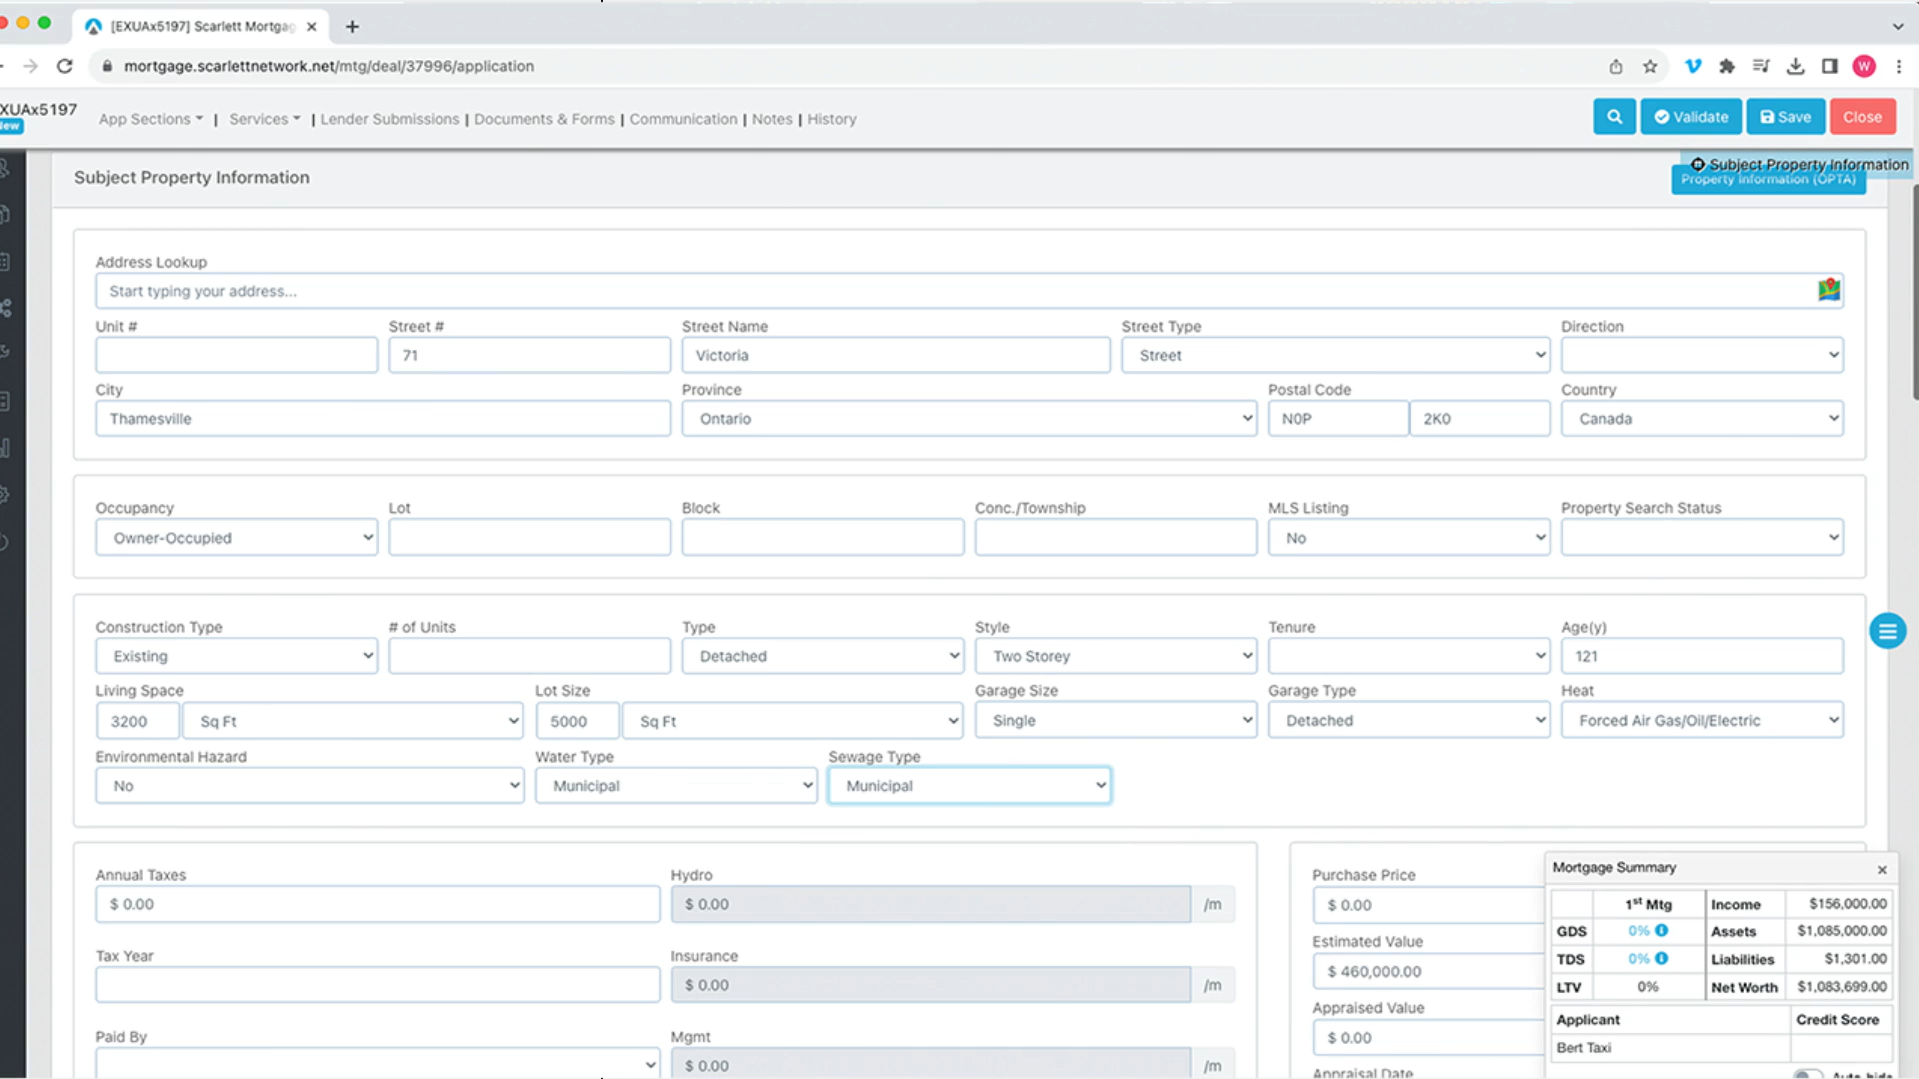
18) Let's go to the Blue Hamburger menu and select "Subject Property Information". There is now additional information you need to provide such as "Construction Type", "Type", "Style".
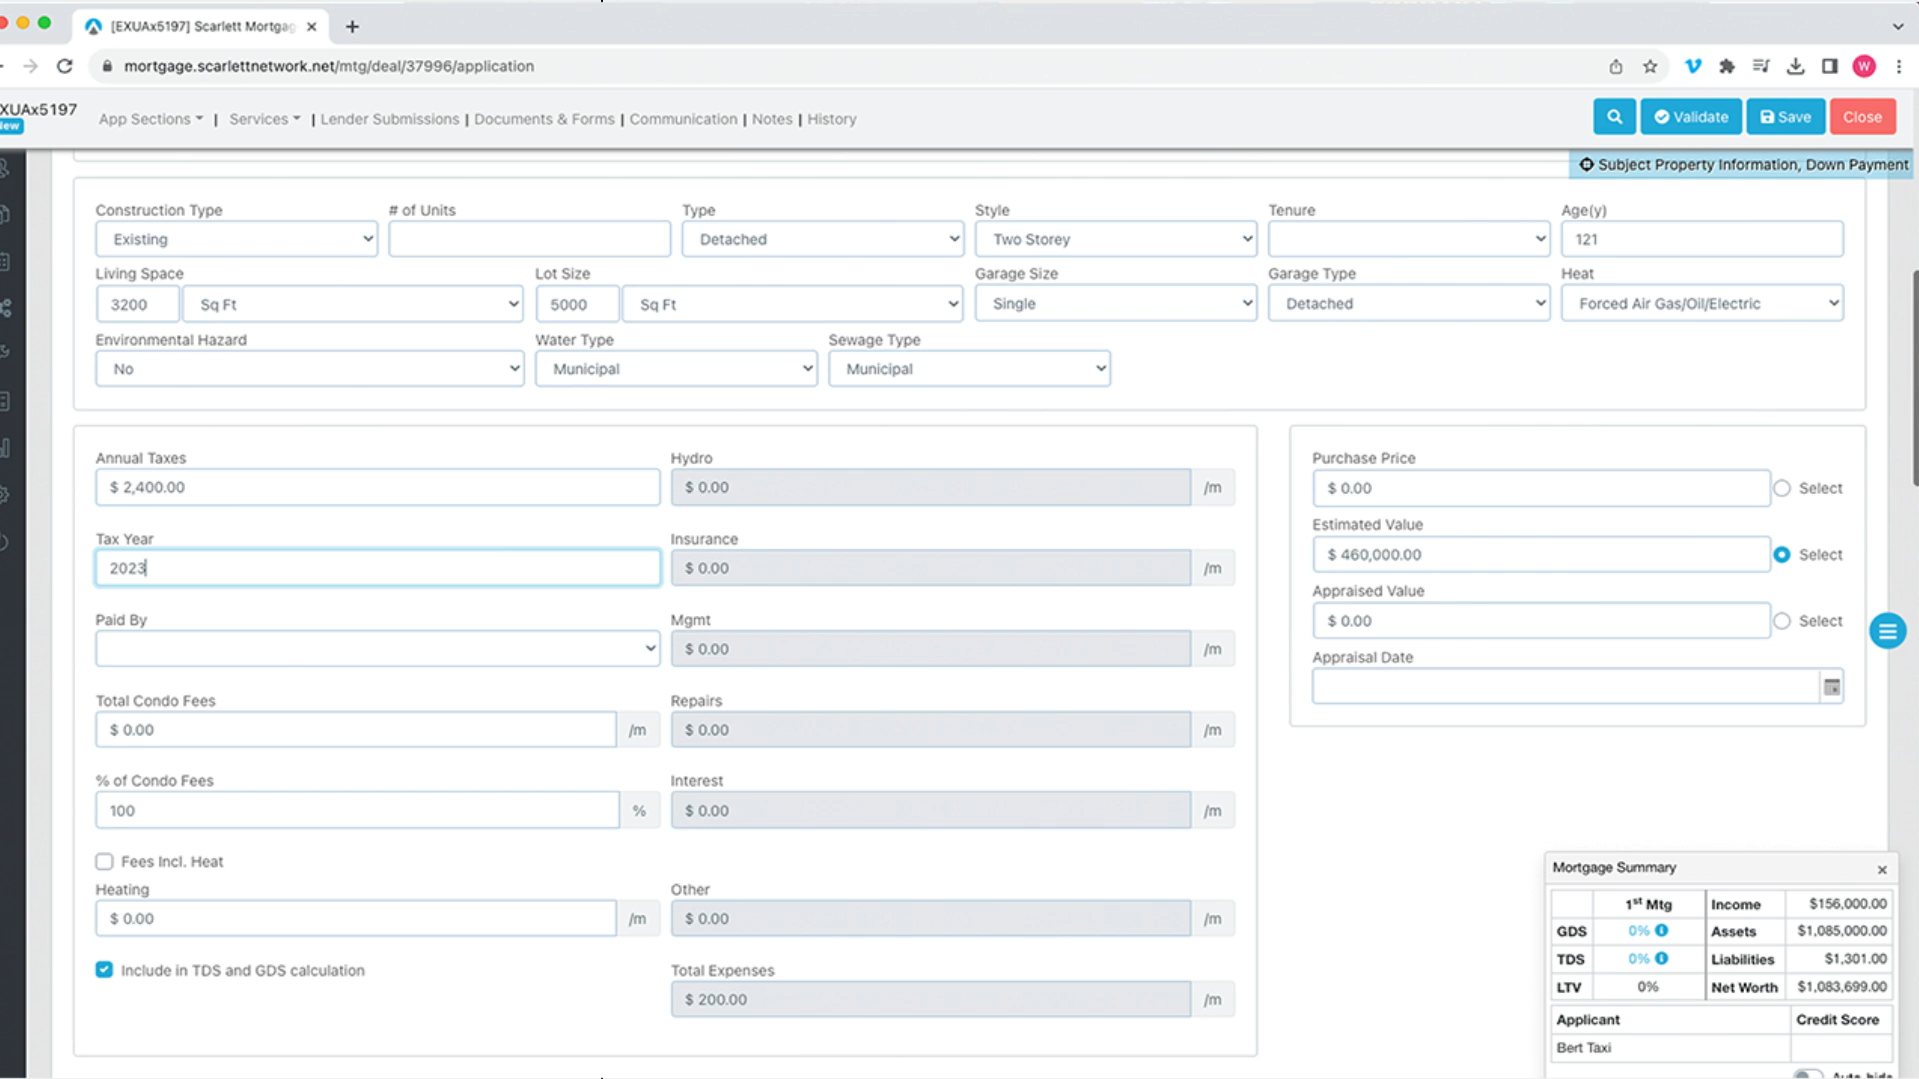
19) Next, add in the fees such as "Annual Taxes" and "Tax Year"
20) Now let's put in the down payment information
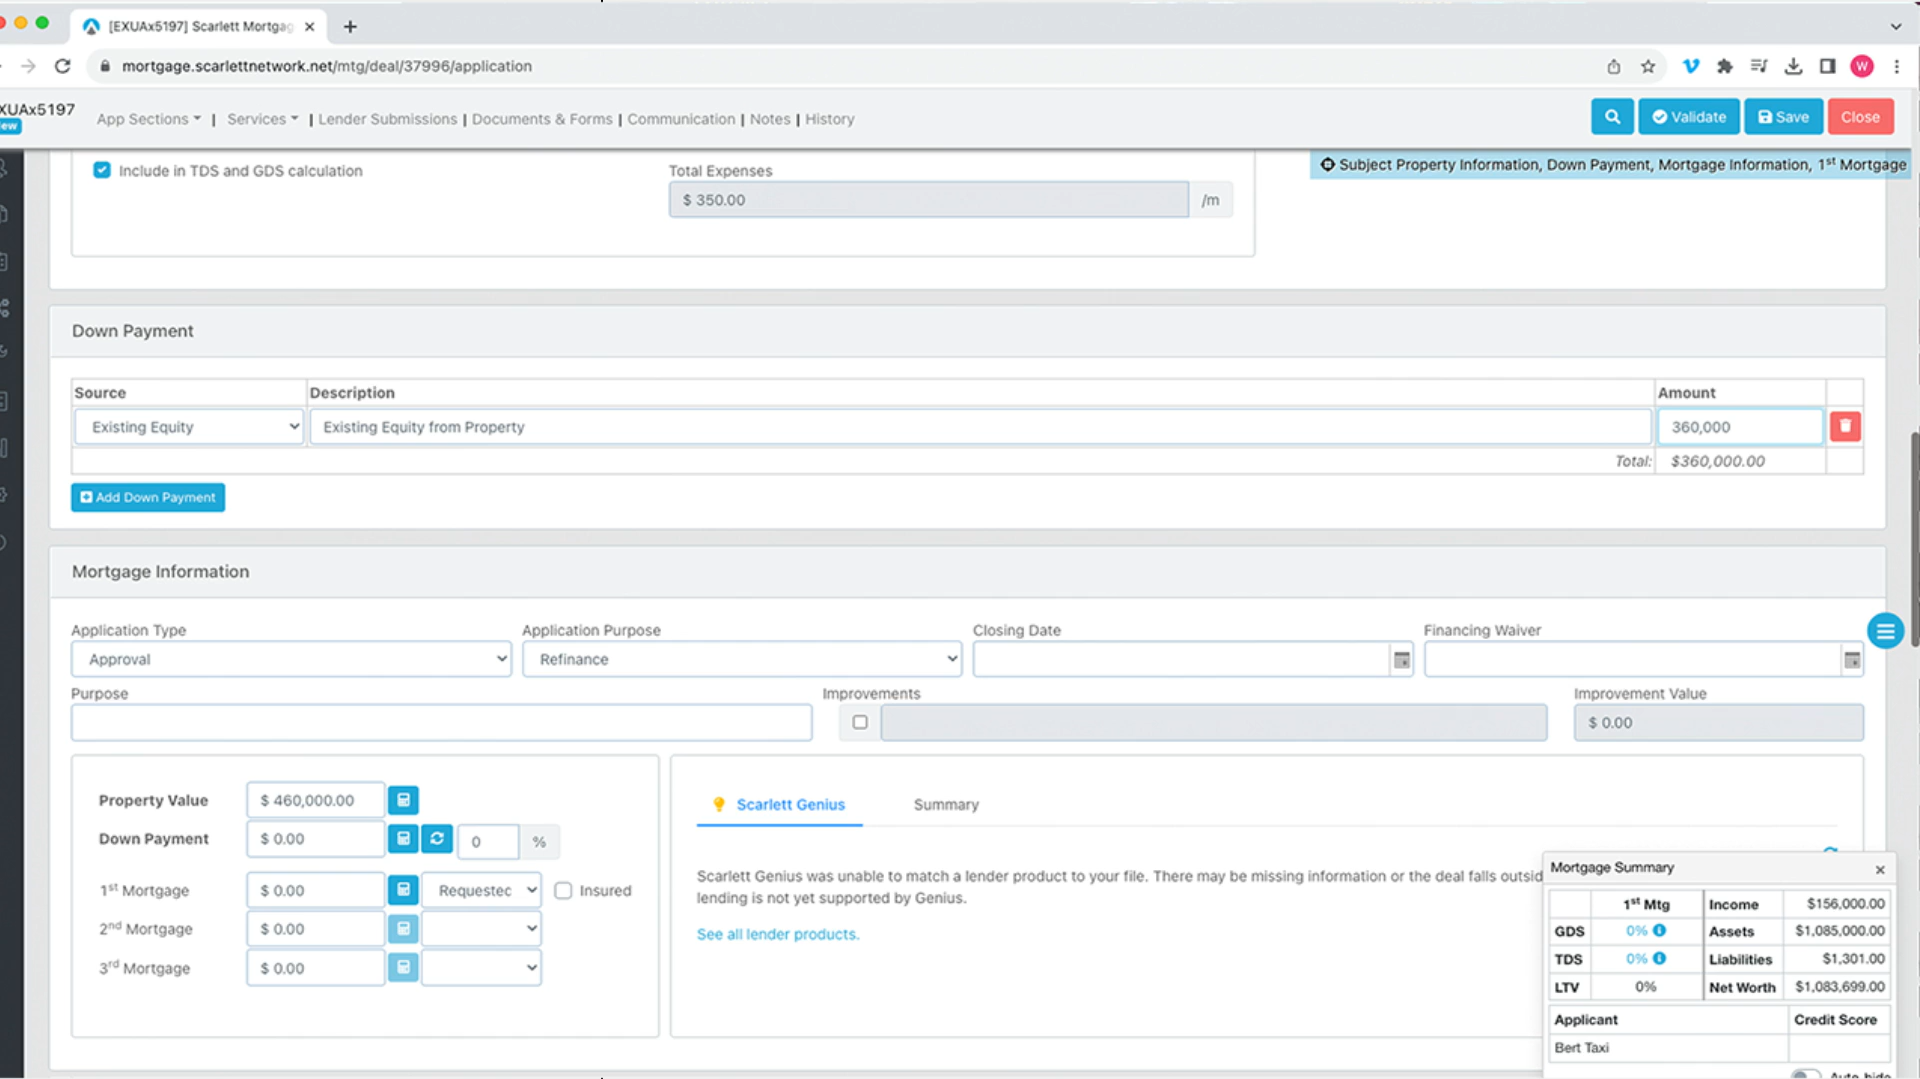
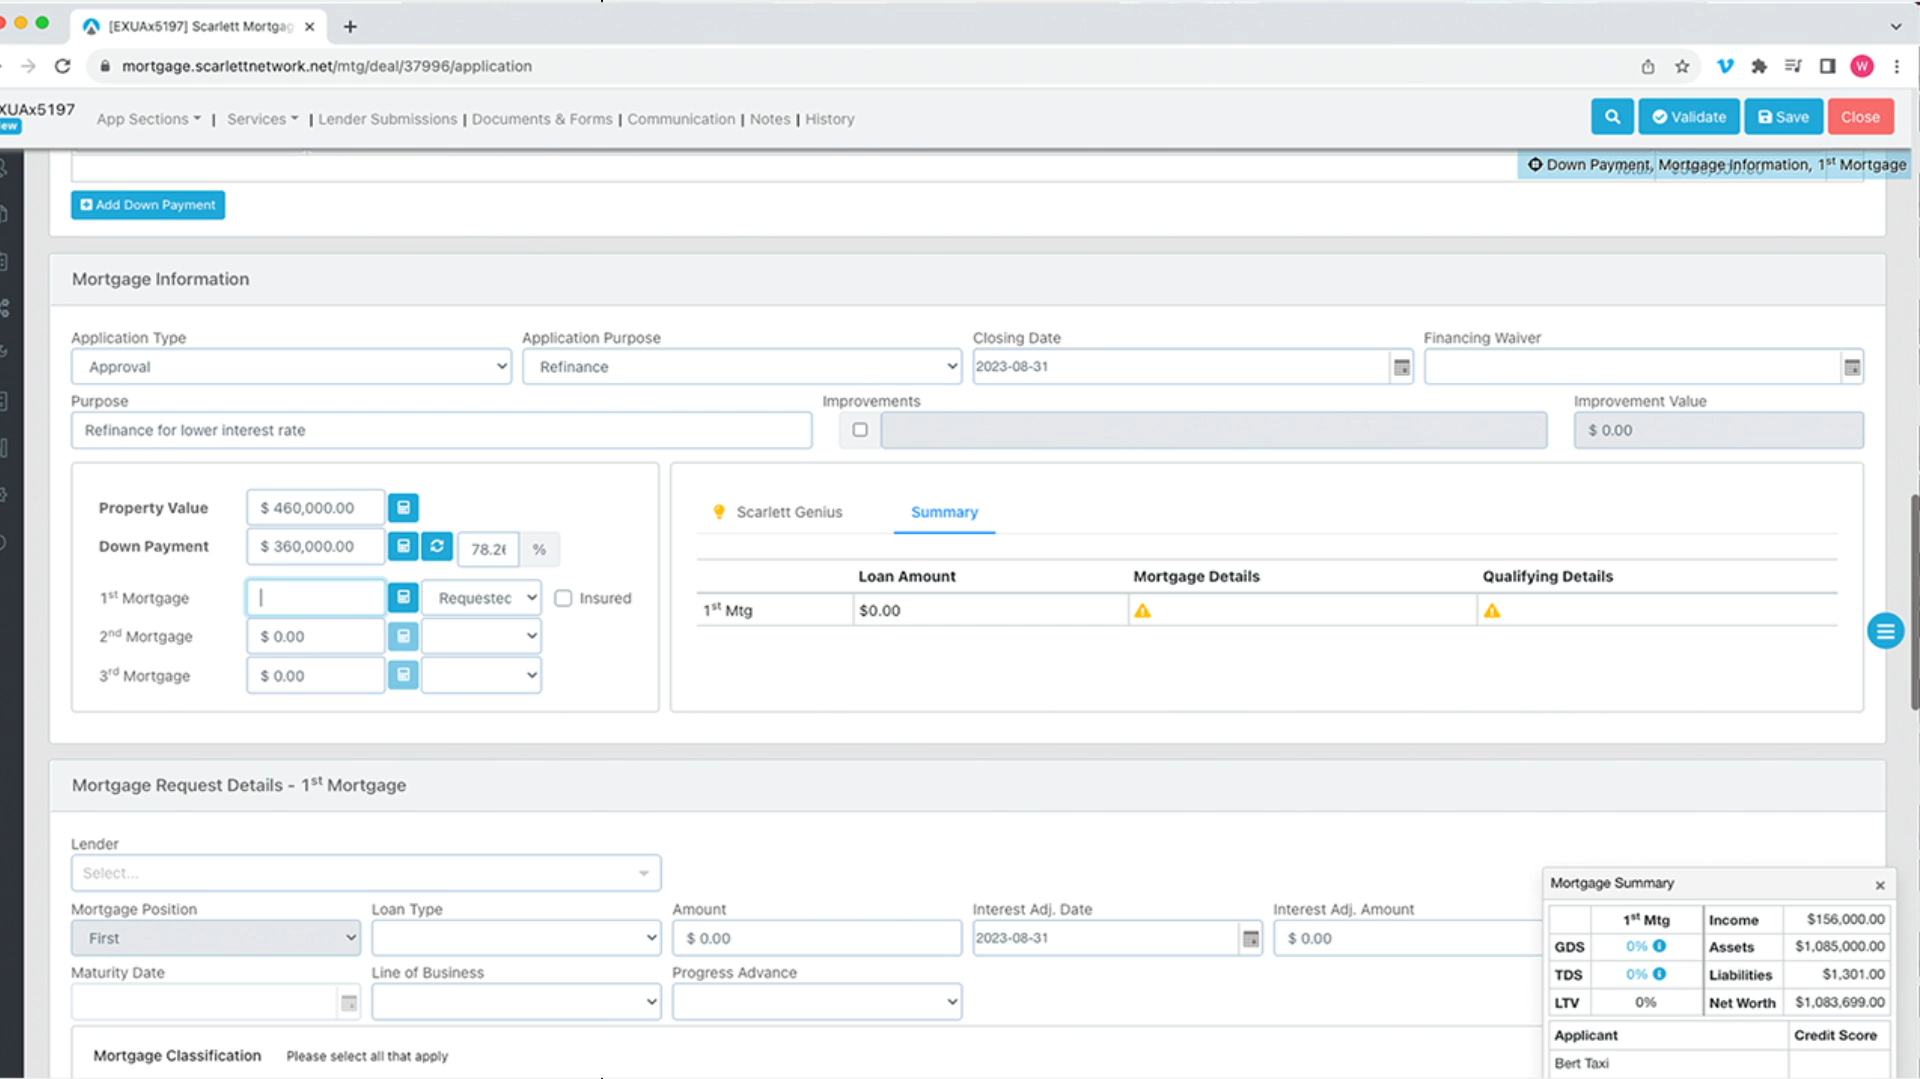
21) Now let's continue with mortgage information
When changing the 1st mortgage from Requested to Existing, you will receive a pop-up window to confirm this decision
22) Now let's move to the Mortgage Request Details section and adjust accordingly
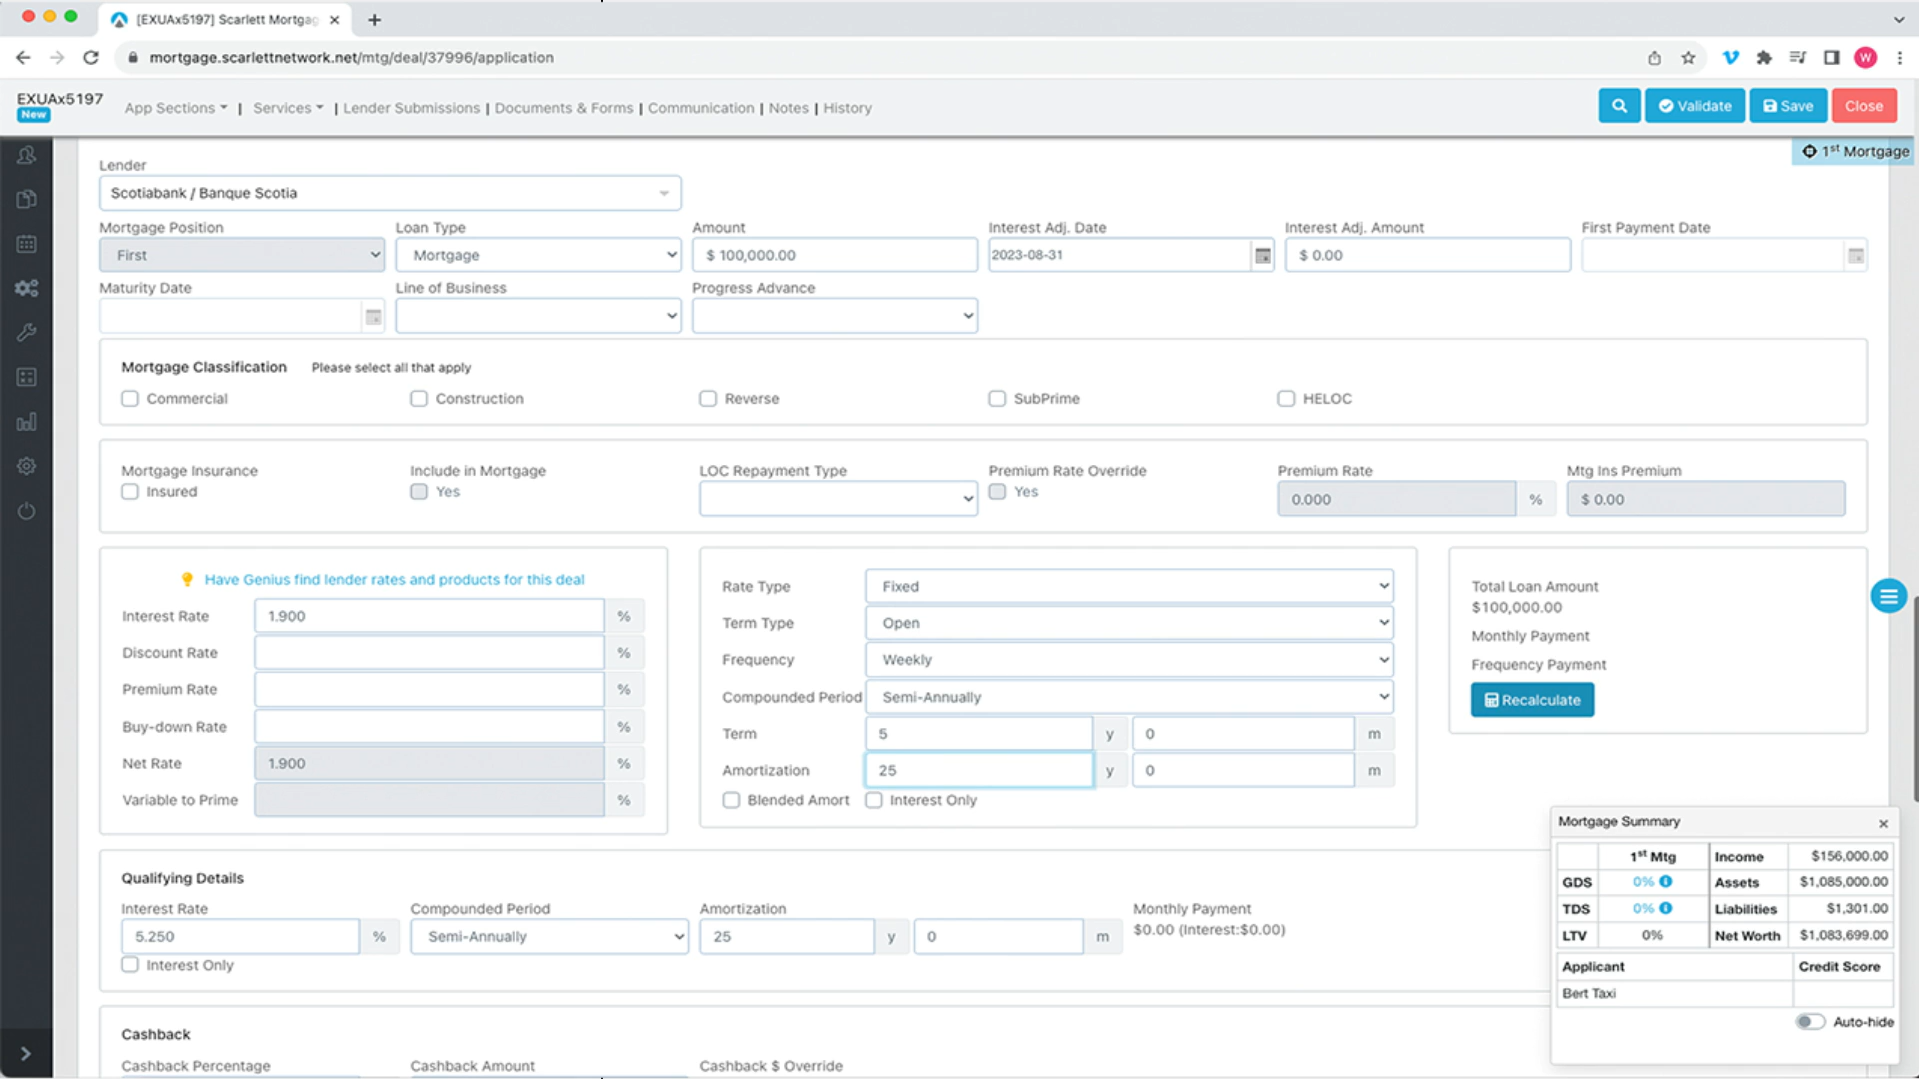
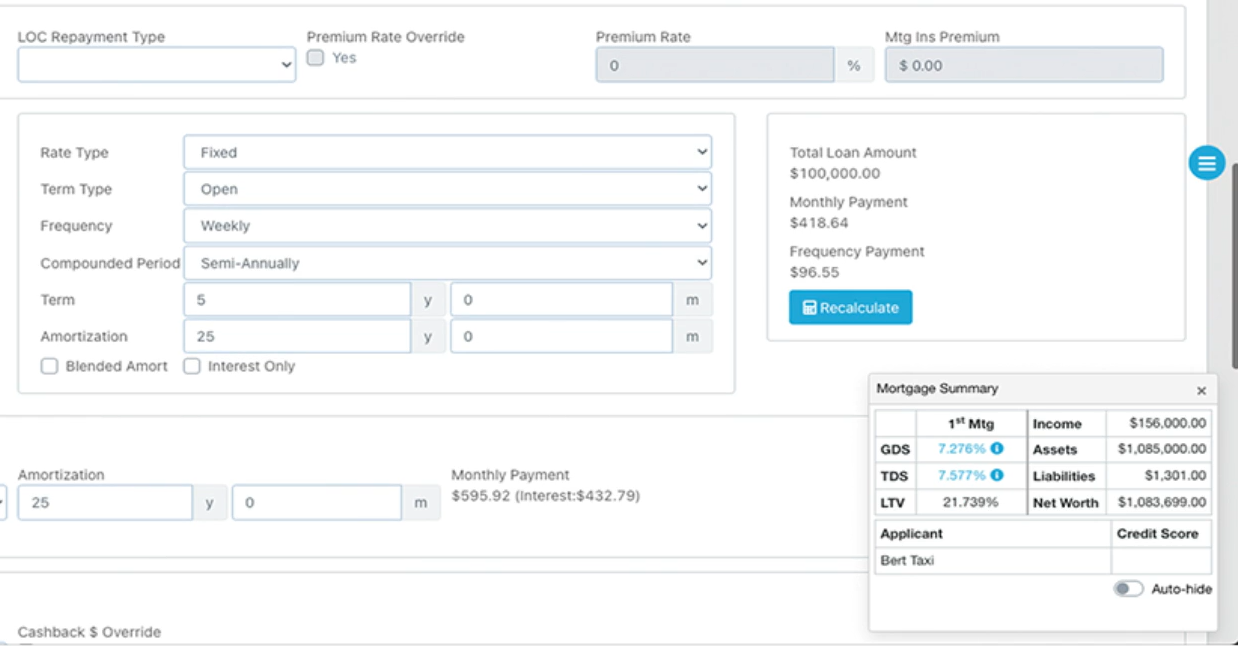
23) Click Recalculate on the right to get your Total Loan Amount, Monthly Payment, and Frequency Payment
24) Under Participants, you can see the Agent, the Submission Agent, and the Co-Agent of the deals along with their contact information

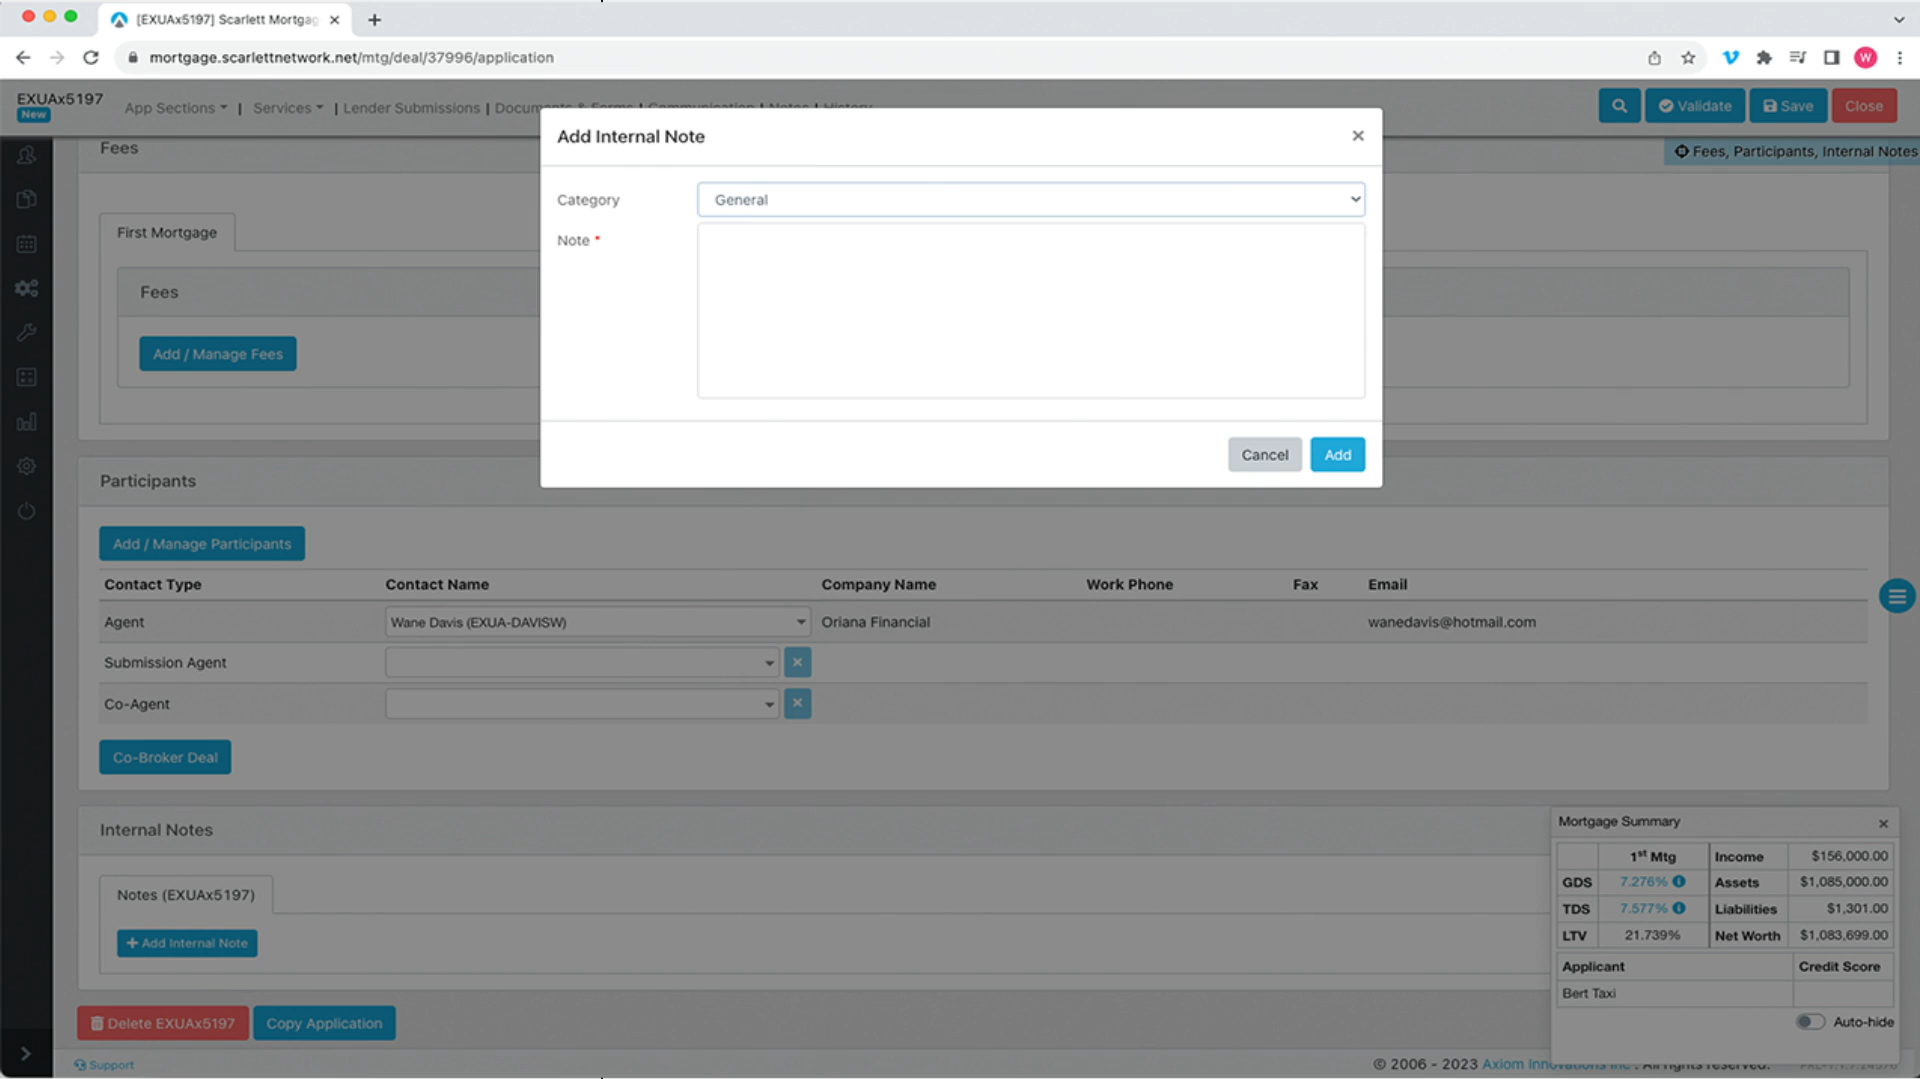
25) You can also add internal notes in the section below. Click the blue "Add Internal Note" to get the pop-up window to appear
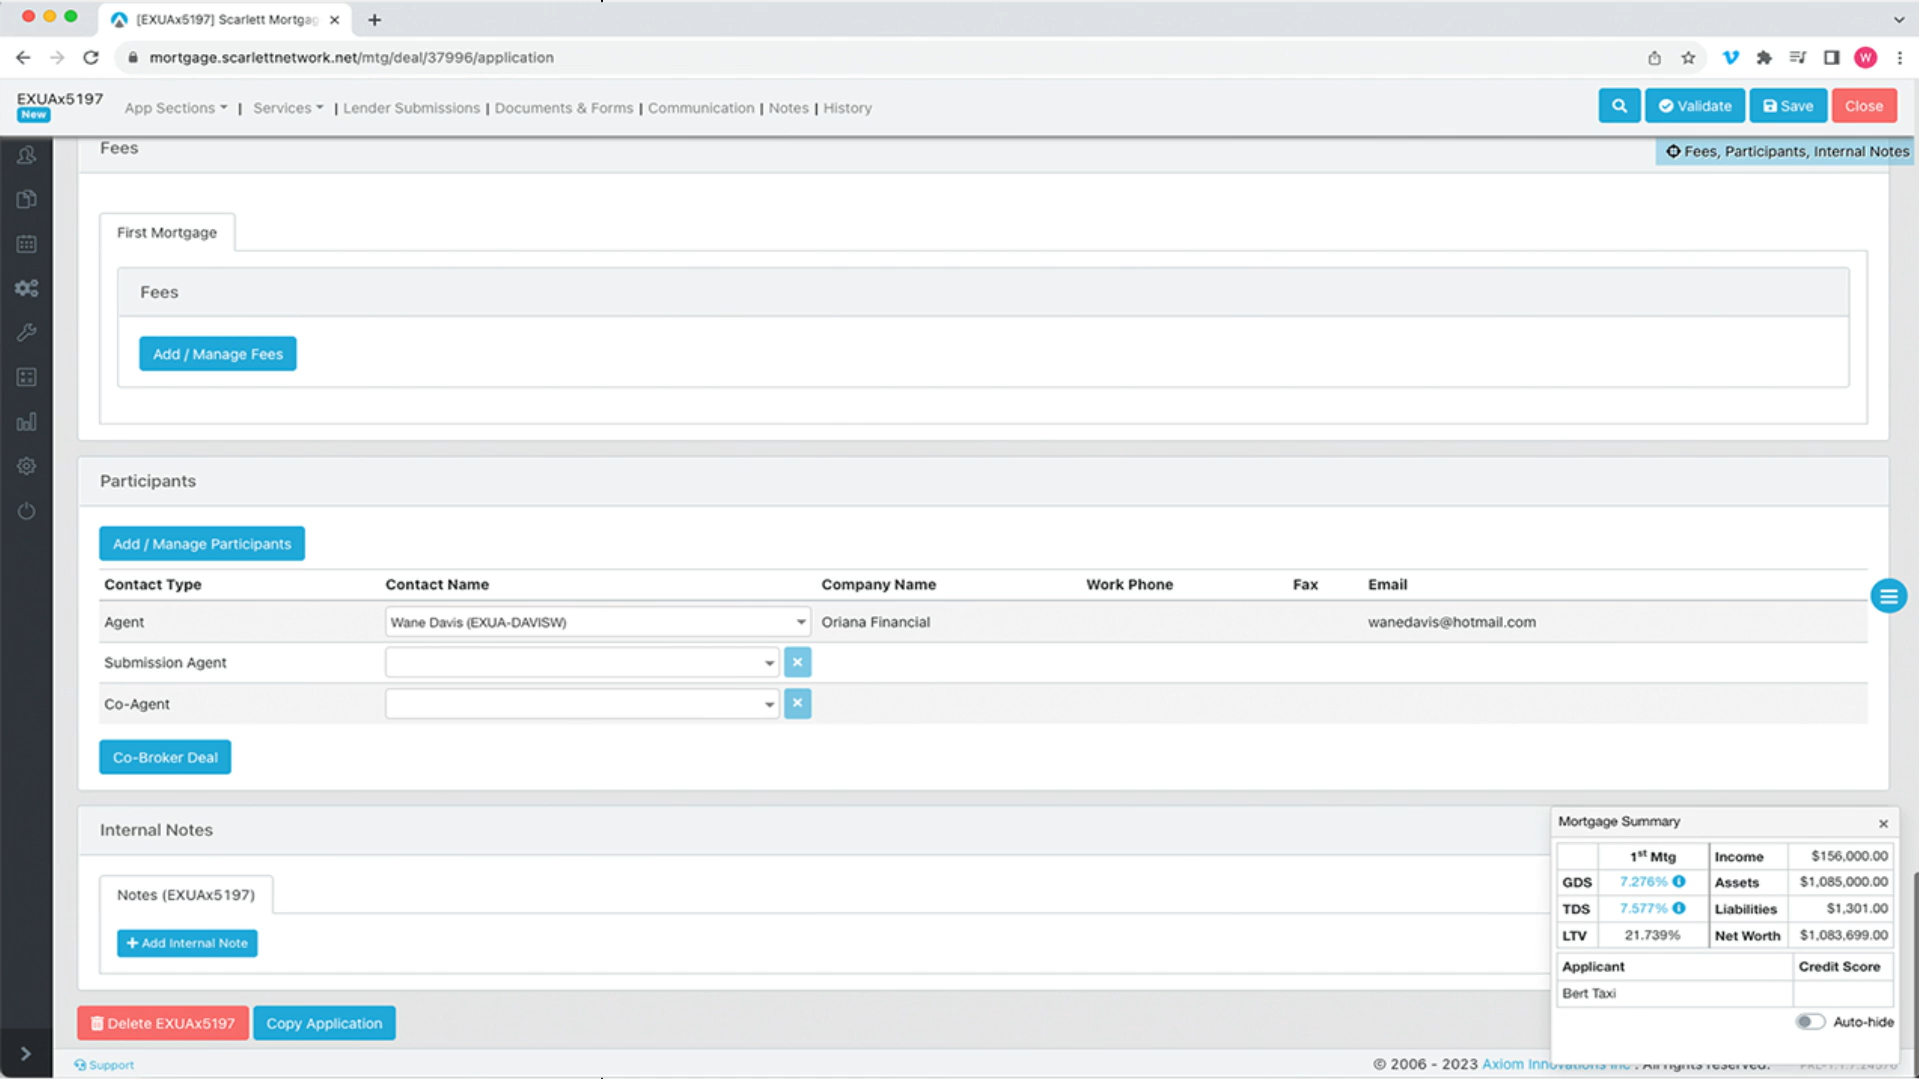
In this note you have the option to add a category and any appropriate note to the internal note
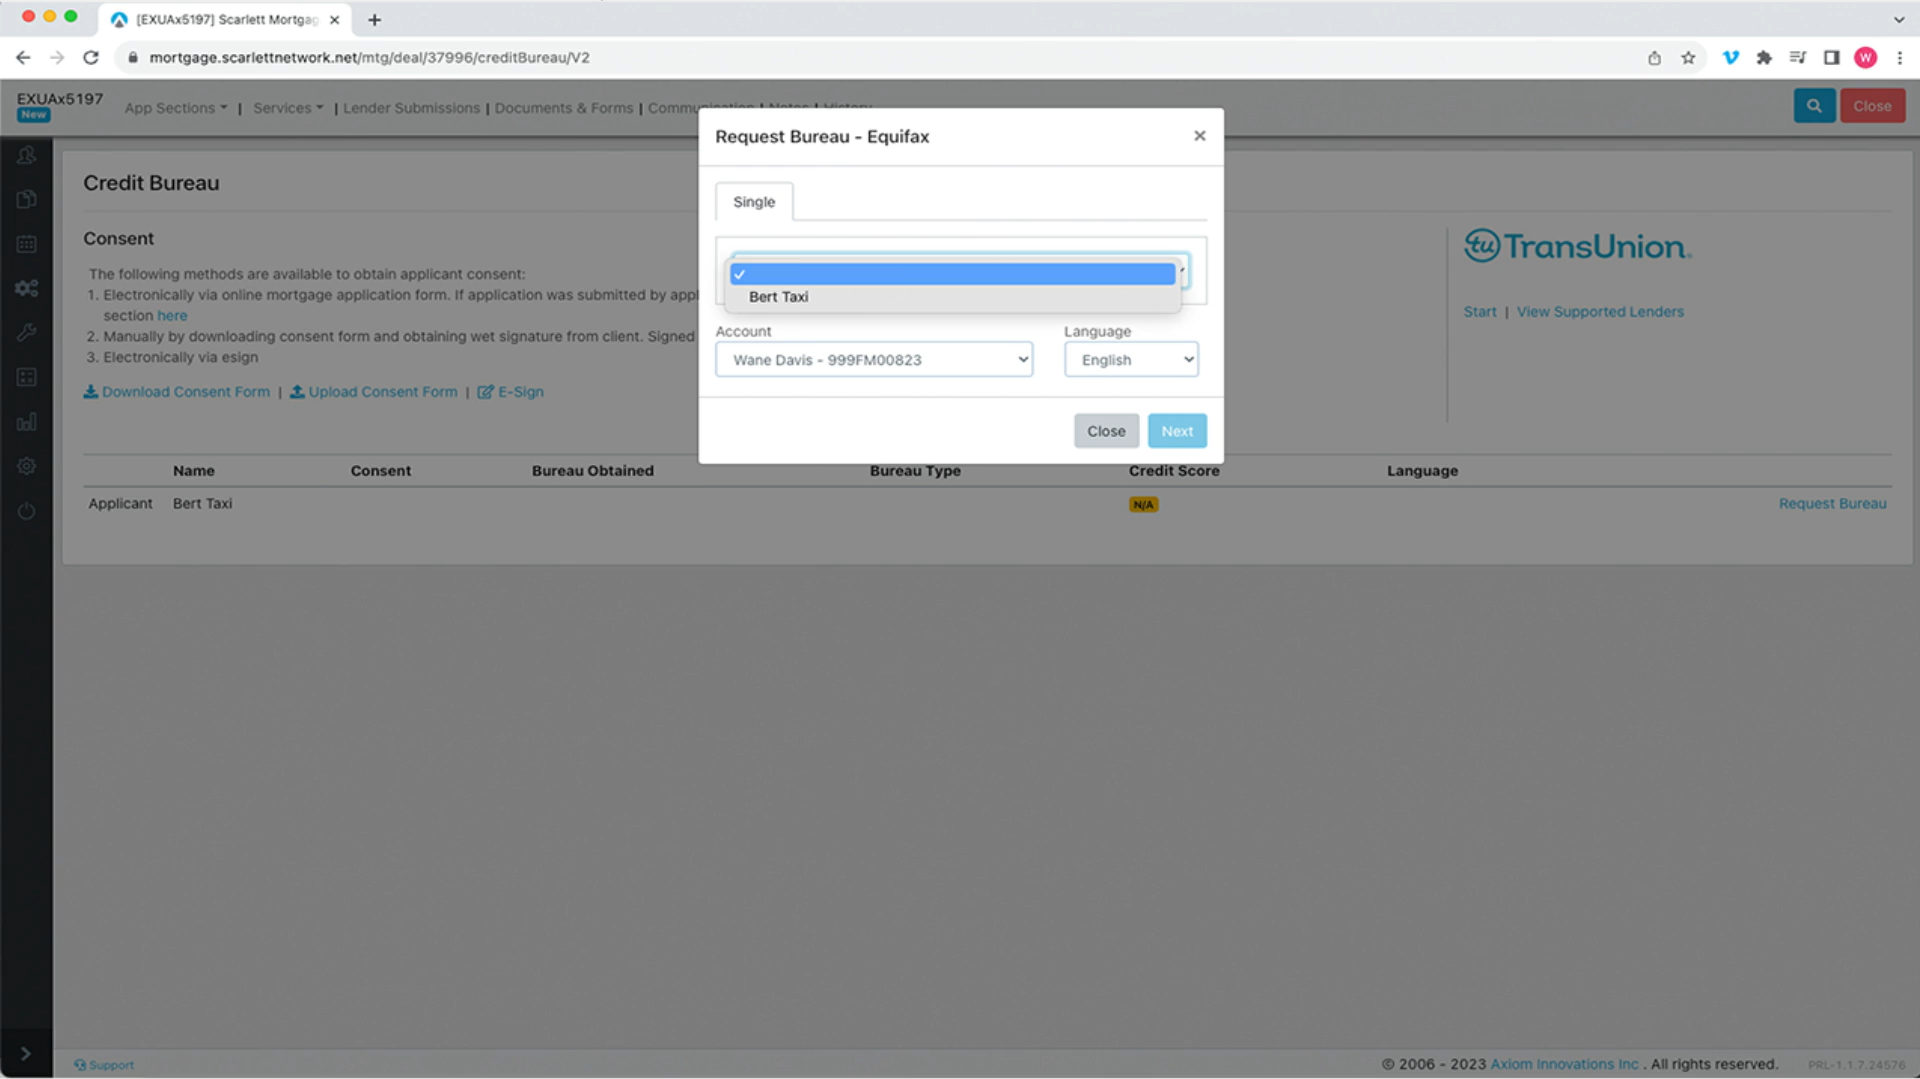
26) Next, for demonstration purposes we will not fully pull a credit bureau, but we can show how easy it is.
Click on the Services section on the top menu bar and then select "Credit Bureau"
This service allows you to select the bureau provider, request client authorization, as well as obtain bureaus for single or joint and copy liabilities
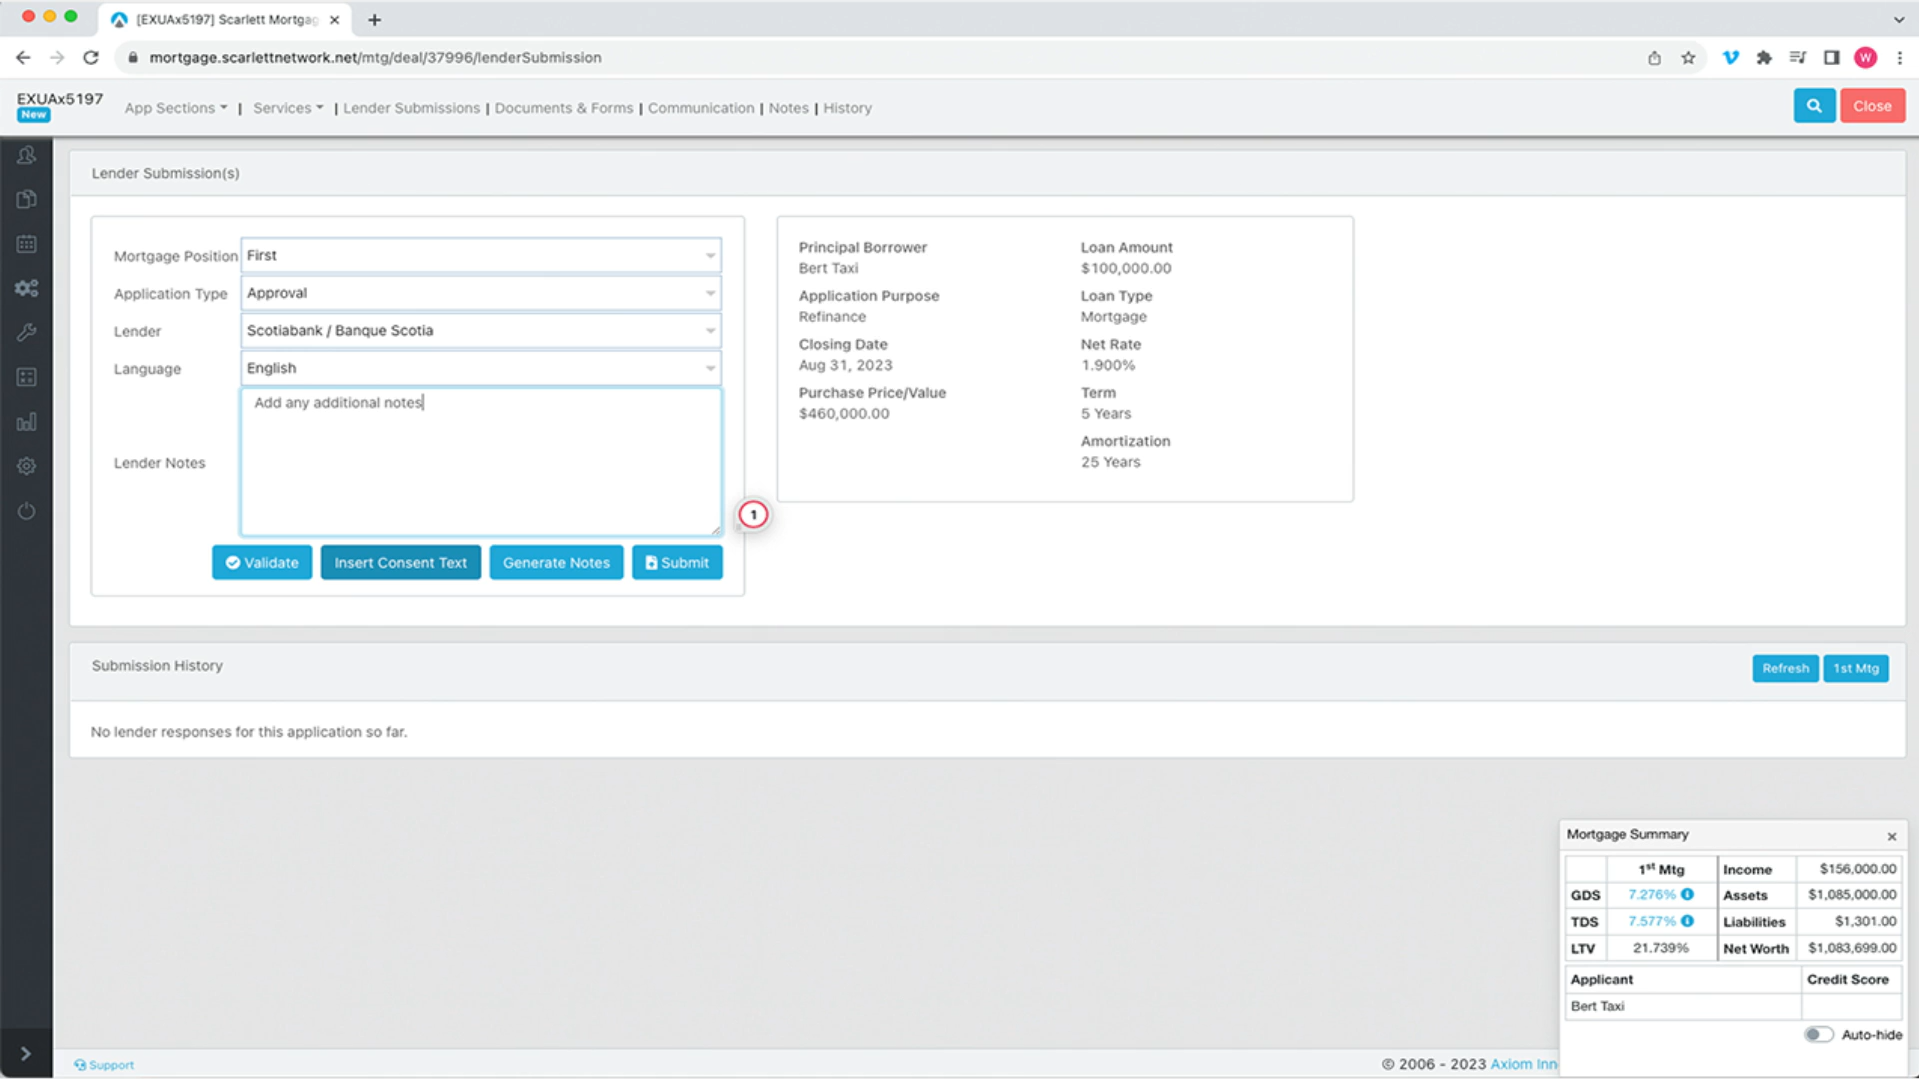
27) Lastly, in the upper menu bar select Lender Submissions. Here you can see the mortgage position as first application type approval, the lender as Scotia, the language as English, and the opportunity to add any additional notes and insert consent.
28) When you are ready, click "Submit"